How to Add Subpanel Filters in SuiteCRM

Home » Knowledge Base » Design Tools » SuiteCRM » How to Add Subpanel Filters in SuiteCRM

SuiteCRM’s subpanels can be very useful in various situations, such as showing related records (like contacts under an account). However, as your database grows, so does the scrolling time through unfiltered subpanels. Fortunately, you can add filters to subpanels, so you can quickly find the most relevant related records.

In this article, we share how to add subpanel filters in SuiteCRM.


What is a Subpanel Filter in SuiteCRM

In SuiteCRM, a subpanel filter allows you to narrow down the list of records, so you can work with only what you need at a certain moment. Such an approach allows you to:

  • Work with only open tasks under a given contact.
  • Work with only approved quotes under an account.
  • Filter various data over a 30-day period or other specified periods.


How to Add Subpanel Filters in SuiteCRM

The process is simple and requires only a few minutes of your time, with just a few clicks here and there.

First, log in to SuiteCRM.

Then, locate the main navigation bar at the top of the page:

Locate the navigation menu in SuiteCRM


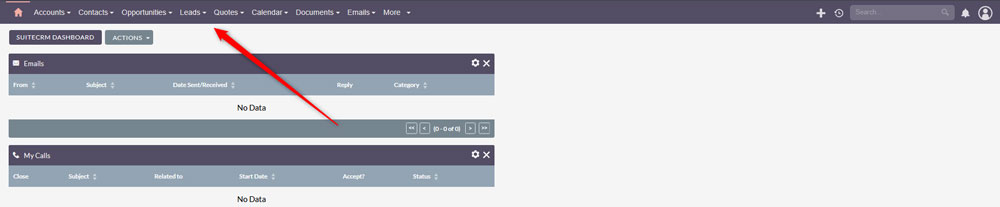
Once you notice the navigation bar, click the name of the module you wish to open. For example:

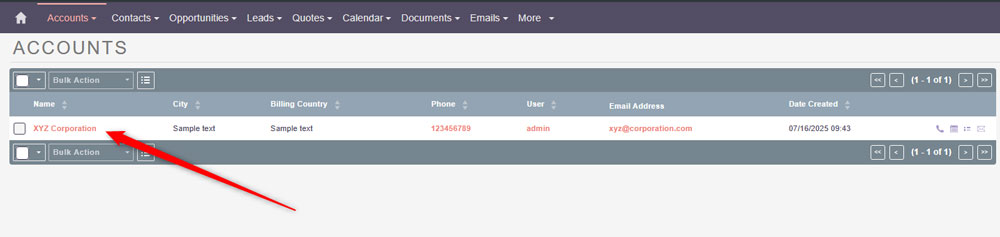
  • Click “Accounts” to view all companies and customers.
  • Click Contacts to see all people linked to these accounts.
  • Click Cases to manage support issues.


After you click a given module, you will see a list of records. Click any name to open the full record. In our case, we clicked on Accounts:

Records in SuiteCRM


Once you click on a given name, you will enter the detailed view page:

Detailed Module View


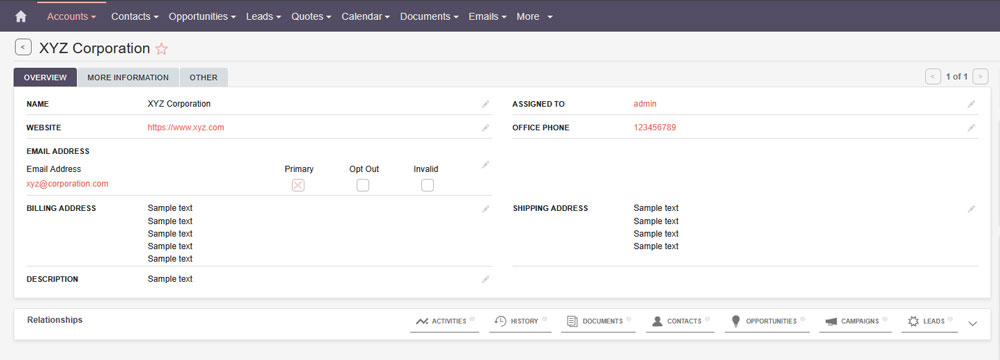
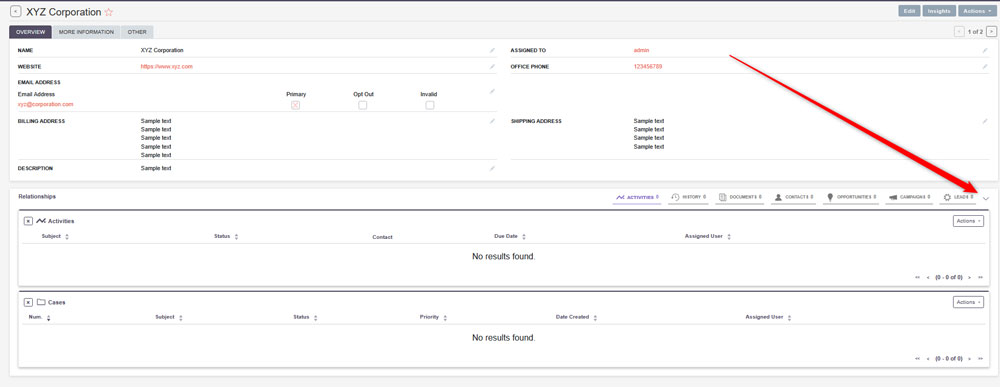
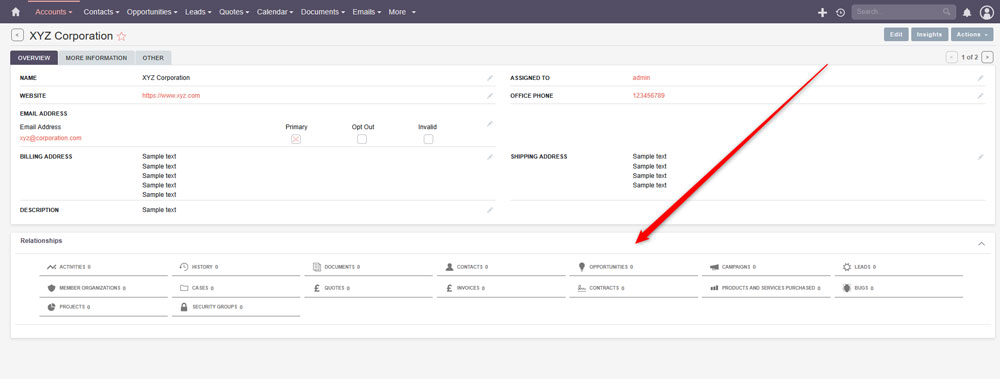
Once in the detailed view page, have a look for a small Relationships section somewhere at the bottom of the screen:

Relationships panel in SuiteCRM


Once you notice this section, head to the right of the screen and click the small arrow that points downwards. Click it:

Expand the Relationships panel by clicking the arrow button


Once you click it, more subpanels (relationships) will appear. To filter out the ones you wish to work with, simply click on them, and SuteCRM will display a larger panel with each subpanel:

Browse the relationships in SuiteCRM


Expand modules in SuiteCRM


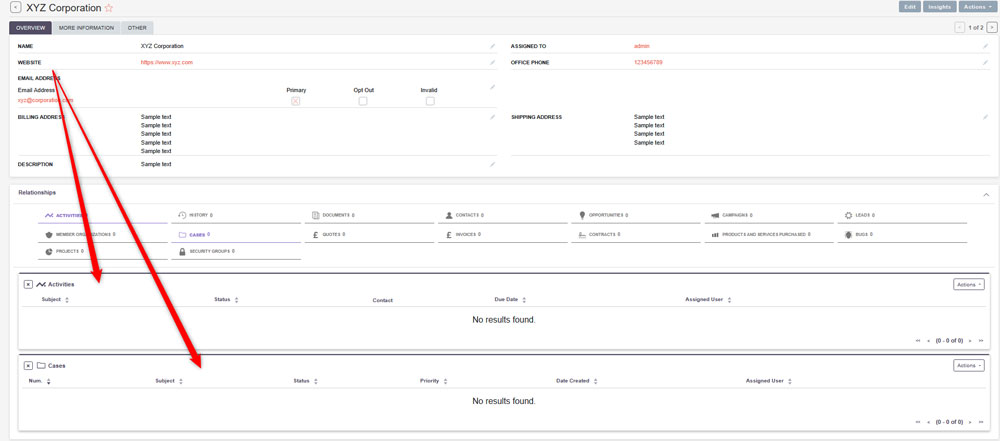
Then, you can close the Relationships panel, so you can work with the filtered panels:

Close the Relationships modules


Was this post helpful?

i

Relevant tags:

Connect

Latest posts:

How to Display Fields in Different Modes in SuiteCRM

SuiteCRM allows for various customisations of fields. Such are the Detail View, Edit View and List View. Understanding how to customise these is important for tailoring your SuiteCRM project to your preferences. Whether you are streaming data entries or are trying to...

How to Add Grouped Fields to the Record View in SuiteCRM

SuiteCRM offers great versatility when it comes to customising modules, including how fields are displayed on record views. One powerful feature is grouping fields within sections for better layout and user experience. In this article, we share how to group fields in...

How to Back Up Your SuiteCRM Project

Making regular backups of your SuiteCRM project is crucial. Backups help keep any kind of data safe, and also provide a quick recovery after a crash, hacking attack, or any user error. Because of how important backups are for your SuiteCRM website, in this article, we...

How to Install Themes in Zenphoto

Zenphoto allows you to customize the look of your online gallery by incorporating various themes. If you are interested in learning how to install themes in Zenphoto, then this article will guide you through the entire process - from browsing and downloading, through...

How to Add Tags in Zenphoto

Tags are a handy feature for organizing your Zenphoto images and albums. Tags not only help you and your visitors navigate more easily and quickly through your website, but also improve its discoverability in search engines, and can also help you generate more organic...


Create a website for free!


Free forever

Our Support Team is Here to Help


If you need any questions answered, don't hesitate and contact us. Click the button below and follow the instructions. You can expect an answer within an hour.


Contact AwardSpace


iNewest knowledge base articles

How to Display Fields in Different Modes in SuiteCRM

SuiteCRM allows for various customisations of fields. Such are the Detail View, Edit View and List View. Understanding how to customise these is important for tailoring your SuiteCRM project to your preferences. Whether you are streaming data entries or are trying to...

How to Add Grouped Fields to the Record View in SuiteCRM

SuiteCRM offers great versatility when it comes to customising modules, including how fields are displayed on record views. One powerful feature is grouping fields within sections for better layout and user experience. In this article, we share how to group fields in...

How to Back Up Your SuiteCRM Project

Making regular backups of your SuiteCRM project is crucial. Backups help keep any kind of data safe, and also provide a quick recovery after a crash, hacking attack, or any user error. Because of how important backups are for your SuiteCRM website, in this article, we...

How to Install Themes in Zenphoto

Zenphoto allows you to customize the look of your online gallery by incorporating various themes. If you are interested in learning how to install themes in Zenphoto, then this article will guide you through the entire process - from browsing and downloading, through...

How to Add Tags in Zenphoto

Tags are a handy feature for organizing your Zenphoto images and albums. Tags not only help you and your visitors navigate more easily and quickly through your website, but also improve its discoverability in search engines, and can also help you generate more organic...

How to Upload Files in Zenphoto

Knowing how to upload files in Zenphoto is a fundamental skill. In this guide, we share how to go through the process and manage your project and media library quickly and easily.   Step 1: Log in to Zenphoto The first step in the process is to log in to...

Even more web tutorials

Check out our web hosting knowledge base and the WordPress tutorials to learn more, and be better prepared for your website creation and maintenance journey.