
Vtiger is a versatile CMS that you can use for free with all AwardSpace hosting plans. The CMS offers numerous options to manage your online business, workflows, and team roles. Among other useful tweaks, Vtiger also provides you with dynamic fields and layouts that help you organize data, teams, and processes just the way that is most useful for you and your business. With such options, you can make the CRM more effective, reduce clutter, and provide users with the information that is important for their role and workflows.
In this article, we show you how to add dynamic fields and layouts in Vtiger.
How to Add Dynamic Fields and Layouts in Vtiger
The process is quite straightforward and requires only a few steps and a few minutes of your time. Here’s how to proceed.
First, log in to Vtiger.
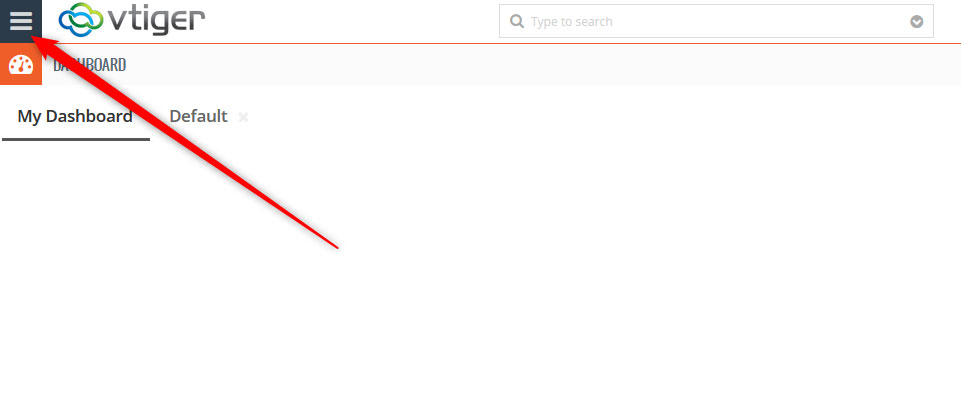
Once within the hosting panel, click the sandwich menu icon at the top left of the screen:
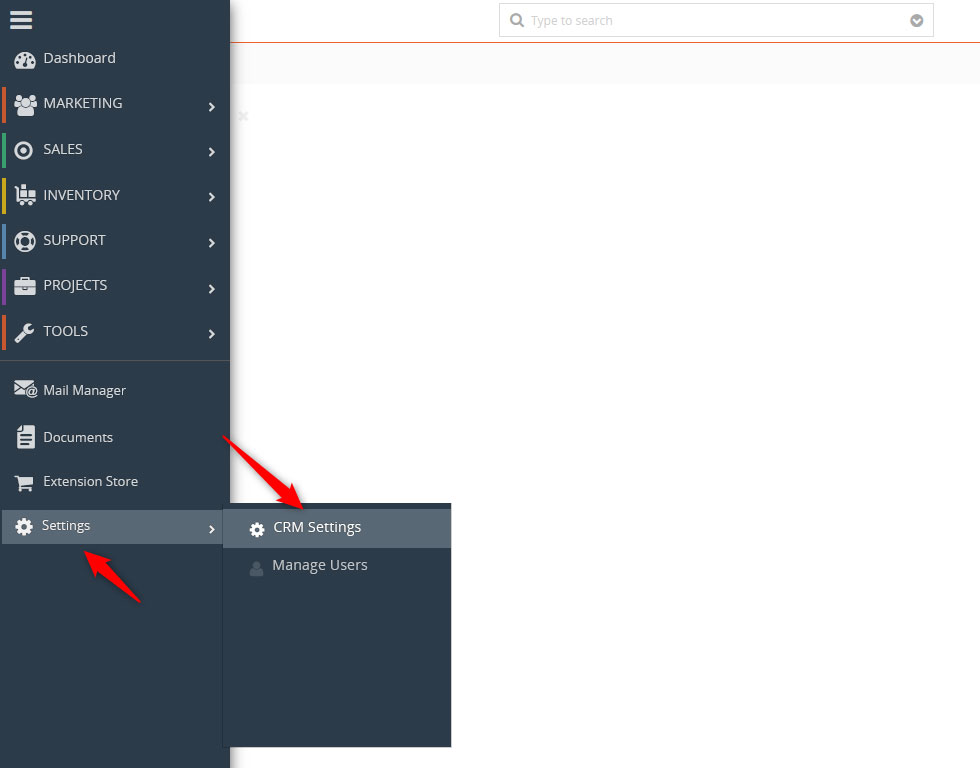
Then, from the menu option that would appear, head to Settings -> CRM Settings:
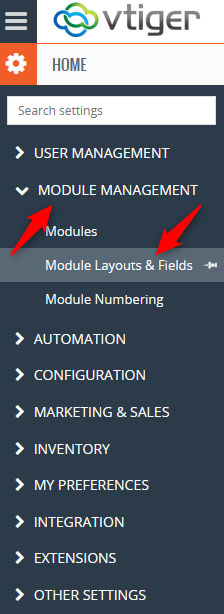
A new page should open. Once you see it, via the left sidebar, click on Module Management and select Module Layout & Fields:
Yet a new page should open. This is the place where you can add layouts and modules, as well as manage all settings related to them.
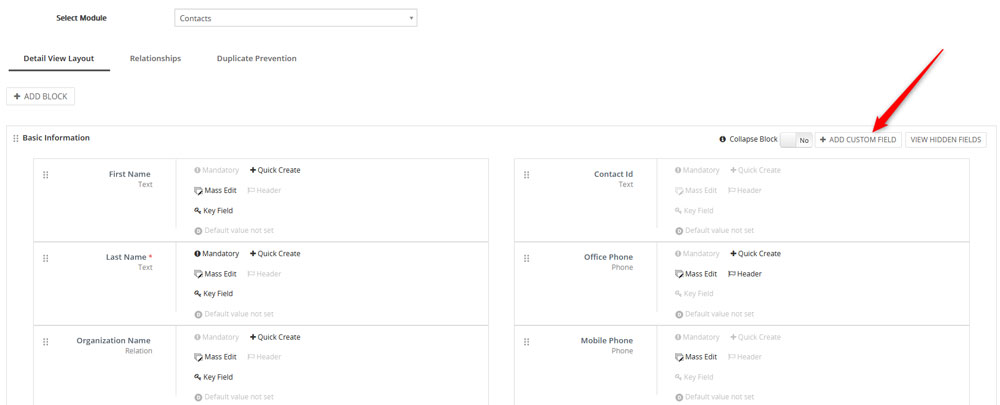
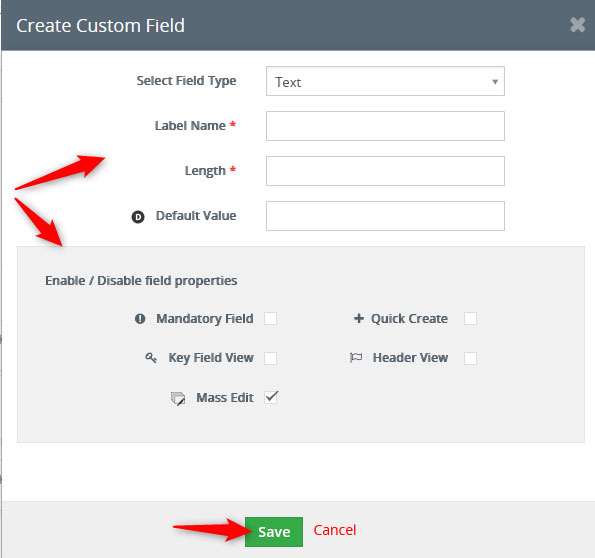
Now, to add a field, click on the + Add Custom Field button right above the Fields section:
Once you click the button, a dialogue box should appear. Within this box, add the details about the field you are about to create, and then click on Save:
Now you have managed to create a field.
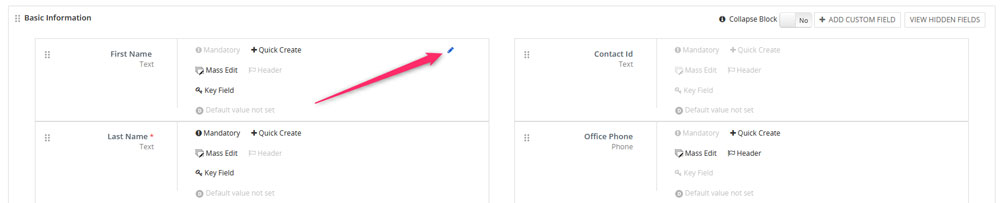
To manage any of your fields, simply hover your mouse button over one and click on the pencil icon that appears:
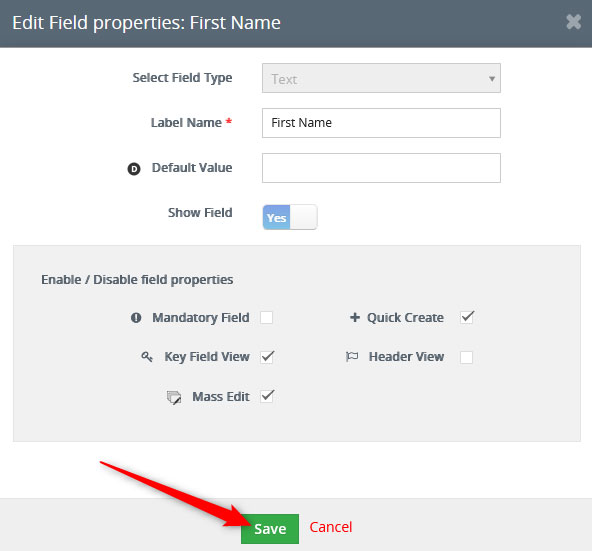
A box with options should appear. From there, you can change all field settings. Once you are ready with your changes, click on Save:
Conclusion
Adding fields to Vtiger is a simple process, but a handy one. It helps you align the CRM settings to fit all your business processes. By adopting such customizations, Vtiger can become quite a handy companion for all your business endeavors.
