
User roles in Vtiger are an important feature that enables you to control access and determine how your team members interact with the system. By tweaking user roles, you can set up permissions, control access levels, and make sure that sensitive business information is only available to the right employees.
In this guide, we share how to set up user roles in Vtiger in a few simple steps.
Why are User Roles Important
User roles in Vtiger are important, as they determine the hierarchy of access and responsibilities of each of your team members. This is important, as having such a definition and structure helps with maintaining any data secure by restricting access to different people, improving efficiency as each team member can see their exact level in the hierarchy and professional responsibilities, and you can simplify the entire managerial process via a clear and easy-to-follow structure.
Read also: How to Install Extensions on Vtiger
How to Set Up User Roles in Vtiger
The process is simple and comprises only a few steps.
First, you need to log in to Vtiger.
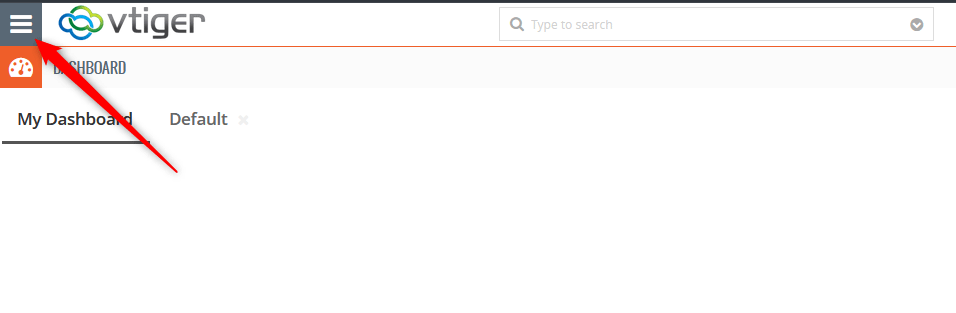
Once logged in, click the sandwich menu icon at the top left of the screen:
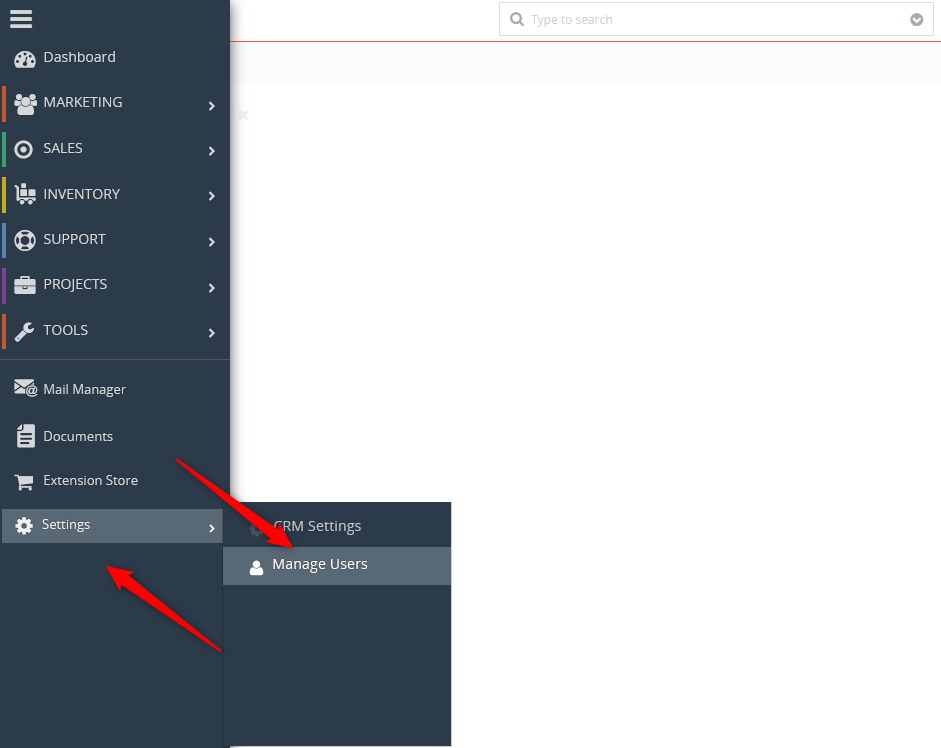
Once you click the sandwich icon, head to Settings -> Manage Users:
Once there, you will see a full list of all your registered team members. However, before setting up anything, click on Roles via the left sidebar and have a look at the visual representation of roles and how they are related to each other:
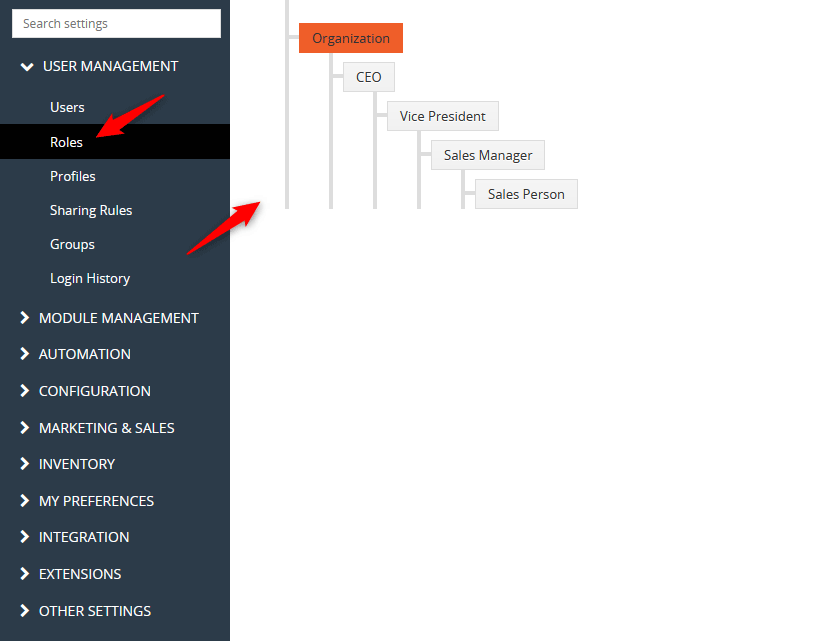
In Vtiger, the role with the highest authority and the highest number of permissions is the CEO (aka Admin). All other roles are subsidiary to the CEO’s role and can have access restrictions determined by the user with the Admin role. This hierarchy helps your organization in two main ways:
- Higher roles can access records and can give or take permissions to their subsidiary roles.
- Lower roles have restricted access to data and can’t interfere with higher roles.
How to Set Up a User Role
Now that you understand the basic hierarchy of roles in Vtiger, it is time to set up a role and then assign it to a user of your project.
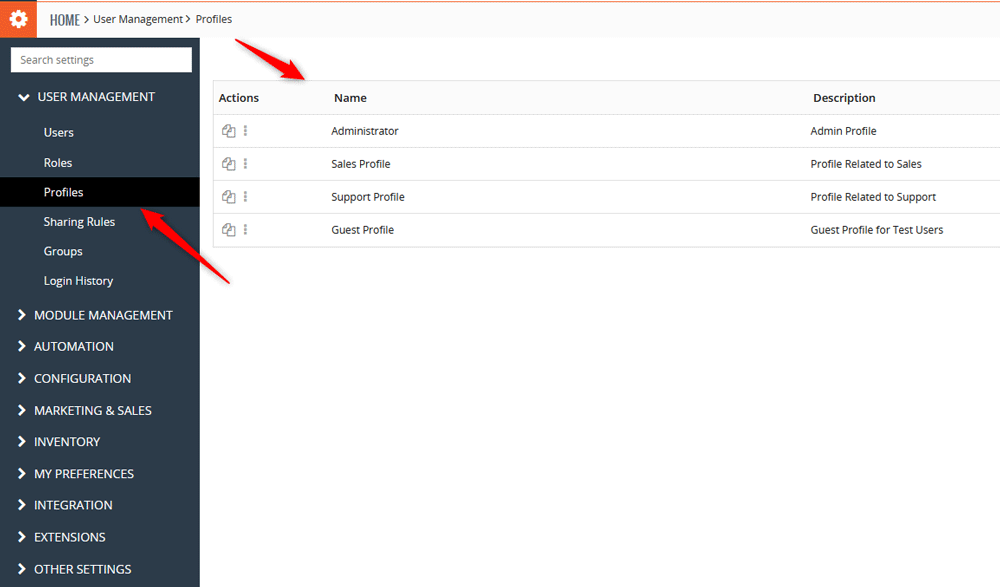
For this, while in the User Management page, head to Profiles via the sidebar on the left of the page:
You have two options: to create a new role and set up permissions, or you can select a pre-defined role and change its permissions.
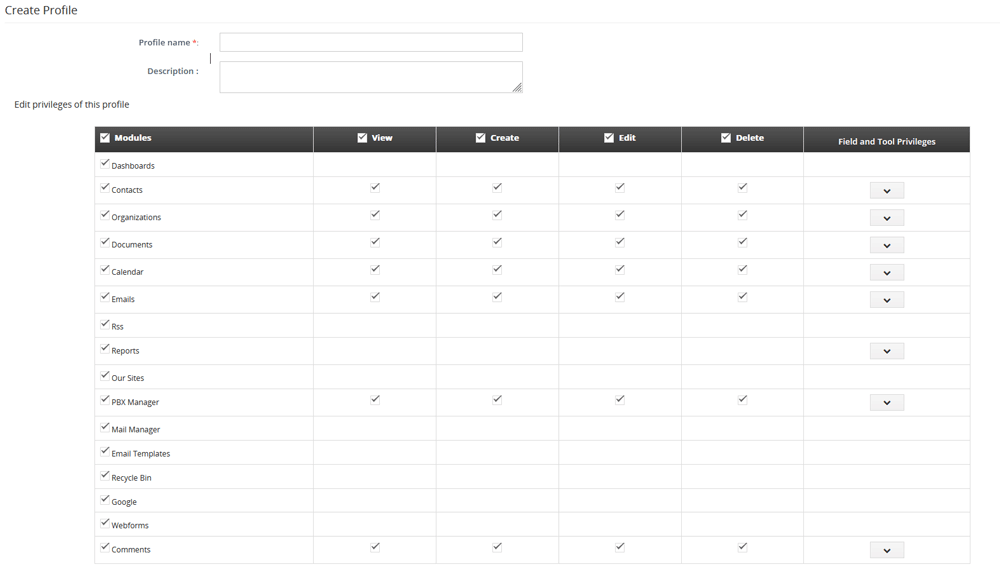
To set up a new role in Vtiger, while on the Profiles page, head to the Add Profile button at the top right of the screen:
A new page should open. Once it does, you can add a profile name (a role name), description, and select which modules and extensions can be accessed via this role. To grant access to different fields, simply add a tick to the module in the Modules box:

Now, you have set up a new custom role that you can assign to your team members.
To modify a pre-existing role, via the Profiles tab, head to the list of roles and click the three dots at the left of each role’s name:
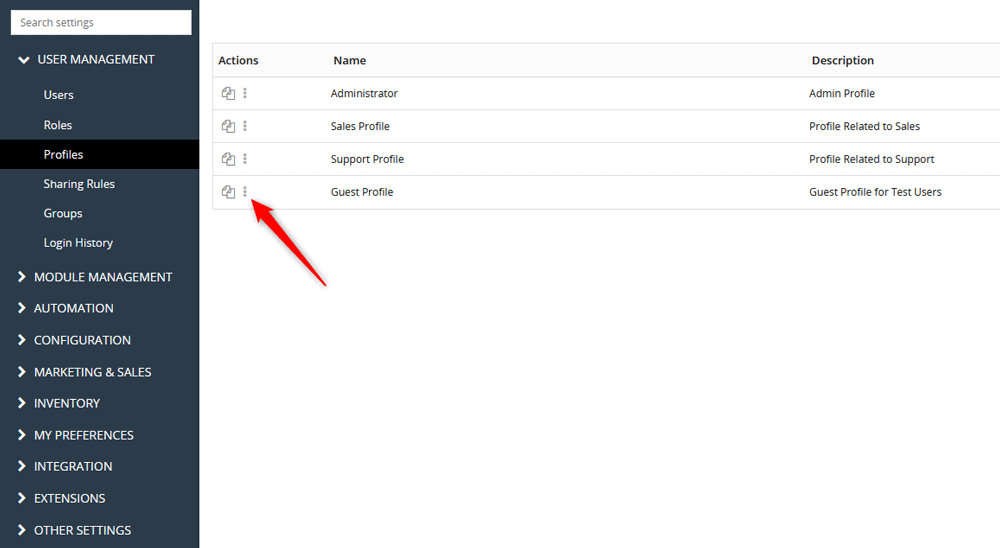
A new page will open. It is similar to the one in which you create a new role – from here, you can change the role’s name, description, and change access permissions. Make your changes and click the green Save button once you are ready with the changes:
Now you have managed to set up a role in Vtiger. The next step in the process is to assign this role to a team member.
How to Assign a Role
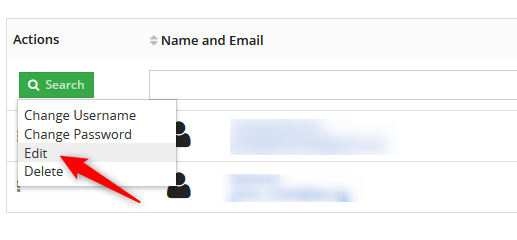
While within the User Management tab, head to Users via the sidebar on the left of the page:

Once there, click the three dots on the left of each user icon and select Edit:
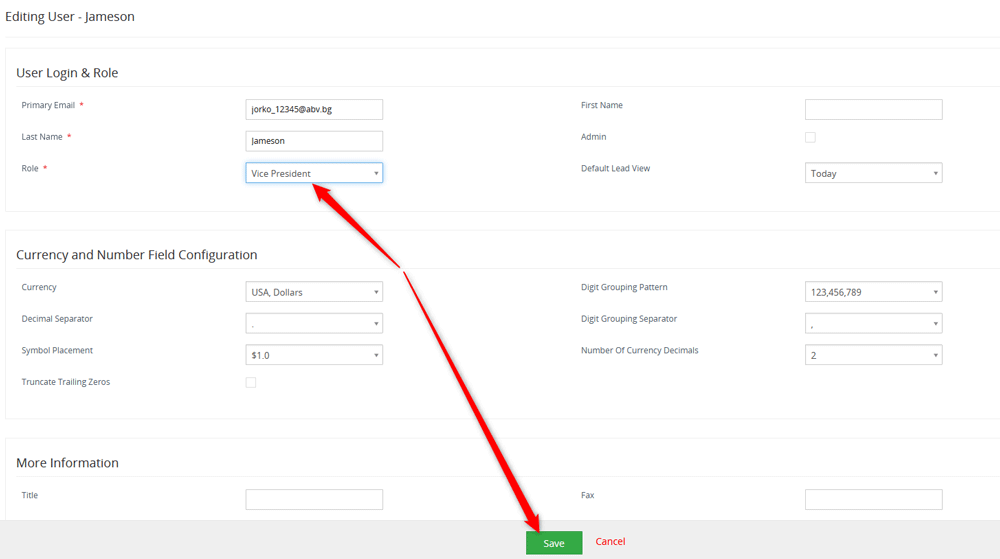
Then, from the Role field, select the type of role you wish to assign to this account:
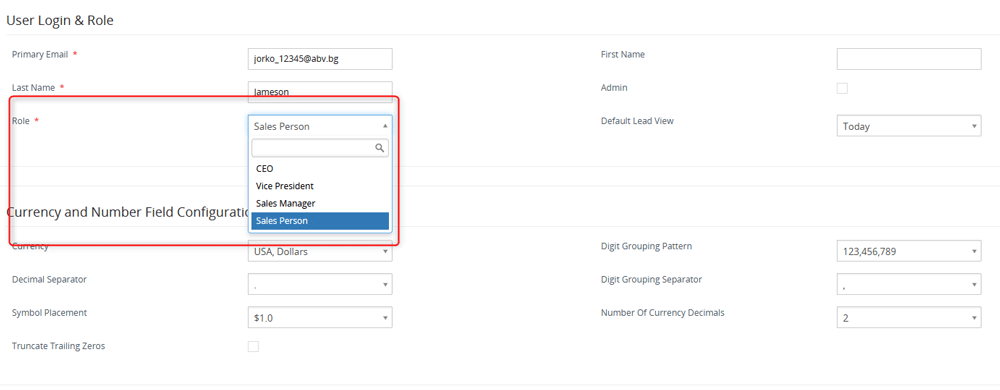
Once you select a role, hit the Save button at the bottom of the page, so Vtiger applies the changes you just made:
Now you have managed to set up a role in Vtiger.
Conclusion
Setting up roles in Vtiger is important for securing your business data and streamlining all online operations. By defining responsibilities and permissions via the Roles options, you create a clear hierarchy where your team members know their scope of access and responsibilities.
Whether you choose to create custom roles or use the predefined ones, Vtiger provides you with the versatility to set up the platform just the way it fits your organisation’s structure and business goals.
