How to Log in to Moodle

Home » Knowledge Base » Design Tools » Moodle » How to Log in to Moodle

After you install Moodle, you can log in to the platform and start working on your project right away.

To log in, you should open the Moodle login page and enter the credentials you chose when installing the CMS. Doing so will lead you to the platform’s admin panel.

In the following paragraphs, we show how to do so.


How to Log in to Moodle

The first thing you should do is to open the Moodle login page.

To open this login page, type in the registered domain name you connected with Moodle in your and at the end  add /admin.

It should look like this:

www.moodlesampleproject.com/admin

Also, you can check the email that AwardSpace sent you when the Moodle installation was complete – it contains important information about your account and installation and a link to the Moodle log-in page.

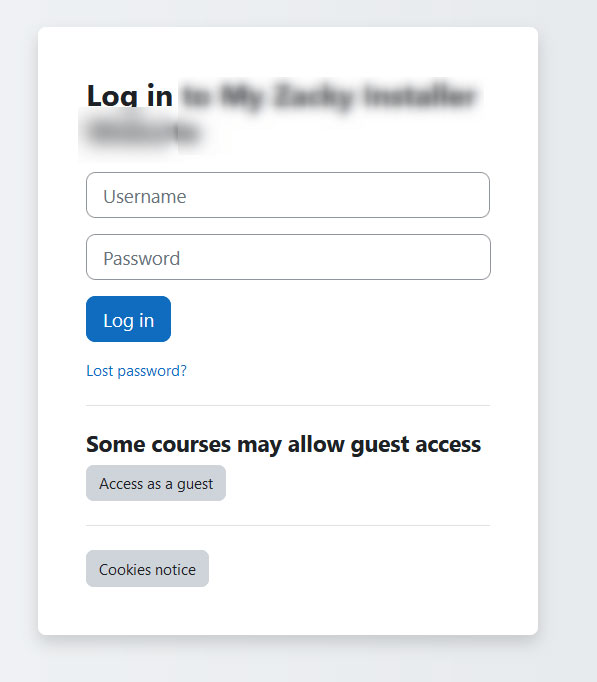
Regardless of which way you select, the link will lead you to this page:

How to Log in to Moodle via the CMS Login Page


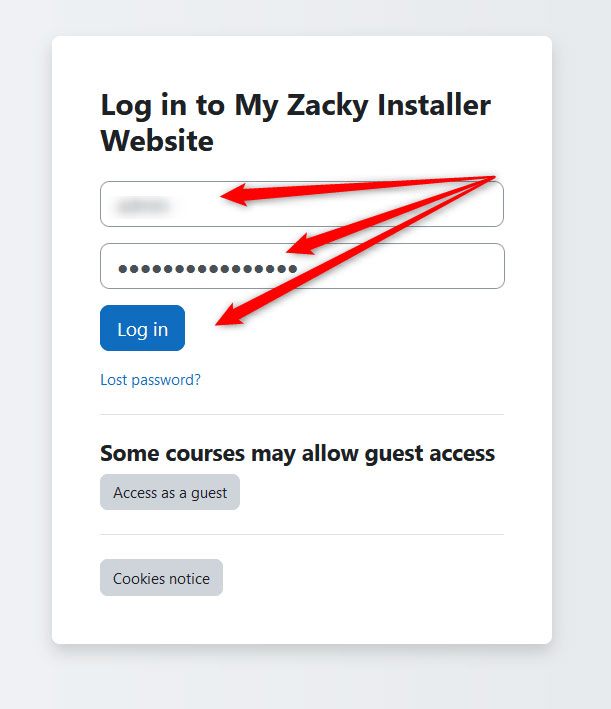
Once you see this page, add your credentials (the ones that you choose when installing Moodle via the AwardSpace hosting panel) and click the blue Log in button:

Add Credentials to log in to Moodle


After you click on Log In, a new page will load. It looks like this:

Moodle Admin Panel Login


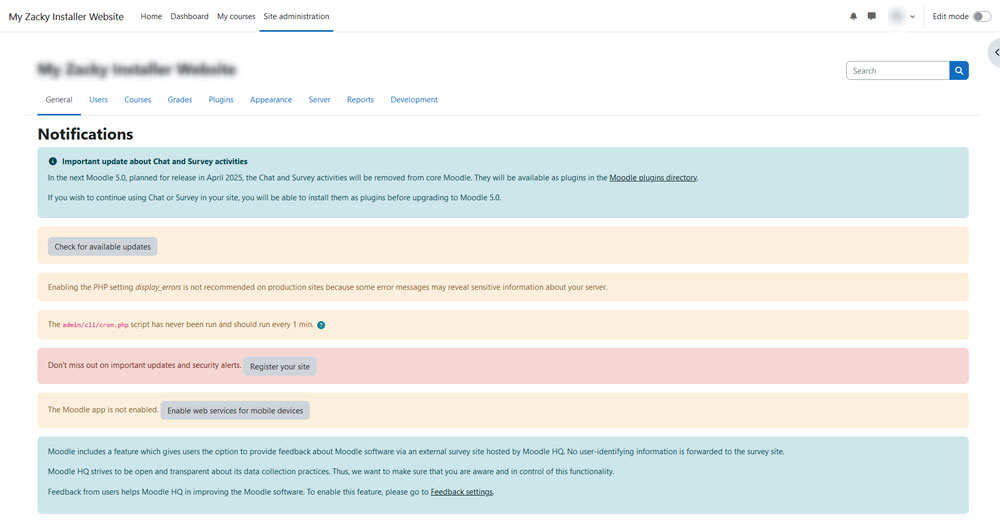
This is the Moodle admin page and once you see it, you have logged in to the platform.

Read also:

Was this post helpful?

i

Relevant tags:

Connect

Latest posts:

How to Check My Hosting Limits

To check your hosting limits, follow these steps: First, log in to the hosting control panel. Then, via the dashboard, head to Hosting Settings:   After that, click the Hosting Limits tab:   Then, you will access the information about your account's hosting...

How to Access the Security Settings of My Domains

Accessing the security settings of your hosted domains is easy with AwardSpace. You can access the settings in just a few minutes by following the steps below. First, log in to the AwardSpace hosting panel. Then, head to the Domain Manager page by clicking the...

How to Access The Name Servers Settings of My Domain

Accessing the name server settings with AwardSpace is quite simple. Just follow the next steps. First, log in to the AwardSpace hosting panel. Then, head to Domain Manager:   After that, locate the domain whose Name Server settings you wish to access and click...


Create a website for free!


Free forever

Our Support Team is Here to Help


If you need any questions answered, don't hesitate and contact us. Click the button below and follow the instructions. You can expect an answer within an hour.


Contact AwardSpace


iNewest knowledge base articles

How to Check My Hosting Limits

To check your hosting limits, follow these steps: First, log in to the hosting control panel. Then, via the dashboard, head to Hosting Settings:   After that, click the Hosting Limits tab:   Then, you will access the information about your account's hosting...

How to Access the Security Settings of My Domains

Accessing the security settings of your hosted domains is easy with AwardSpace. You can access the settings in just a few minutes by following the steps below. First, log in to the AwardSpace hosting panel. Then, head to the Domain Manager page by clicking the...

How to Access The Name Servers Settings of My Domain

Accessing the name server settings with AwardSpace is quite simple. Just follow the next steps. First, log in to the AwardSpace hosting panel. Then, head to Domain Manager:   After that, locate the domain whose Name Server settings you wish to access and click...

How to Access the DNS Settings of My Domains

Accessing the DNS settings of your domains is easy with AwardSpace. The process is comprised of a few simple steps and requires only a minute or two of your time. First, log in to the AwardSpace hosting panel. Then, head to the Domain Manager:   After that,...

Even more web tutorials

Check out our web hosting knowledge base and the WordPress tutorials to learn more, and be better prepared for your website creation and maintenance journey.