How to Create a Workspace in TYPO3

Home » Knowledge Base » Design Tools » TYPO3 » How to Create a Workspace in TYPO3

Understanding how to create a workspace in TYPO3 is essential. This feature enables content sharing, editorial review, and multi-level approval for any process within your TYPO3 project.

In this guide, we share how to create a workspace in TYPO3.


What is a Workspace in TYPO3

A workspace in TYPO3 is a space in your project where users can edit, preview and approve any type of content before publishing it. Workspace in TYPO3 are ideal for collaborative workflows and any changes made inside a workplace remains hidden to the public, until explicitly published.


How to Create a Workspace in TYOPO3

The process of creating workspaces in TYPO3 is simple and comprises a few easy-to-follow steps:


Step 1: Log in to TYPO3

The first step is to access the TYPO3 admin panel. This is the place from where you manage all your ongoing processes.

How to Log In to TYPO3


Step 2: Enable Workspace System Extension

Now that you have accessed the TYPO3 admin dashboard, it is time to enable the Workspaces extension, so you can add new workspaces to your project.

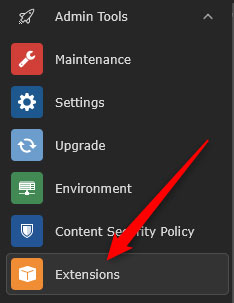
Via the admin panel, navigate to Admin Tools -> Extensions:

Access the Extensions menu in TYPO3


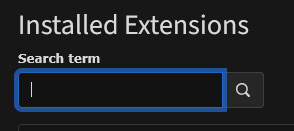
Then, search for “workspaces” in the search box:


Search for workspaces


Once you see the Extensions module, click the Activate button, so you can use extensions on your TYPO3 project:

Activate the workspace extension in TYPO3


Now, you can create a new workspace.


Step 3: Create a New Workspace

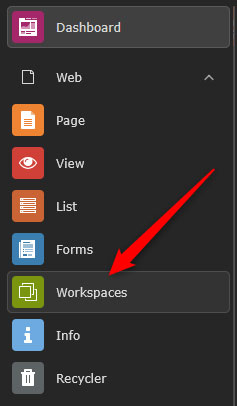
Now that you have activated the workspaces module via the TYPO3 admin panel, navigate to Dashboard -> Workspaces:

Access the Workplaces menu


Then, click on the Create a workspace button:

Create new workspace button


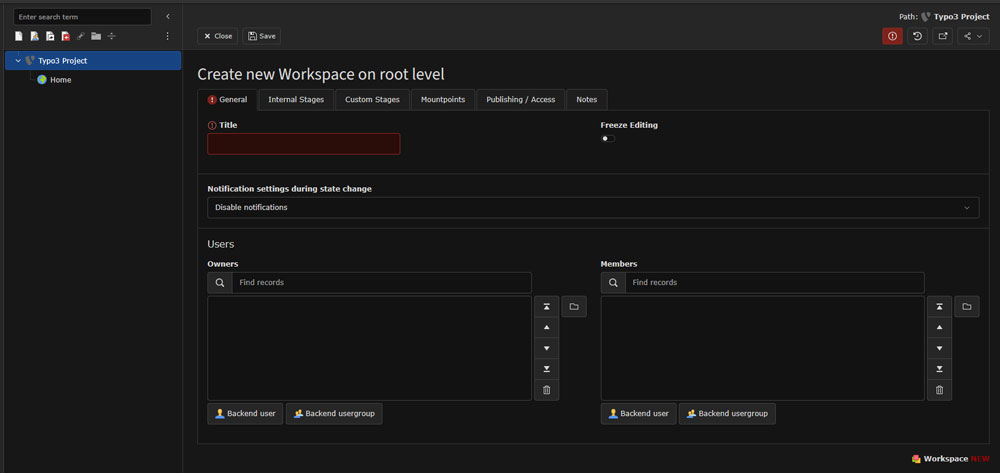
Step 4: Fill in Workspace Details

Add information such as:

  • Title: Add a clear and descriptive name to your new workspace
  • Description: Add the purpose and use of the workspace
  • Stage Configuration: set stages such as Draft, Review, and Approval
  • Mount Points: limit the workspace to specific page trees.
  • Auto-publish: Use to publish your content at a set time


Workspace creation page


Step 5: Assign Users and Permissions

Now that the initial workspace setup is done, you should assign permissions for your team. Keep in mind that TYPO3 gives you 3 main roles to choose from:

  • Editor: Create and edit content
  • Reviewer: Checks and approves content drafts
  • Published: Publish content live


Conclusion

Knowing how to create a workspace in TYPO3 gives your team tons of versatility options when working on your online project. Whether you are managing a small editorial team or a large one, TYPO3 workspaces give you full control and can greaetly enhance your work.

Was this post helpful?

i

Relevant tags:

Connect

Latest posts:

How to Check My Hosting Limits

To check your hosting limits, follow these steps: First, log in to the hosting control panel. Then, via the dashboard, head to Hosting Settings:   After that, click the Hosting Limits tab:   Then, you will access the information about your account's hosting...

How to Access the Security Settings of My Domains

Accessing the security settings of your hosted domains is easy with AwardSpace. You can access the settings in just a few minutes by following the steps below. First, log in to the AwardSpace hosting panel. Then, head to the Domain Manager page by clicking the...

How to Access The Name Servers Settings of My Domain

Accessing the name server settings with AwardSpace is quite simple. Just follow the next steps. First, log in to the AwardSpace hosting panel. Then, head to Domain Manager:   After that, locate the domain whose Name Server settings you wish to access and click...


Create a website for free!


Free forever

Our Support Team is Here to Help


If you need any questions answered, don't hesitate and contact us. Click the button below and follow the instructions. You can expect an answer within an hour.


Contact AwardSpace


iNewest knowledge base articles

How to Check My Hosting Limits

To check your hosting limits, follow these steps: First, log in to the hosting control panel. Then, via the dashboard, head to Hosting Settings:   After that, click the Hosting Limits tab:   Then, you will access the information about your account's hosting...

How to Access the Security Settings of My Domains

Accessing the security settings of your hosted domains is easy with AwardSpace. You can access the settings in just a few minutes by following the steps below. First, log in to the AwardSpace hosting panel. Then, head to the Domain Manager page by clicking the...

How to Access The Name Servers Settings of My Domain

Accessing the name server settings with AwardSpace is quite simple. Just follow the next steps. First, log in to the AwardSpace hosting panel. Then, head to Domain Manager:   After that, locate the domain whose Name Server settings you wish to access and click...

How to Access the DNS Settings of My Domains

Accessing the DNS settings of your domains is easy with AwardSpace. The process is comprised of a few simple steps and requires only a minute or two of your time. First, log in to the AwardSpace hosting panel. Then, head to the Domain Manager:   After that,...

Even more web tutorials

Check out our web hosting knowledge base and the WordPress tutorials to learn more, and be better prepared for your website creation and maintenance journey.