How to Add Tags in Vtiger

Home » Knowledge Base » Design Tools » Vtiger » How to Add Tags in Vtiger

Tags in Vtiger grant you the possibility to quickly and efficiently organize and retrieve records. Tags work like labels, allowing you to distribute leads, contacts, opportunities, tickets, and other entries into different categories based on a set of criteria. What makes tags widely used and efficient are two things: they are very easy to work with and do the job just fine. Something more, the larger the library of records you have on Vtiger, the more useful the tags become.

In this guide, we share how to add tags in Vtiger.


How to Add Tags in Vtiger

The process of adding tags is comprised of a few simple-to-follow steps. Continue reading, and by the end of this article, you will be able to work with tags just fine.

Read also: How to Install Extensions on Vtiger


Step 1: Log in to Vtiger

The first step in the process is to log in to the Vtiger dashboard. This is important, as you should be logged in to manage all your business processes. Also, keep in mind that the Vtiger user roles should allow tag management to access the feature.


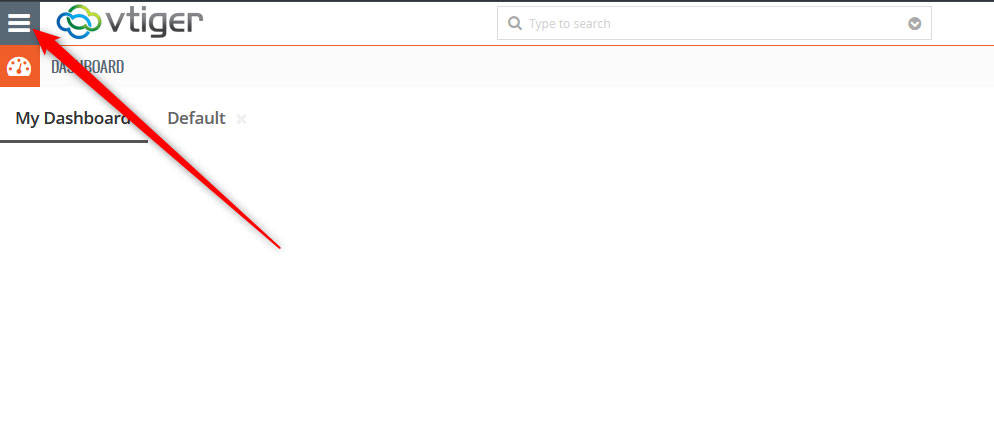
Step 2: Open the Main Menu

Once logged in, head to the upper left corner of the page and click the sandwich menu icon, so you open the main menu in Vtiger:

Open the main menu in Vtiger to find the tags management page


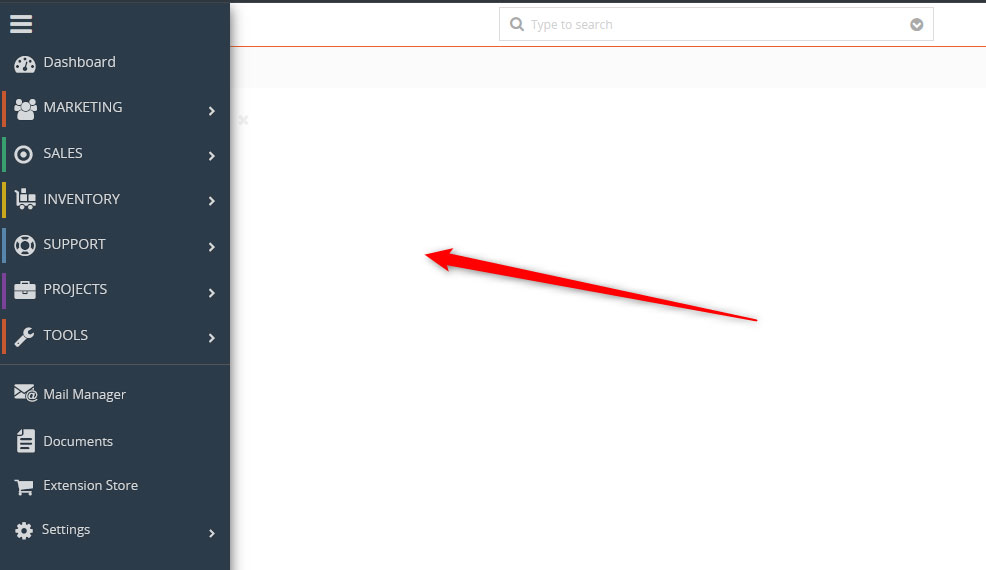
Once you click the icon, the menu will appear. It looks like this:

Vtiger main menu


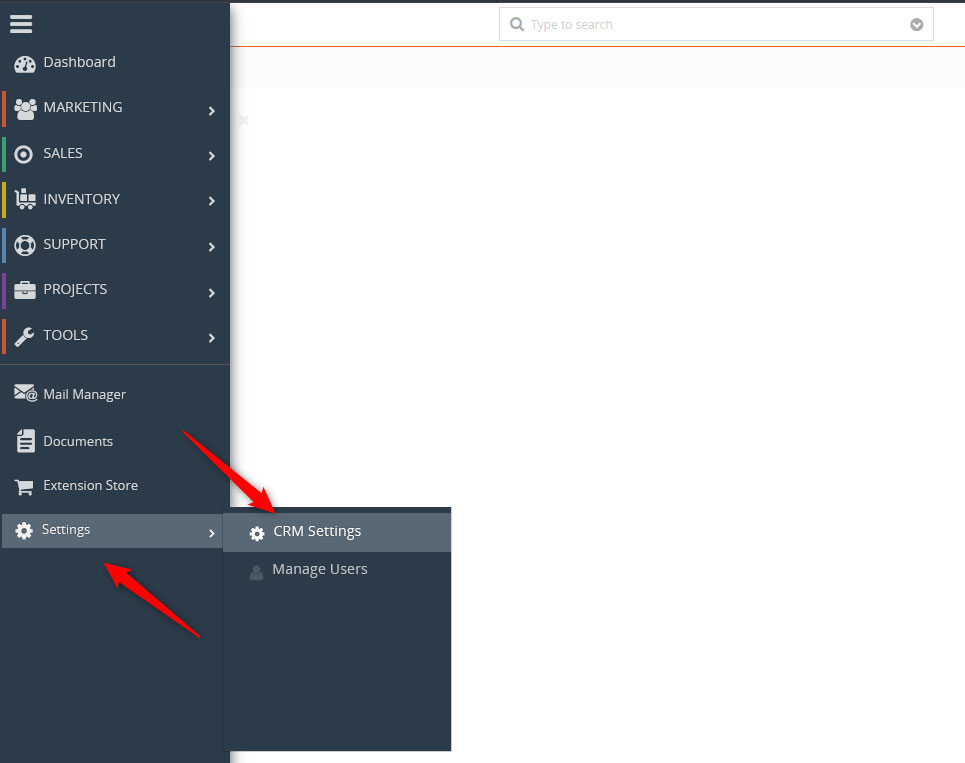
Step 3: Navigate to CRM Settings

Now that the menu is open, head to Settings -> CRM Settings, located at the bottom of the menu:

Head to CRM settings via the main menu to access the tags management options


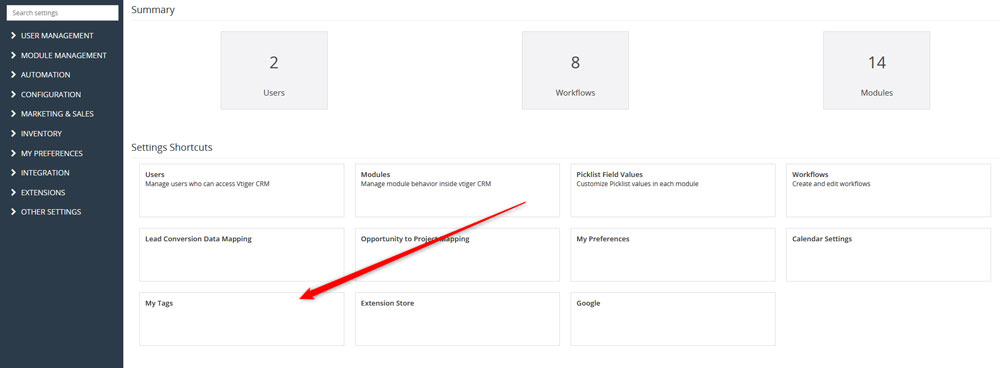
Step 4: Open the Tags Settings

While in the CRM Settings page, locate the My Tags box and click it:

Click the My Tags button to open the tags managemet options


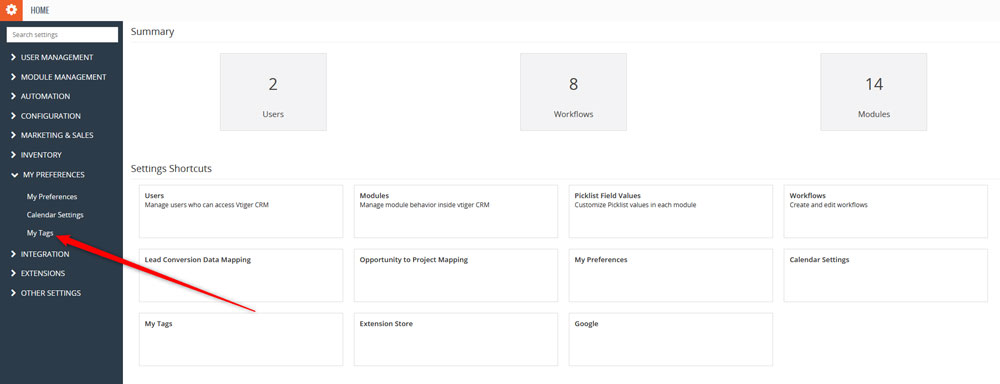
You can also access My Tags via the sidebar menu, by clicking on My Preferences and selecting My Tags:

You can also access the tags management page via the sidebar menu


Either way you choose, you will open the Tags management page.


Step 5: Add Tags

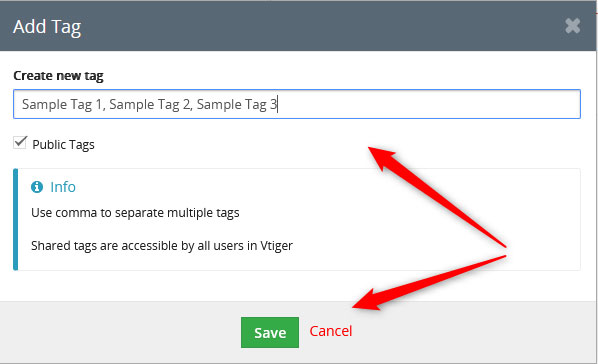
Now that you have accessed the My Tags page, it is time to add a new tag. To do so, click the + Add Tag button, located at the top right corner of the page:

Add a new tag by clicking the button at the top of the page


A dialogue box should open. Once you see it, add a tag name and select whether you wish it to be public or private. Also, you can add multiple tags with one action – just type in the tag names in the New Tag field, and separate them with a comma. Once you are done adding tags, click the green Save button, so Vtiter saves and applies the changes you just made:

Add tag names and set up preferences


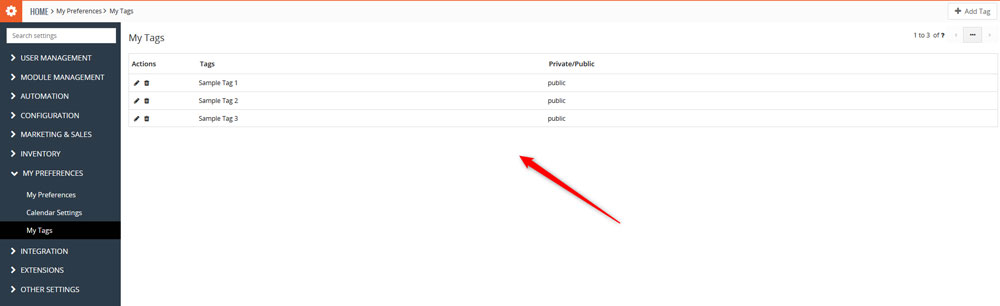
After you have added tags, you will see a list of all your created tags within the My Tags page. From there, you can also delete and modify them:

List with all your Vtiger tags


Tips and Tricks

Tags are a handy feature and can ease all business processes within Vtiger. However, for optimal efficiency, we suggest you follow these tips and tricks:

  • Keep tags consistent: stick to a certain format, so you avoid duplicate tags (“High-Priority” and “High Priority”) that do the same thing.
  • Don’t overuse tags: Limit the number of tags on your project, as way too many tags can clutter your workflow and bring harm instead of ease of use.
  • Combine with other Vtiger features for optimal efficiency: For example, combine tags with filters, so you can segment records more precisely.


Conclusion

Tags in Vtiger provide you with a simple and yet effective way to organize your online project. By using tags, you can improve searchability, collaboration, and overall work efficiency for you and your teammates.


Was this post helpful?

i

Relevant tags:

Connect

Latest posts:

How to Fix 308 Permanent Redirect

308 Permanent Redirect is an HTTPS status code indicating that the requested resource has been permanently moved to another location. Similar to 301 Moved Permanently, 308 informs the user of the movement of a given online resource, and unlike the 301 redirect, 308...

How to Fix 301 Error Moved Permanently

The 301 Moved Permanently is an HTTP status code that indicates a permanent relocation of an online resource from a given URL to a new one. More technically, the moved resource has been moved to the new URL specified in the Location header. The HTTP 301 status code is...

How to Fix 307 Temporary Redirect

307 Temporary Redirect is a response HTTP status code that indicates the requested resource has been moved to a different URL for a limited period of time. Unlike a 301 permanent redirect, the 307 Temporary Redirect message indicates that the change is temporary and...

How to Access Crontab Settings

To access the crontab settings, first, you need to log in to your AwardSpace hosting panel. After you have logged in, head to Crontab Settings, located within the Advanced Tools category:   After you click the Crontab Settings icon, a new page should load. Once...

How to Check My Auto Renewals

To check your AwardSpace hosting plan auto-renewals, first log in to the admin dashboard. Then, head to Wallet, within the Orders & Invoices section:   After that, click the Auto Renewals tab, where you can check any relevant information about your hosting...


Create a website for free!


Free forever

Our Support Team is Here to Help


If you need any questions answered, don't hesitate and contact us. Click the button below and follow the instructions. You can expect an answer within an hour.


Contact AwardSpace


iNewest knowledge base articles

How to Fix 308 Permanent Redirect

308 Permanent Redirect is an HTTPS status code indicating that the requested resource has been permanently moved to another location. Similar to 301 Moved Permanently, 308 informs the user of the movement of a given online resource, and unlike the 301 redirect, 308...

How to Fix 301 Error Moved Permanently

The 301 Moved Permanently is an HTTP status code that indicates a permanent relocation of an online resource from a given URL to a new one. More technically, the moved resource has been moved to the new URL specified in the Location header. The HTTP 301 status code is...

How to Fix 307 Temporary Redirect

307 Temporary Redirect is a response HTTP status code that indicates the requested resource has been moved to a different URL for a limited period of time. Unlike a 301 permanent redirect, the 307 Temporary Redirect message indicates that the change is temporary and...

How to Access Crontab Settings

To access the crontab settings, first, you need to log in to your AwardSpace hosting panel. After you have logged in, head to Crontab Settings, located within the Advanced Tools category:   After you click the Crontab Settings icon, a new page should load. Once...

How to Check My Auto Renewals

To check your AwardSpace hosting plan auto-renewals, first log in to the admin dashboard. Then, head to Wallet, within the Orders & Invoices section:   After that, click the Auto Renewals tab, where you can check any relevant information about your hosting...

How to Check My Payment Requests

To check your payment requests, first log in to the AwardSpace hosting panel. Then, head to Wallet within the Orders & Invoices category:   Then, click the Payment Requests tab. There, you can browse all the information you need about your...

Even more web tutorials

Check out our web hosting knowledge base and the WordPress tutorials to learn more, and be better prepared for your website creation and maintenance journey.