Any changes to the Name Server records must be done at the Registrar’s website (the company you’ve obtained a domain name from) and can take up to 48 hours to propagate across the Internet. In this article, we are going to cover how to change the Name Servers via the AwardSpace Hosting Control Panel.
If you happen to have a domain registered with/transferred to AwardSpace, you can change its Name Server records by using any of the following methods.
Through the AwardSpace Hosting Control Panel
- Log in to the Hosting Control Panel of your AwardSpace account and navigate to your Domain Manager section
- Select the domain name you wish to change the Name Servers for and click on the Settings icon
- Click on the Name Servers tab
On the Name Servers page, you will be presented with the following two options:
- Use default Name Servers
- Use different Name Servers

The first option can be used for resetting the Name Servers to their default values – ns5.awardspace.com and ns6.awardspace.com. When selected, your domain’s DNS A, MX, TXT, and CNAME records can be managed through your Awardspace web hosting account.
The second option allows you to connect your domain to a third-party hosting provider and manage your DNS zone records through their Control Panel.
To switch your domain name to point to a different provider, you should choose the second option. Some hosting providers may provide you with 2 NS records, some of them have 3 or even 4 NS records. Enter the custom Name Servers given by your hosting provider into the Name Server fields and click Save.
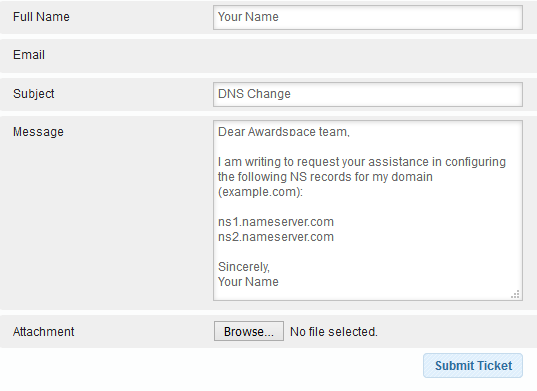
Submitting a Trouble Ticket
The last option is to submit a trouble ticket from your Hosting Control Panel and request your domain’s NS records to be changed.
You can open a ticket at any time via the Support Center section inside your AwardSpace account.