This article describes the FTP connection settings that are available in the AwardSpace.com Control Panel. It also provides instructions on how to configure an FTP account in FileZilla, CoffeeCup, Cyberduck, and Dreamweaver.
Where Do I Find My FTP Connection Settings (Login Details)?
An FTP account consists of the following details:
- Hostname – Your FTP hostname will be example.com (your actual domain/sub-domain name).
- Username – The username for your FTP account will be the same as your hosting account ID number/username.
- Password – Your FTP password will be the one chosen during the initial account setup.
- Port number – Your FTP port number will be 21.
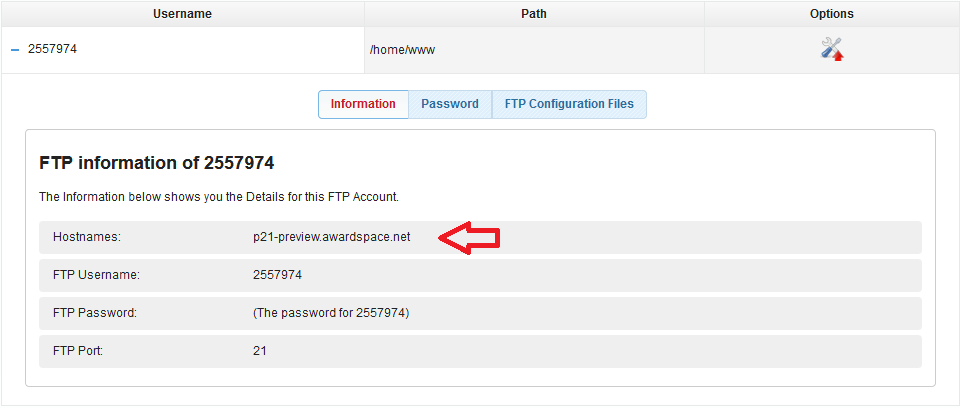
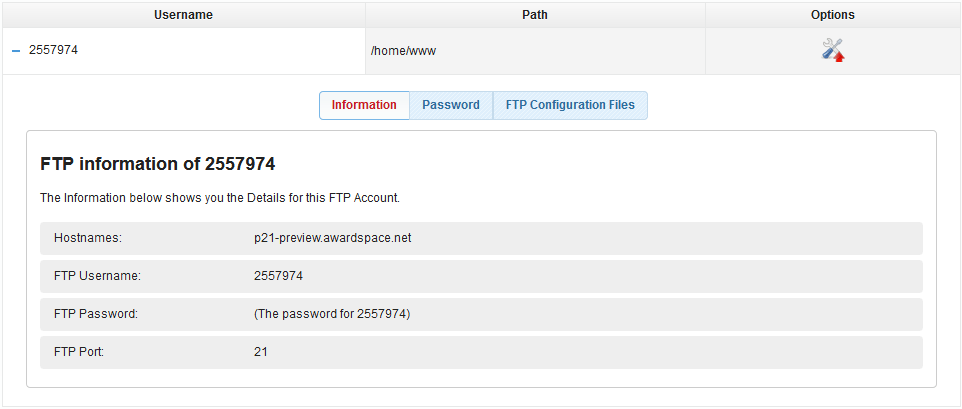
Your FTP login details are available in the FTP Manager area under Website Manager. To view your settings:
- Log in to the Hosting Control Panel of your AwardSpace account.
- Go to the FTP Manager page.
- Click on the FTP account (username) you would like to use.
- Finally, open the Information tab.
How to Connect via FTP?
The most convenient way to connect to your AwardSpace FTP server is with an FTP client program. With an FTP software, you can easily transfer your website files from your computer to your hosting space (or vice-versa).
What FTP Software Do You Recommend?
Below we’ve provided a list of some of the most frequently used FTP programs:
- FileZilla
- CoffeeCup
- Cyberduck
- Dreamweaver
How to Configure My FTP Account in FileZilla?
Setting up an FTP account in FileZilla FTP Client can be done in two ways:
- By downloading and importing the FileZilla FTP Configuration file.
- By manually entering your FTP connection settings.
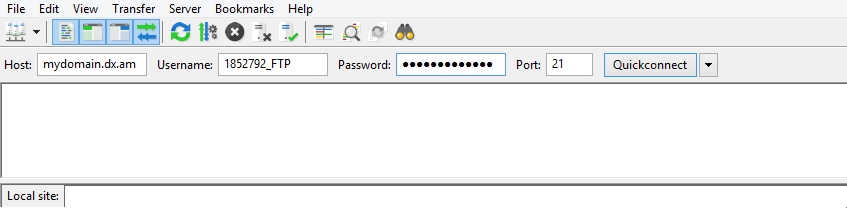
The steps you need to perform to manually configure FileZilla are the following:
-
- Launch your software.
- In the Host field, enter your FTP hostname (server address). Type in your username and password, and specify the port number (the standard port for FTP connections is 21).
-
- Click Quickconnect.
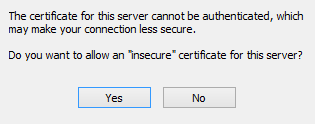
- A new windown will appear asking: Trust this certificate and carry on connecting?
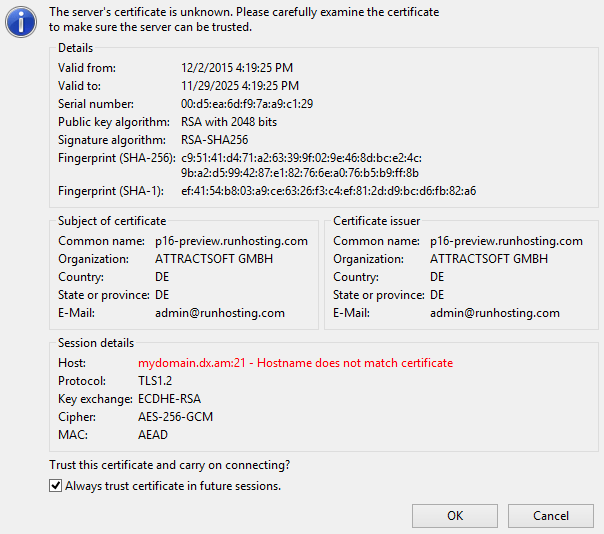
- Mark the Always trust certificate in future sessions checkbox and press OK.
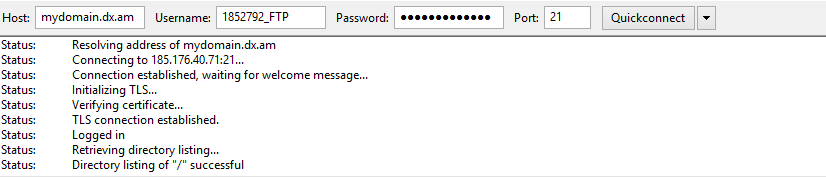
Congratulations! You have successfully connected to your FTP server and are now ready to transfer your website files.
How to Configure My FTP Account in CoffeeCup?
Configuring CoffeeCup can be achieved by using any of the following options:
- By downloading and importing the CoffeeCup FTP Configuration file.
- By manually entering your FTP connection settings.
Below are the steps needed to manually set up CoffeeCup:
-
- Launch your FTP software.
- Open the File menu and click Manage Servers.
- Click on the green plus icon and fill in the appropriate fields (as shown below).
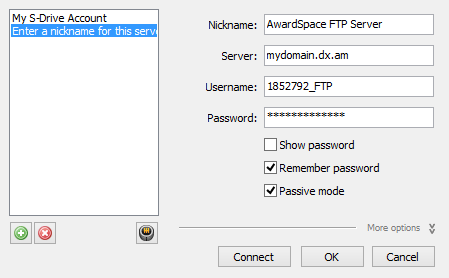
Note: Please make sure you enable Passive Mode in your FTP software, otherwise the connection will fail!
-
- Next, click the More Options button and specify your protocol, port number, and remote folder name.
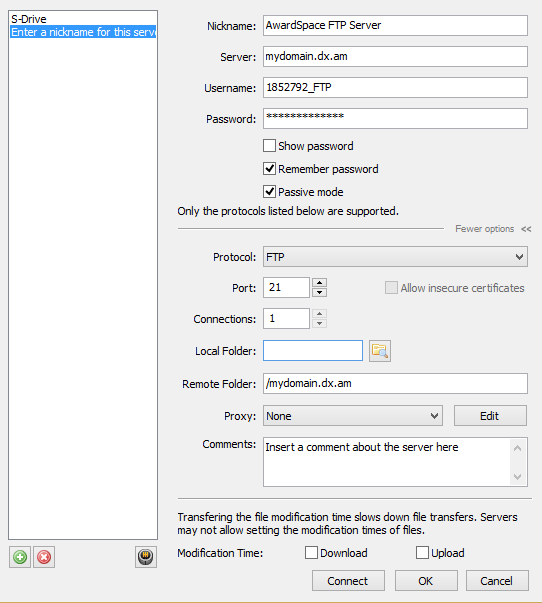
- Finally, click Connect.
Congratulations! You have successfully connected to your FTP server and are now ready to transfer your website files.
If you want to connect to your FTP server securely, you would need to change the server protocol from FTP to FTPS over SSL (explicit encryption).
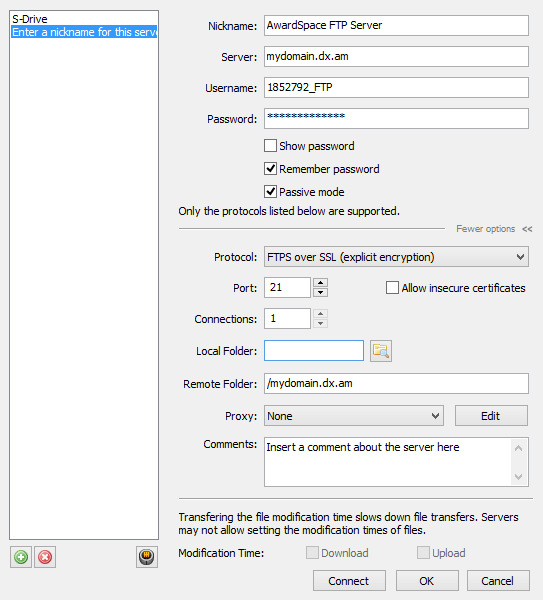
Afterward, you will be prompted to add an exception for your FTP server’s SSL certificate. Click Yes in order to finish the setup.
How to Configure My FTP Account in Cyberduck?
There are currently two ways to configure Cyberduck:
- By downloading and importing the Cyberduck FTP Configuration file.
- By manually entering your FTP connection settings.
You can follow these steps to manually install an FTP account in Cyberduck:
-
- Start Cyberduck.
- Open the File menu and click Open Connection.
- Type your server address, username, and password.
- Next, click the More Options button. Set the path to / and change the Connect Mode setting from Default to Passive (PASV).

- Finally, click Connect.
Congratulations! You have successfully connected to your FTP server and are now ready to transfer your website files.
If you wish to transfer your web contents over SSL, please change the server protocol from FTP (File Transfer Protocol) to FTP-SSL (Explicit AUTH TLS).
A new window will appear asking you to confirm your FTP server’s certificate details.
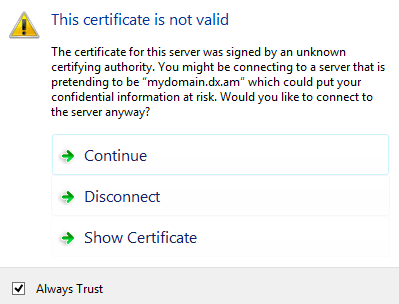
Mark the Always Trust checkbox and press Continue.
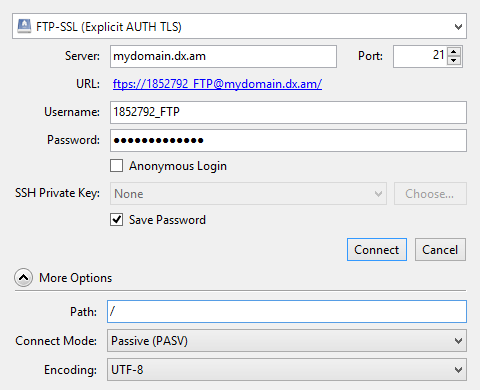
How to Configure My FTP Account in Dreamweaver?
In order to connect to your AwardSpace FTP server with Dreamweaver, you would need to perform the below steps:
-
- Launch Dreamweaver.
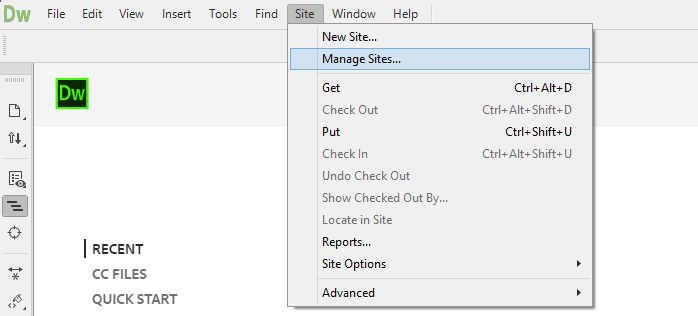
- Open the Site menu and select Manage Sites.
-
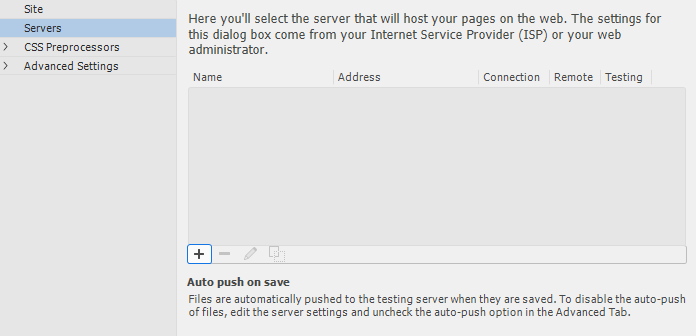
- Choose New Site, select the Servers tab, and click on the plus icon.
-
- Fill in the required fields (as illustrated below).
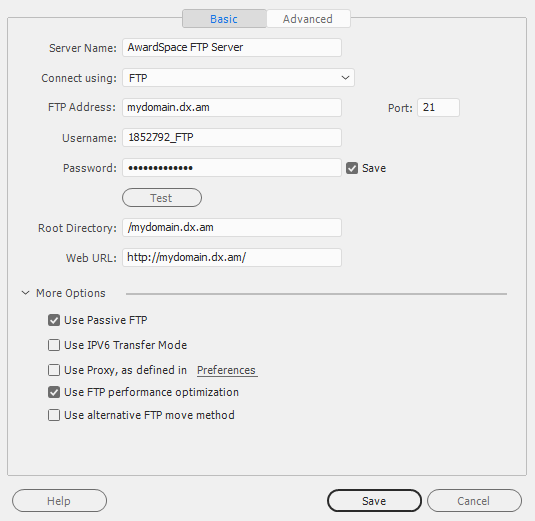
Note: Please ensure the checkbox Use Passive FTP is enabled!
- Finally, click Save.
Congratulations! You have successfully connected to your FTP server and are now ready to transfer your website files.
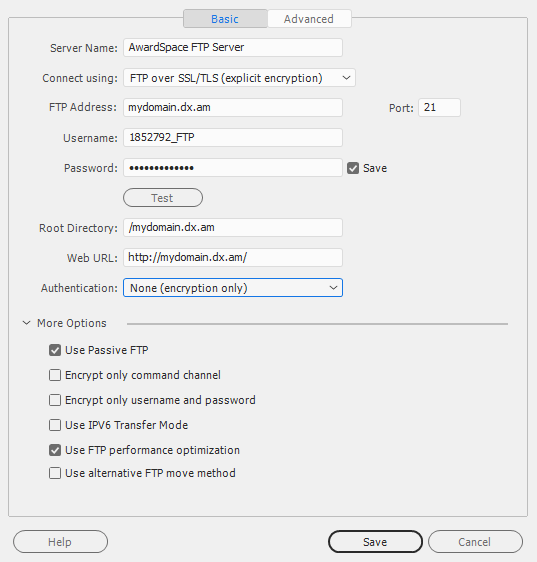
Our server allows a secure FTP connection via FTP over SSL. If you’re interested in using the SSL option, please change the Connect using the mode to FTP over SSL/TLS (explicit encryption) and set the Authentication method to None (encryption only).
How to upload my website files before my domain gets replicated?
If you have not yet pointed your domain name to the AwardSpace Name Servers, you will not be able to use it as an FTP hostname. The good news is that you can use a temporary (alternative) FTP web address before your domain gets replicated in our system.
Your alternative FTP address can be found in the FTP Manager area under Information > Hostnames and will be in the following format:
xyz-preview.awardspace.net
The screenshot below illustrates what an alternative FTP address looks like: