
Regular Zen Cart backups can help you avoid a full project disaster and can save you tons of time. This article shares how to back up your Zen Cart project quickly and effectively.
Why is Backup Important
Backing up your Zen Cart store is important for a few reasons:
- Backups protect you from data loss, including hacking, server issues, and accidental deletion.
- Backups preserve your settings and preferences, allowing you to revert to a convenient setup if a test doesn’t go as planned.
- Backups provide peace of mind, since you know your data, configuration, and everything else are safe.
In the following steps, we share how to back up your Zen Cart Project.
How to Back Up Your Zen Cart Project
The backup process consists of a few easy-to-follow steps. The core of this process is to zip and download your Zen Cart website files and any database files related to your project.
Step 1: Log in To Your Hosting Panel
The first step of the process is to access your Zen Cart files via the AwardSpace hosting panel. This is the place from which you manage all your stored web files and all hosting settings.
If you don’t know how to log in to your hosting panel, then check out our simple guide:
How to Log Into the Hosting Control Panel?
Step 2: Head to the File Manager
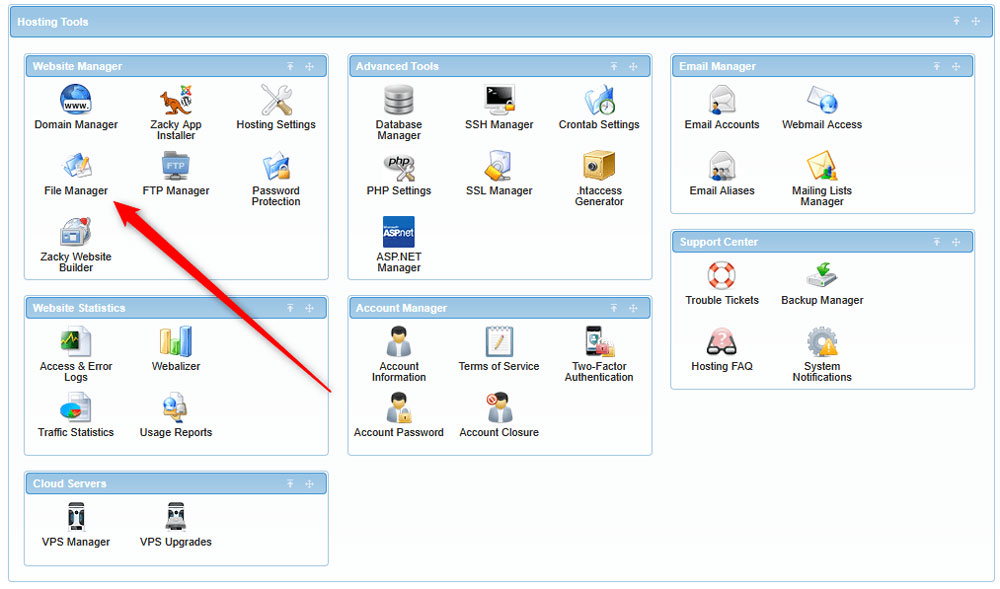
Once logged in to the AwardSpace hosting panel, head to the File Manager. To do so, click the File Manager icon within the Website Manager box:
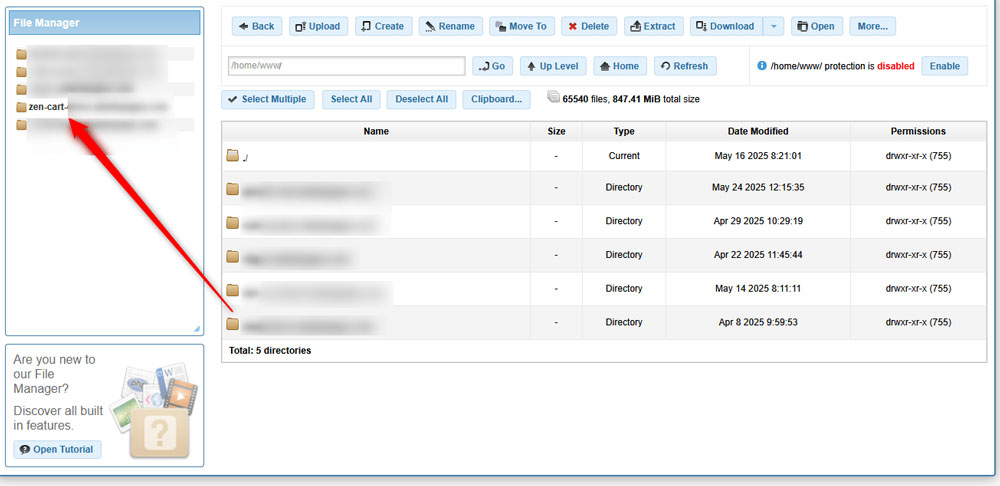
Then, open your Zen Cart installation directory. To do so, click on the folder with your Zen Cart project name via the left section of the page:
Step 3: Download your Zen Cart Project Files
To back up your Zen Cart project, you need to zip and download your website files to a safe place. Let’s see how this is done.
First, while in your Zen Cart directory, click on the Select All button at the top of the page:
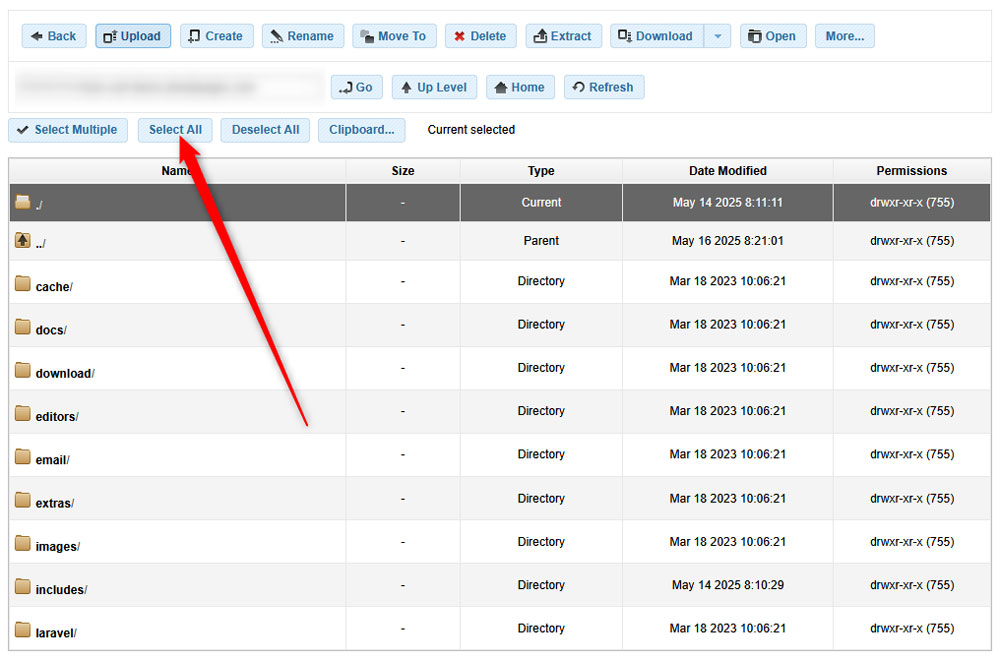
This will mark all the Zen Cart core files.
Now, we need to zip and download these files. Luckily, AwardSpace offers a feature that does the two simultaneously.
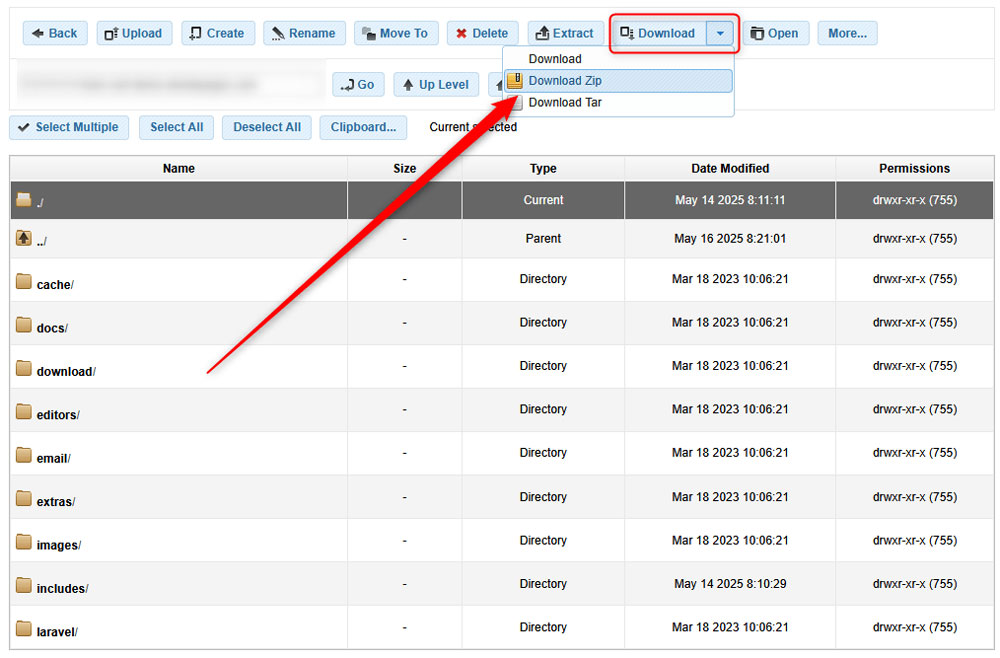
Head to the Download button, located at the top of the navigation menu. Click the Down Arrow so you see various download options. From there, select Download Zip:
Now, the downloading process should start. Once it is finished, you will have a ZIP file on your device with all the important Zen Cart files.
Store and protect this ZIP file, so you can revert to it in case of emergencies for your website.
Step 4: Back Up Database Files
Now that your website is backed up, it is time to do the same with the database files related to your Zen Cart project. These are the files that contain important information such as login credentials, setup preferences, and others.
The process is very simple:
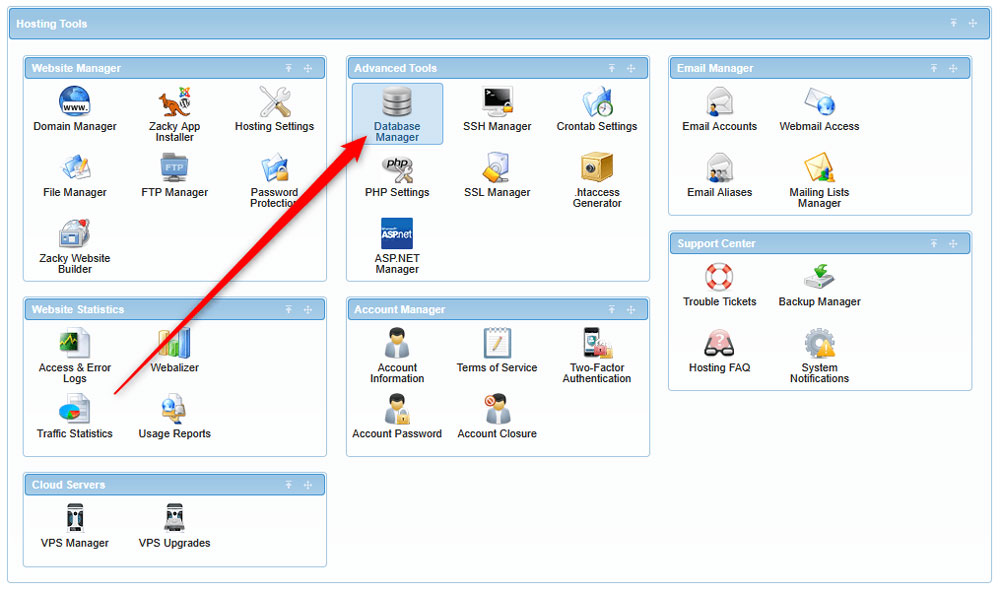
First, via the AwardSpace hosting panel, head to Database Manager via the Advanced Tools section:
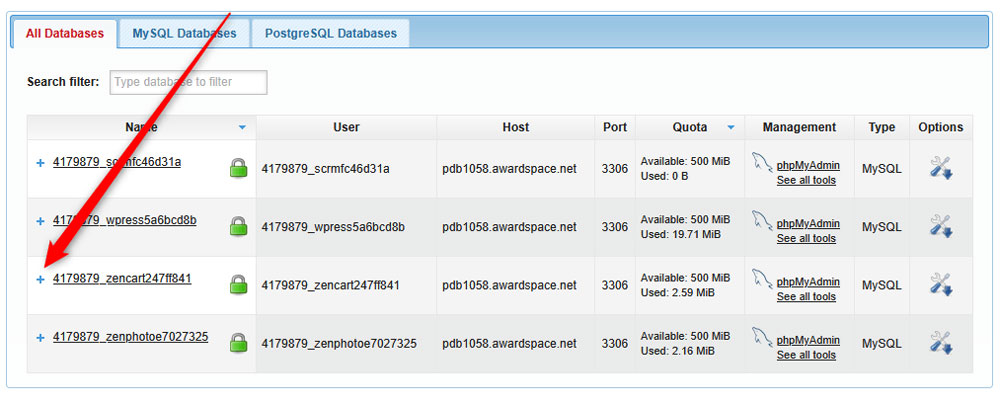
Then, via the All Databases tab, search for the database related to your Zen Cart project. Once you locate it, click on the blue + sign to the left of its row:
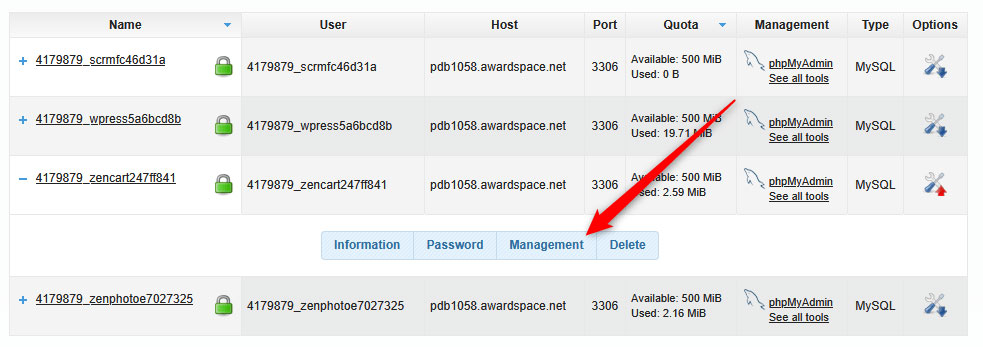
Once you click the + icon, a new menu will appear. Once you see it, click on Management:
Yet, a new menu with options will appear. From there, via the Database SQL Export Download section, click the blue Download in SQL Format button:
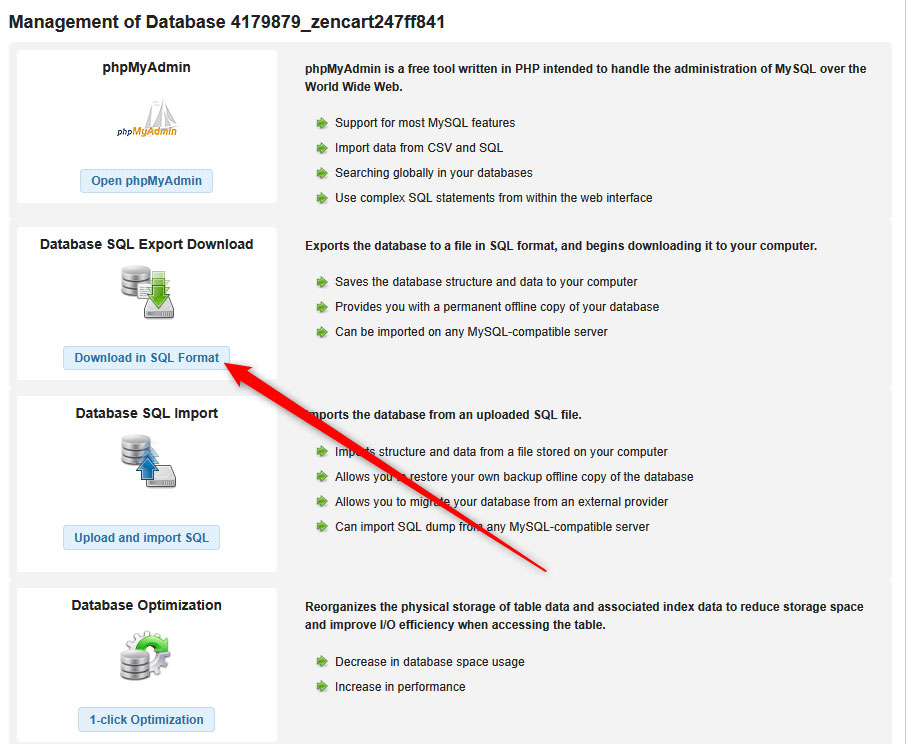
Once you click the button, a download process should start. Once it finishes, save the downloaded file, as it contains all the important database setup and information for your Zen Cart project.
Now, you have managed to back up your Zen Cart website.
Conclusion
Learning how to back up your Zen Cart project is important for maintaining a secure and reliable online store. The backup process is very simple, and you can use it regularly to protect your online project.
