How to Install an Add-On in Concrete5

Home » Knowledge Base » Design Tools » Concrete5 » How to Install an Add-On in Concrete5

Adding add-ons in Concrete5 can greatly enhance the functionality of your website. This tutorial will guide you through the process of installing an add-on in Concrete5.

How to Add an Add-On in Concrete5

The process is comprised of several steps that are easy to follow and can help you install an add-on in no time. Here’s how it’s done.


Step 1: Access the Concrete5 Dashboard

Log in to your Concrete5 and open the Dashboard.


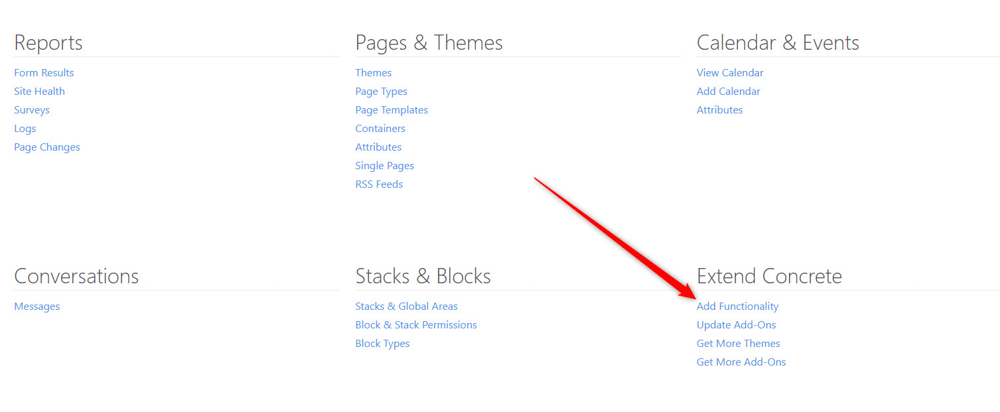
Step 2: Navigate to the Add-On Section

While in the dashboard, head to the Extend Concrete section and click on Add Functionality:

Install Concrete5 add-on via the dasboard


Step 3: Search for an Add-On

Once you click on Add Functionality, you will be redirected to the Concrete5 Marketplace. From there, you can browse the available add-ons.


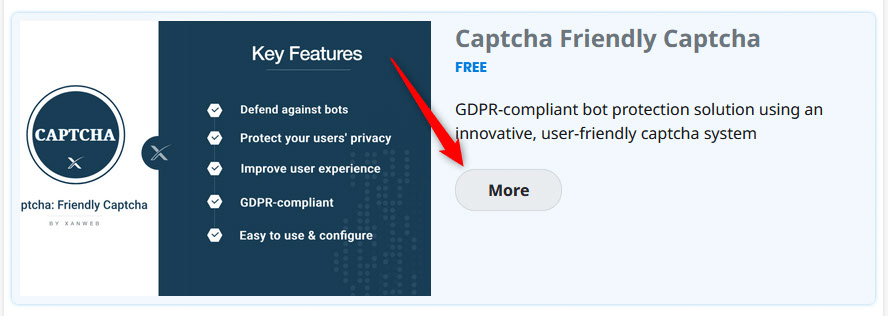
Step 4: Install the Add-On

Once you find an add-on you want to install, click on its name, or on the More button to view more details:

Browse add-ons from the Concrete5 marketplace


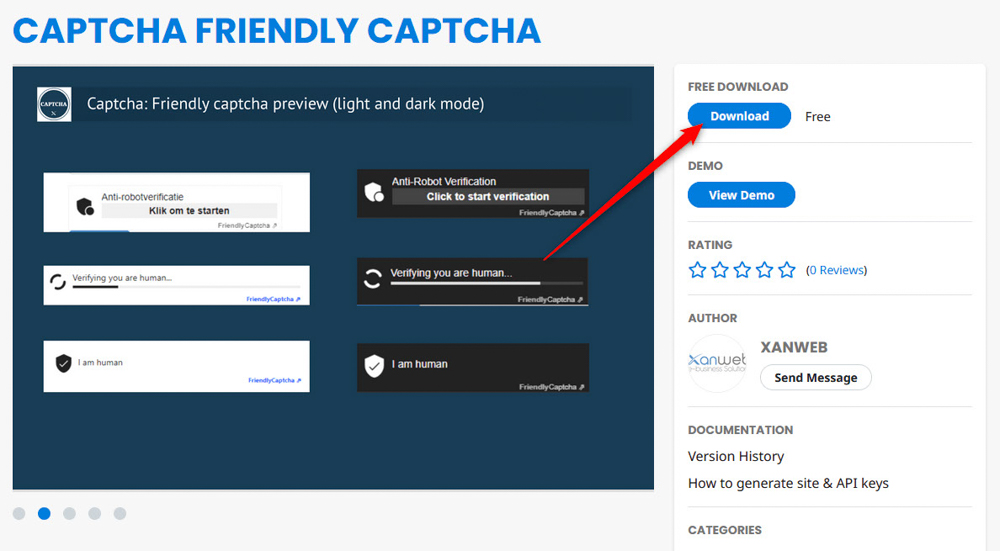
Then, click on the Download (Purchase for paid add-ons) and follow the process. Some add-ons are free, while others require a purchase. You will see a “Download” button if the add-on is free. If it requires a purchase, follow the prompts to buy the add-on:

Download or purchase the Concrete5 add-on


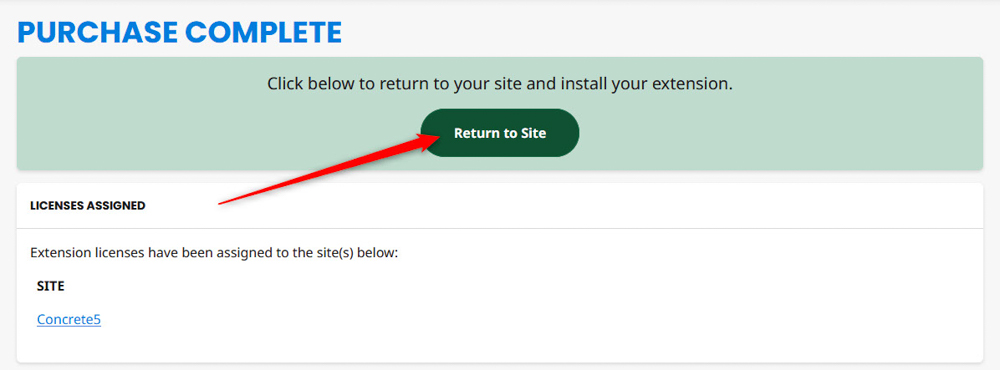
After downloading or purchasing, Concrete5 will display a confirmation message:

Concrete5 add-on download confirmation message


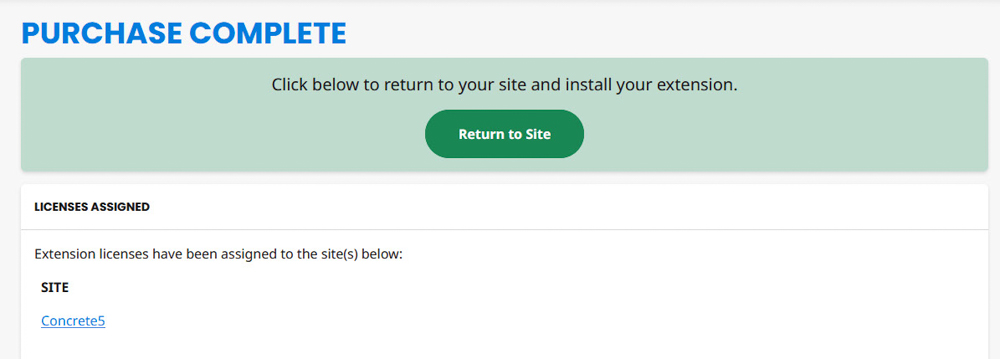
Once you see this message, click on the green Return to Site button:

Return to Concrete5 website after add-on download


Step 5: Install the Add-On on Your Site

Once you return to your Concrete5 website, you will notice a list of Add-Ons you can install. Locate the one you just downloaded and click on the “Download” buttonDownload the Concrete5 add-on


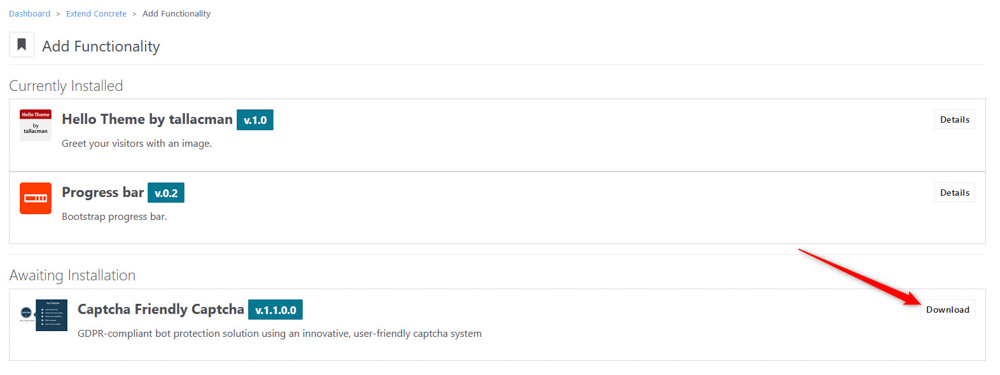
Follow any on-screen instructions to complete the download process. After it is finished, you can install the add-on to your website. To do so, after the download process is finished, click on the newly appeared Install button:

Concrete5 add-on download button


Once the process is finished, Concrete5 will display a confirmation message:

Concrete5 add-on installation confirmation message


Now you know how to install a Concrete5 add-on.


Conclusion

Installing an add-on in Concrete5 is a straightforward process that can greatly enhance your website’s capabilities. By following the steps in this article, you can easily browse, purchase, and install add-ons to customize your Concrete5 site.

Remember to always check for updates and read reviews to ensure you are using reliable and secure add-ons.

Read Also:


Was this post helpful?

i

Relevant tags:

Connect

Latest posts:

How to Check My Auto Renewals

To check your AwardSpace hosting plan auto-renewals, first log in to the admin dashboard. Then, head to Wallet, within the Orders & Invoices section:   After that, click the Auto Renewals tab, where you can check any relevant information about your hosting...

How to Check My Payment Requests

To check your payment requests, first log in to the AwardSpace hosting panel. Then, head to Wallet within the Orders & Invoices category:   Then, click the Payment Requests tab. There, you can browse all the information you need about your...

How to Check My Invoices

To check your invoices in AwardSpace, first log in to the hosting panel. From there, head to Invoices within the Orders & Invoices category:   From this place, you can browse order references, payment orders, payment types, order dates, and various...

How to Check My Wallet Flow

To check your wallet flow, first log in to the AwardSpace hosting panel. Then, click on Wallet within Payments & Invoices:   After that, click the Wallet Flow tab. This is where you can see details about your wallet flaw:

How to Check My Incomplete Orders

To check your incomplete orders, first log in to the AwardSpace hosting panel. Then, head to Incomplete Orders within Orders & Invoices:   Then, you can check the list within the Incomplete Orders tab:  


Create a website for free!


Free forever

Our Support Team is Here to Help


If you need any questions answered, don't hesitate and contact us. Click the button below and follow the instructions. You can expect an answer within an hour.


Contact AwardSpace


iNewest knowledge base articles

How to Check My Auto Renewals

To check your AwardSpace hosting plan auto-renewals, first log in to the admin dashboard. Then, head to Wallet, within the Orders & Invoices section:   After that, click the Auto Renewals tab, where you can check any relevant information about your hosting...

How to Check My Payment Requests

To check your payment requests, first log in to the AwardSpace hosting panel. Then, head to Wallet within the Orders & Invoices category:   Then, click the Payment Requests tab. There, you can browse all the information you need about your...

How to Check My Invoices

To check your invoices in AwardSpace, first log in to the hosting panel. From there, head to Invoices within the Orders & Invoices category:   From this place, you can browse order references, payment orders, payment types, order dates, and various...

How to Check My Wallet Flow

To check your wallet flow, first log in to the AwardSpace hosting panel. Then, click on Wallet within Payments & Invoices:   After that, click the Wallet Flow tab. This is where you can see details about your wallet flaw:

How to Check My Incomplete Orders

To check your incomplete orders, first log in to the AwardSpace hosting panel. Then, head to Incomplete Orders within Orders & Invoices:   Then, you can check the list within the Incomplete Orders tab:  

How to Check My Canceled Orders

To check your canceled orders with AwardSpace, first, log in to the hosting panel. Then, head to Caneled Orders within the Orders & Invoices category:   Then, within the Canceled Orders tab, you can browse your canceled orders with AwardSpace:

Even more web tutorials

Check out our web hosting knowledge base and the WordPress tutorials to learn more, and be better prepared for your website creation and maintenance journey.