How to Clear Web Browser Cache on Windows

Home » Knowledge Base » Hosting Basics » How to Clear Web Browser Cache on Windows

Web browser cache, or simply cache is a term that refers to stored website data files that improve the overall web browsing experience. Although useful, sometimes cache files might cause technical issues. Such are slow loading speeds, and error messages such as HTTP Error 400 Bad Request. This is why, the cache should be regularly deleted, so issues are avoided. Depending on your preferred Internet browser, here’s how to delete cached files:

Google Chrome

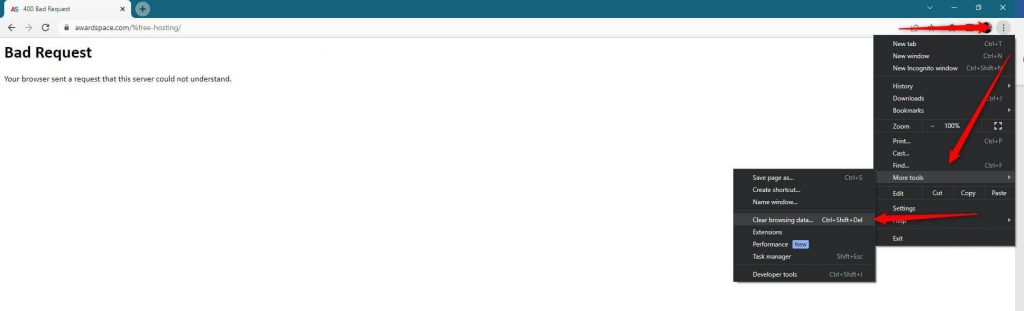
Open the browser and click the three-dotted menu located in the upper right corner. Then, a menu will appear. From this menu go to More Tools->Clear Browsing Data:

HTTPS Error 400 Bad Request Google Chrome


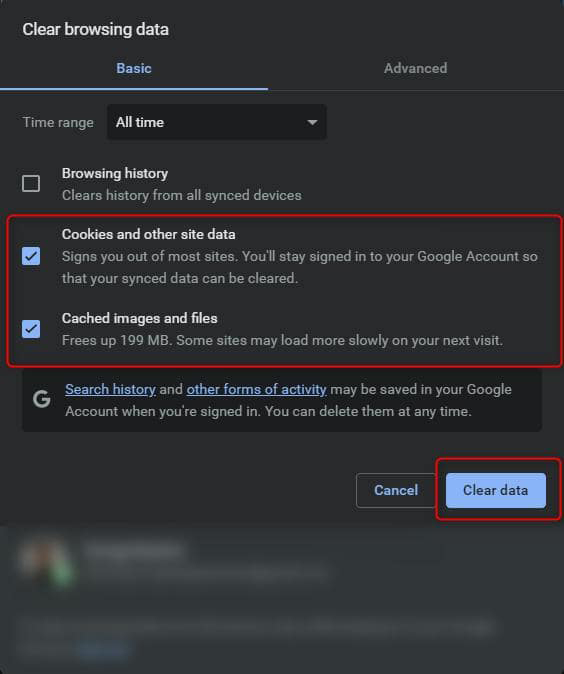
This will prompt Google Chrome to open the clear browsing data options. From the suggested options select Cookies and other site data and Cached images and files and click on the light blue Clear data button:

HTTPS Error 400 Bad Request Google Chrome Clear Browsing Data


Mozilla Firefox

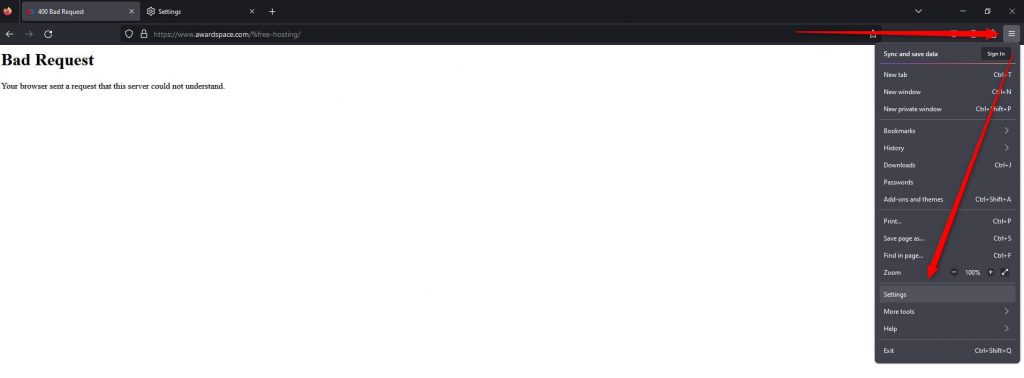
Open Mozilla Firefox and click on the hamburger menu icon at the top right of the screen. This will open a new menu. From there click on Settings:

HTTPS Error 400 Bad Request Mozilla Firefox Browser


A new tab with settings will appear. It should look like this:

HTTPS Error 400 Bad Request Mozilla Firefox Browser Settings


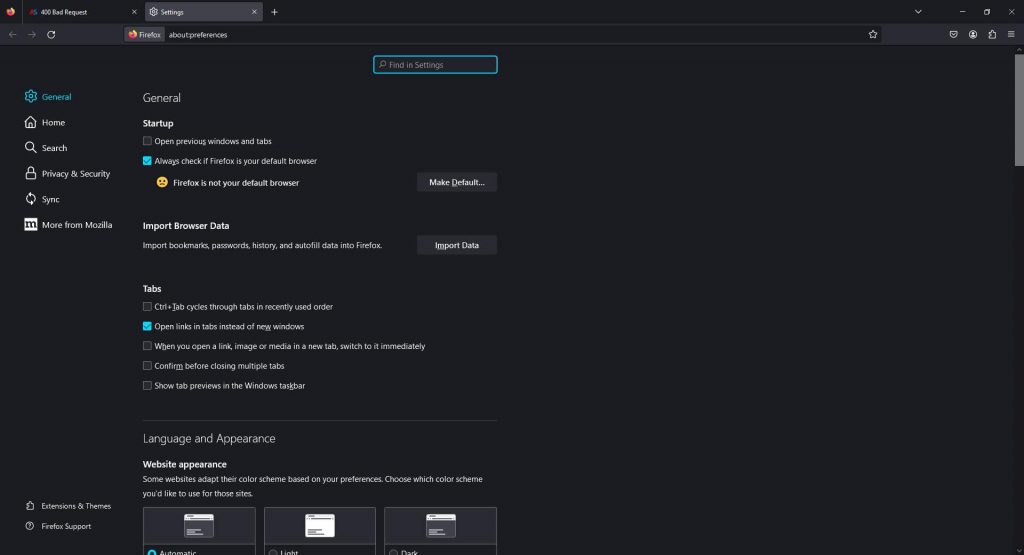
From this tab head to Privacy & Security options located at the left side of the tab:

HTTPS Error 400 Bad Request Mozilla Firefox Privacy and Security Options


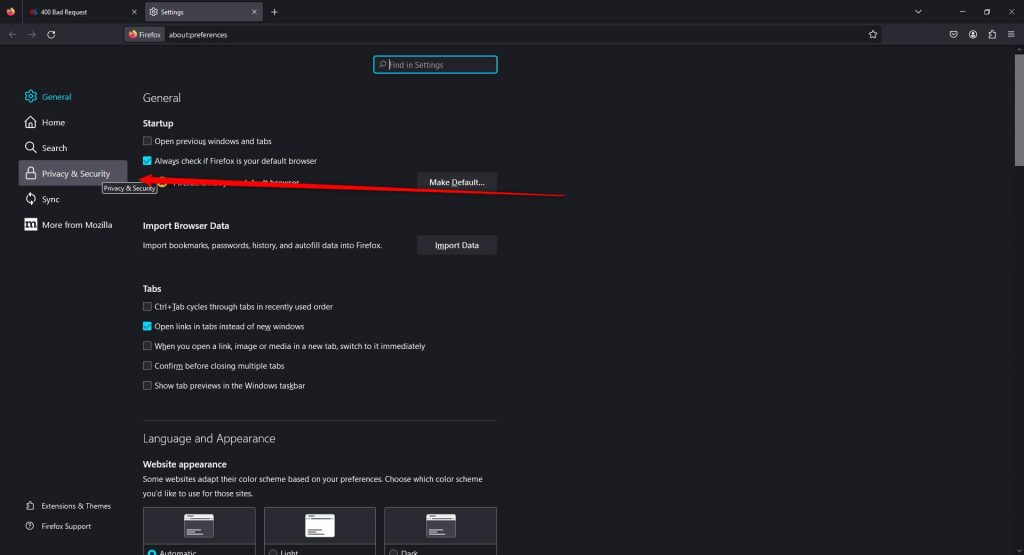
Click on Privacy & Security, so a new menu with settings appears. Once the tab is opened, scroll down until you find the History options section:

HTTPS Error 400 Bad Request Mozilla Firefox Brwosing Data Options

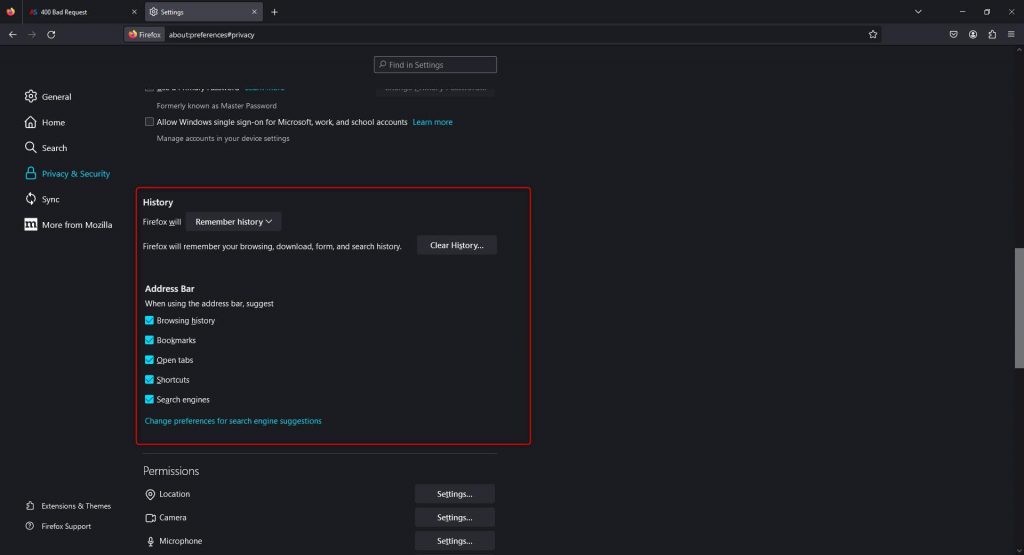
Then, click on the gray Clear History… button:

HTTPS Error 400 Bad Request Mozilla Firefox Clear Browsing History


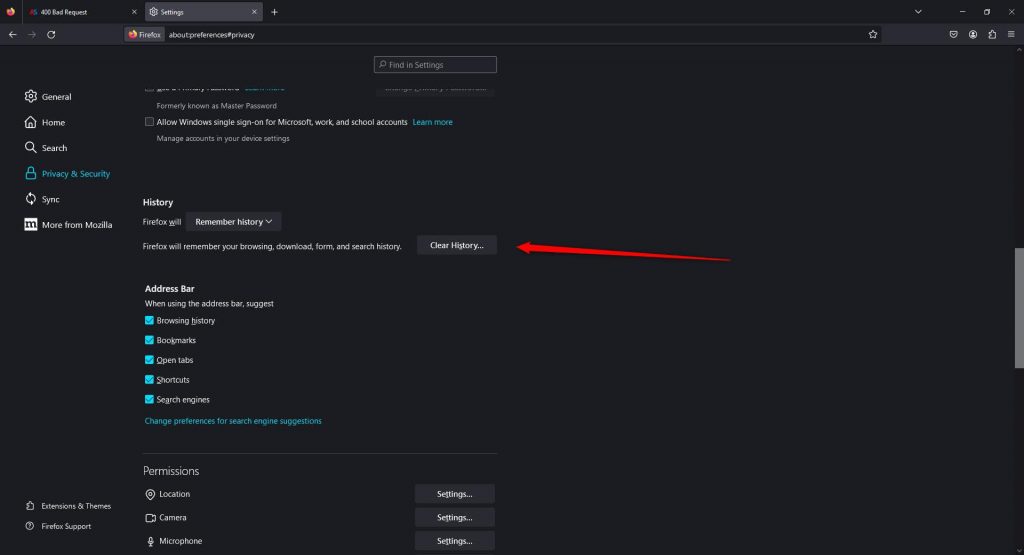
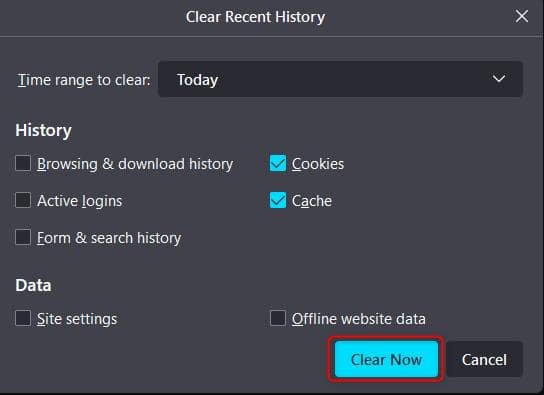
Clicking on the button will prompt the browser to display various clear options:

HTTPS Error 400 Bad Request Mozilla Firefox Clear Browsing History Options

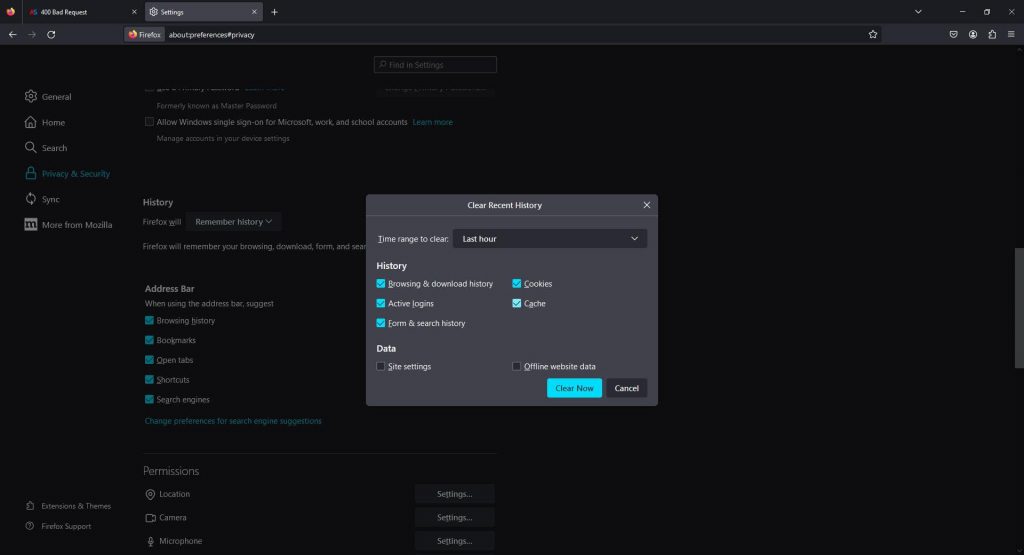
From this menu select a time range, make sure that you add a tick Cache, and then click on the Clear Now button:

HTTPS Error 400 Bad Request Mozila Firefox Clear Browisng Data Button


Opera

Open the Opera Internet browser and click on the sandwich menu located at the upper right corner of the window:

HTTPS Error 400 Bad Request Opera Browser Options


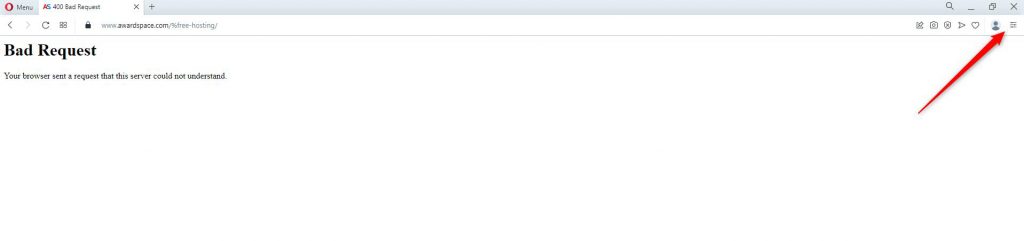
Click the button, so a menu with the option appears: HTTPS Error 400 Bad Request Opeara Browser Settings


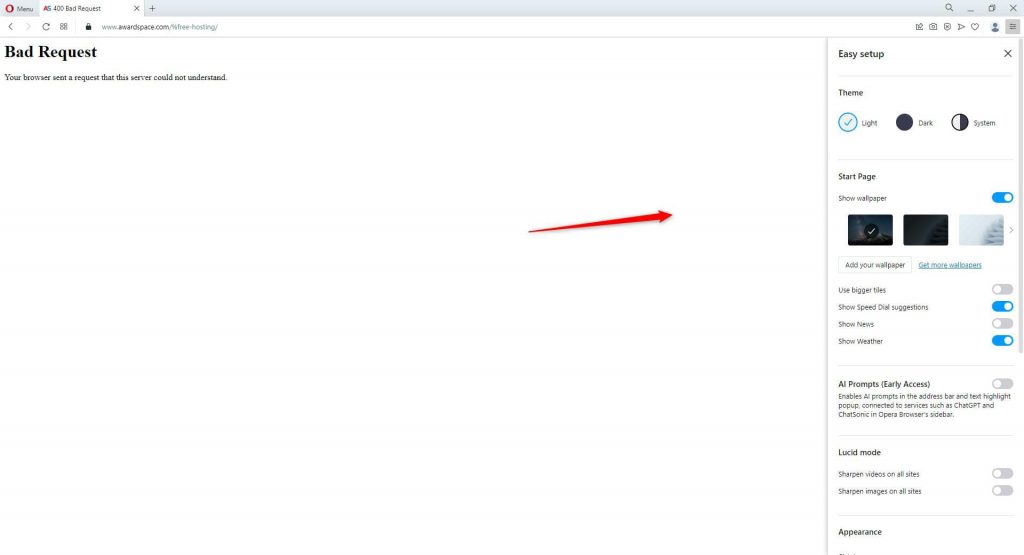
Once you see a menu section such as this, scroll down until you see a Go to full browser settings button. When you locate it, click it: HTTPS Error 400 Bad Request Opeara Browser Access All Settings


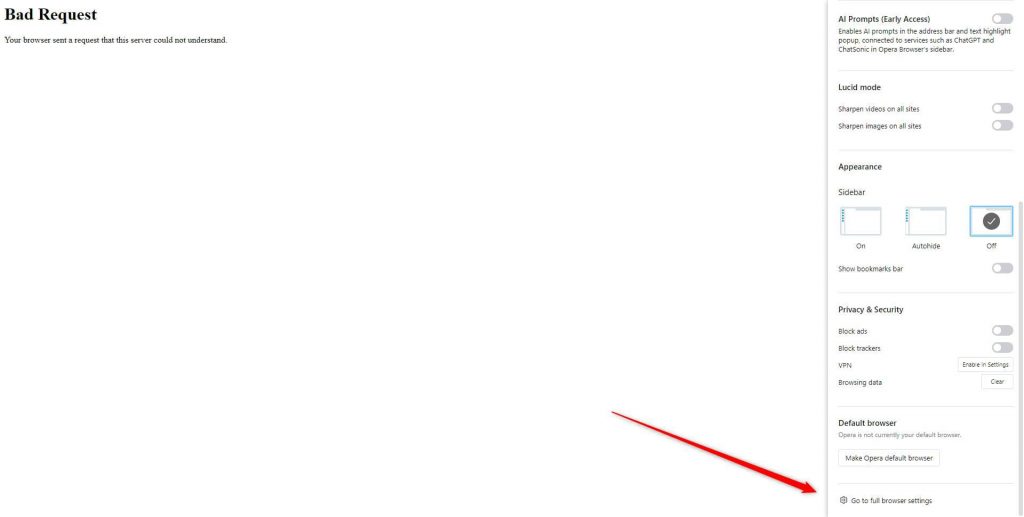
Once you click it, Opera will open a menu such as this one: HTTPS Error 400 Bad Request Opeara Browser Options Tab


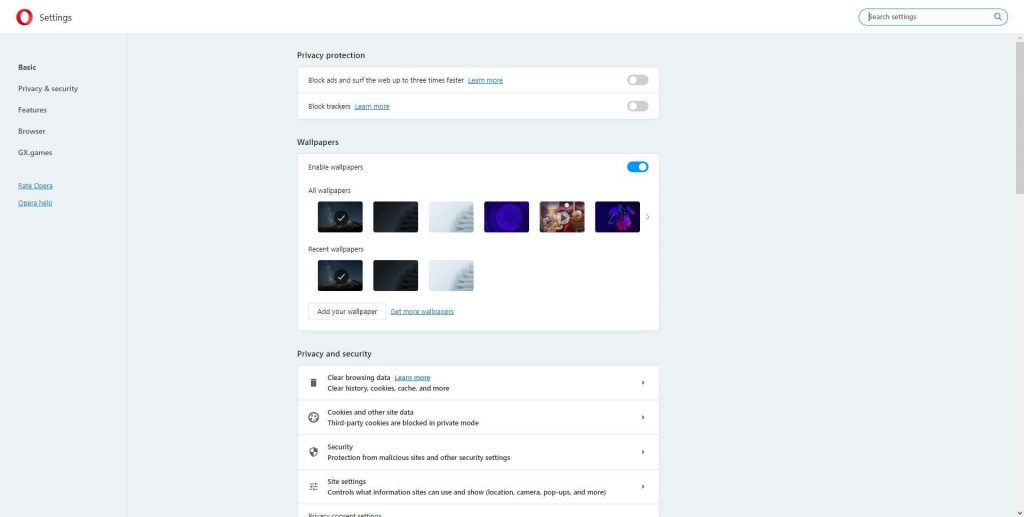
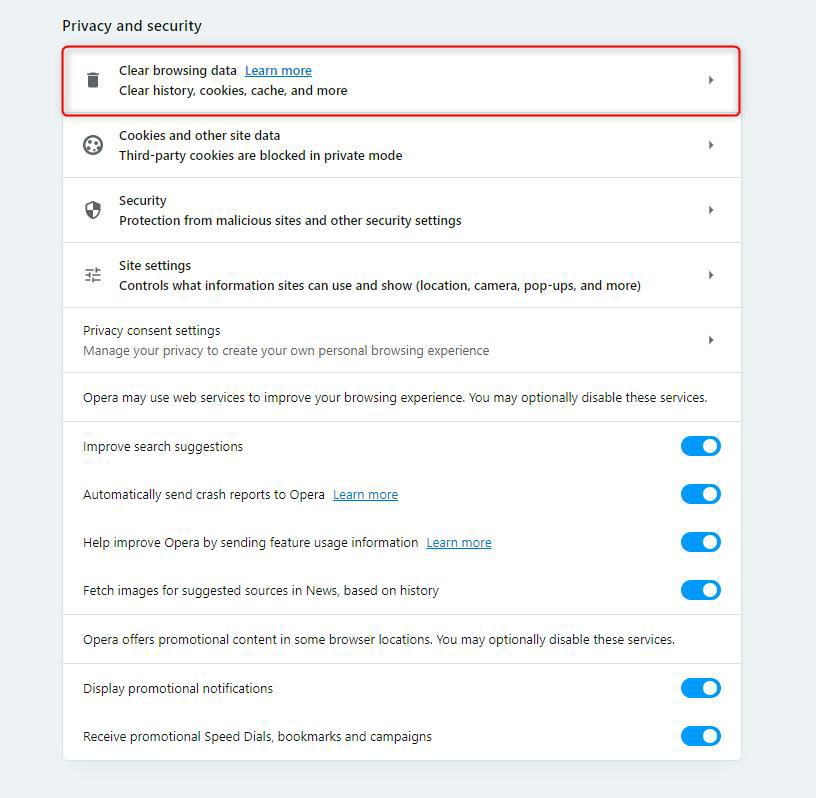
In this menu locate the Privacy and Security section: HTTPS Error 400 Bad Request Opeara Browser Browsing History Options


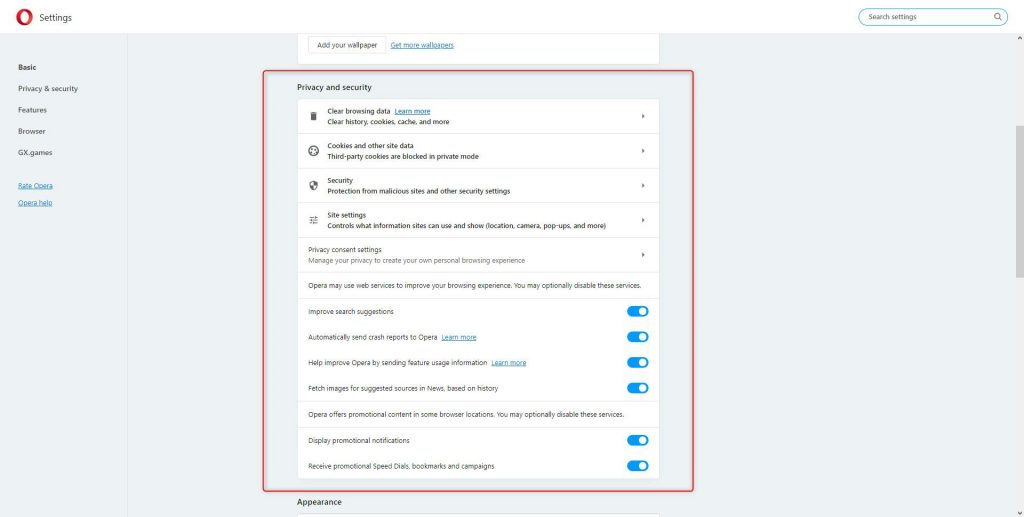
Once you see it, locate the Clear browsing data button, and click it:

HTTPS Error 400 Bad Request Opeara Browser Clear Browsing Data Options


Clicking on the button will prompt Opera to display the various clearing options. Add a tick to Cookies and other site data, and on Cached images and files and click the Clear data button:
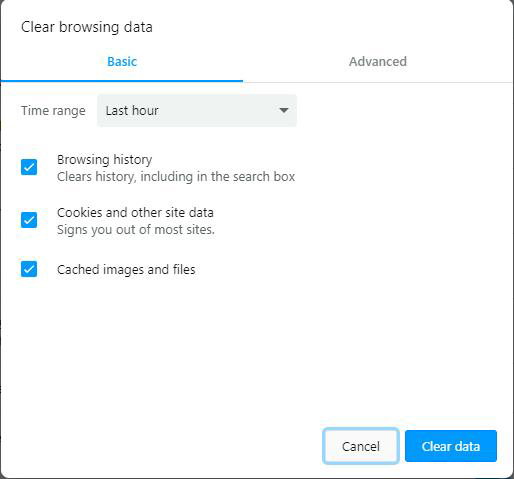
 HTTPS Error 400 Bad Request Opeara Browser Clear Browsing Data Settings

Microsoft Edge

Open Microsoft Edge and click on the three dots at the right of the window: HTTPS Error 400 Bad Request Internet Explorer Settings


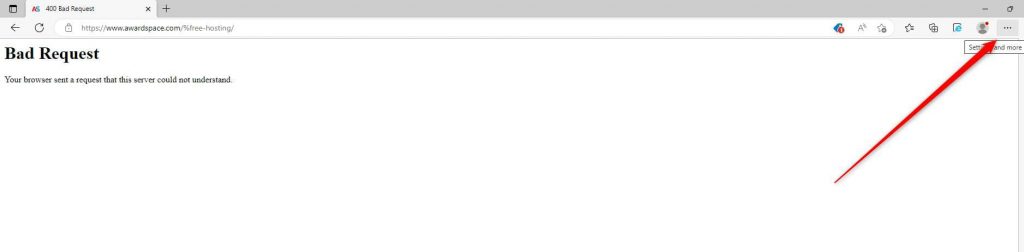
This will prompt the browser to display a menu with various settings: HTTPS Error 400 Bad Request Internet Explorer Menu Options


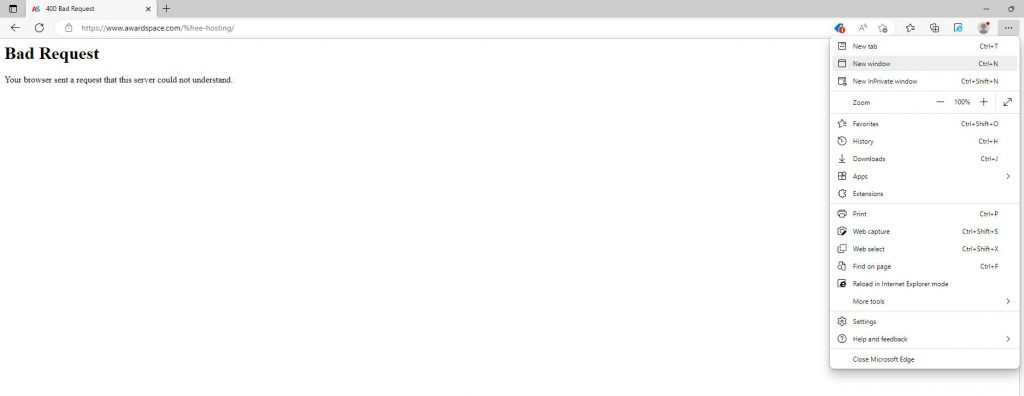
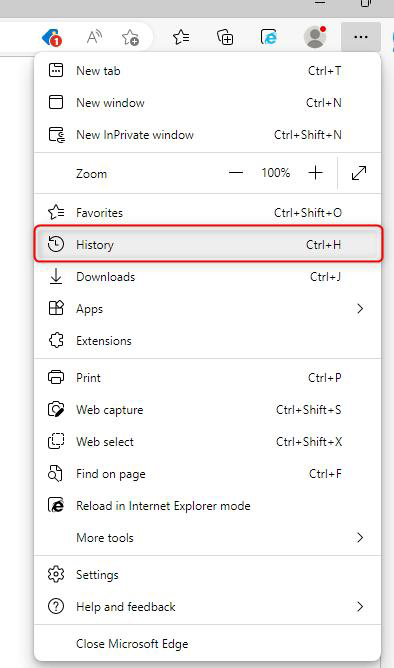
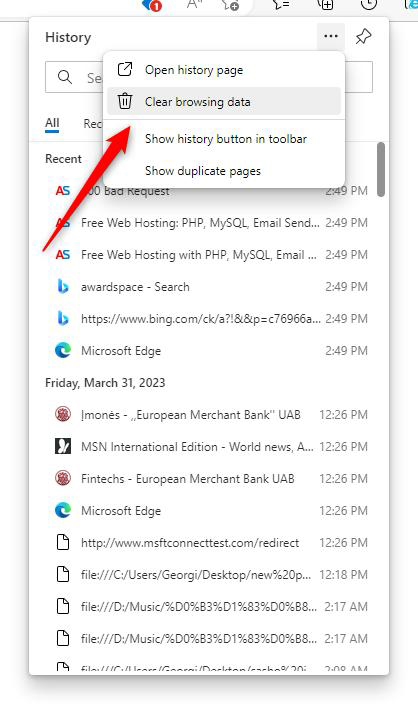
From this menu click on History:

HTTPS Error 400 Bad Request Internet Explorer Browsing History Options


A new menu with options will appear. Once you see it, click on the three dots at the corner right of the menu:

HTTPS Error 400 Bad Request Internet Explorer Access Browsing History Settings

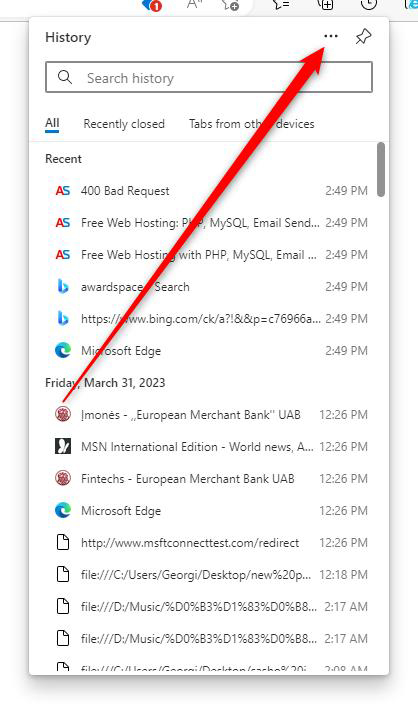
Once you click the three dots, a new menu will appear. Once it does, click on Clear browsing data from the suggested options:

HTTPS Error 400 Bad Request Internet Explorer Clear Browsing Data Button


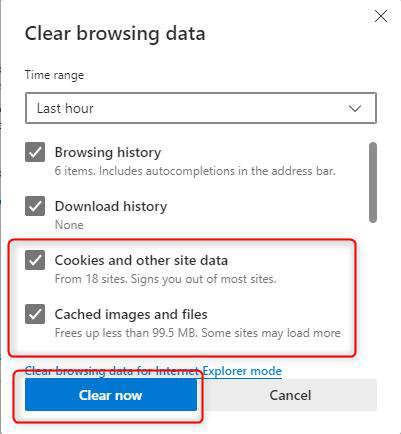
This will prompt Microsoft Edge to display the clear browser data options:

HTTPS Error 400 Bad Request Internet Explorer Browsing History Elements


Once you see this box, select Cached images and files, then click on the Clear Now button:


HTTPS Error 400 Bad Request Internet Explorer Clearn Browsing History Button


Now that you have managed to clear the Internet browser cache.

Was this post helpful?

i

Relevant tags:

Connect

Latest posts:

How to Customize Menus in SuiteCRM

SuiteCRM grants you the option to customise your website menus and control what modules appear in them, how they are grouped and in what categories. This customisation can help you improve user workflow and reduce clutter, especially if you are working on a large...

How to Add Charts to the Sidebar in SuiteCRM

Àlthough SuiteCRM doesn't support adding charts directly to the sidebar, there is a simple method that you can use to achieve the effect. In this guide, we share how to do so.   How to Add Charts to the Sidebar in SuiteCRM The process is comprised of a few...

How to Add Subpanel Filters in SuiteCRM

SuiteCRM's subpanels can be very useful in various situations, such as showing related records (like contacts under an account). However, as your database grows, so does the scrolling time through unfiltered subpanels. Fortunately, you can add filters to subpanels, so...

How to Display Fields in Different Modes in SuiteCRM

SuiteCRM allows for various customisations of fields. Such are the Detail View, Edit View and List View. Understanding how to customise these is important for tailoring your SuiteCRM project to your preferences. Whether you are streaming data entries or are trying to...

How to Add Grouped Fields to the Record View in SuiteCRM

SuiteCRM offers great versatility when it comes to customising modules, including how fields are displayed on record views. One powerful feature is grouping fields within sections for better layout and user experience. In this article, we share how to group fields in...


Create a website for free!


Free forever

Our Support Team is Here to Help


If you need any questions answered, don't hesitate and contact us. Click the button below and follow the instructions. You can expect an answer within an hour.


Contact AwardSpace


iNewest knowledge base articles

How to Customize Menus in SuiteCRM

SuiteCRM grants you the option to customise your website menus and control what modules appear in them, how they are grouped and in what categories. This customisation can help you improve user workflow and reduce clutter, especially if you are working on a large...

How to Add Charts to the Sidebar in SuiteCRM

Àlthough SuiteCRM doesn't support adding charts directly to the sidebar, there is a simple method that you can use to achieve the effect. In this guide, we share how to do so.   How to Add Charts to the Sidebar in SuiteCRM The process is comprised of a few...

How to Add Subpanel Filters in SuiteCRM

SuiteCRM's subpanels can be very useful in various situations, such as showing related records (like contacts under an account). However, as your database grows, so does the scrolling time through unfiltered subpanels. Fortunately, you can add filters to subpanels, so...

How to Display Fields in Different Modes in SuiteCRM

SuiteCRM allows for various customisations of fields. Such are the Detail View, Edit View and List View. Understanding how to customise these is important for tailoring your SuiteCRM project to your preferences. Whether you are streaming data entries or are trying to...

How to Add Grouped Fields to the Record View in SuiteCRM

SuiteCRM offers great versatility when it comes to customising modules, including how fields are displayed on record views. One powerful feature is grouping fields within sections for better layout and user experience. In this article, we share how to group fields in...

How to Back Up Your SuiteCRM Project

Making regular backups of your SuiteCRM project is crucial. Backups help keep any kind of data safe, and also provide a quick recovery after a crash, hacking attack, or any user error. Because of how important backups are for your SuiteCRM website, in this article, we...

Even more web tutorials

Check out our web hosting knowledge base and the WordPress tutorials to learn more, and be better prepared for your website creation and maintenance journey.