How to Add a Page in TYPO3

Home » Knowledge Base » Design Tools » TYPO3 » How to Add a Page in TYPO3

TYPO3 is a versatile platform that offers numerous features and an intuitive interface. If you’re just getting started with the CMS, one of the first tasks you’ll likely complete is creating a new page for your website. In this guide, we showcase how to do so and start working on your project right away.


How to Add a Page in TYPO3

Learning how to add a page in TYPO3 is really a simple process and includes only a few simple-to-follow steps.


Step 1: Log in to TYPO3 Admin Dashboard

The first step in the process is to log in to TYPO3. This step is required, as logging in to the admin dashboard allows you to create, edit, and delete pages in TYPO3.


Step 2: Open the Page Module

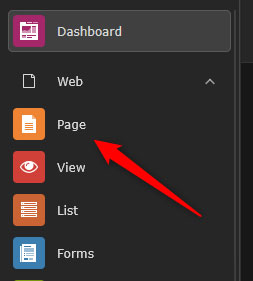
Once logged in to the TYPO3 admin dashboard, navigate to Web -> Page, located in the left sidebar:

Navigate through the page menu in TYPO3


Step 3: Choose Where to Add Your New Page

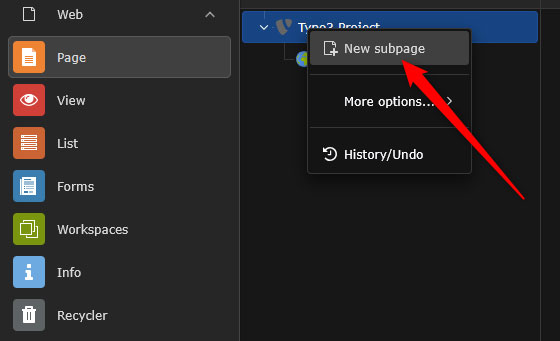
Now that you have opened the TYPO3 Page options, right-click on any of your existing pages to add a subpage, or click on your website’s name to create a new parent page. Once you do so, a new drop-down menu with options will appear. After you see it, click on New Subpage:

Select where to add your new TYPO3 page


Step 4: Select The Page Type

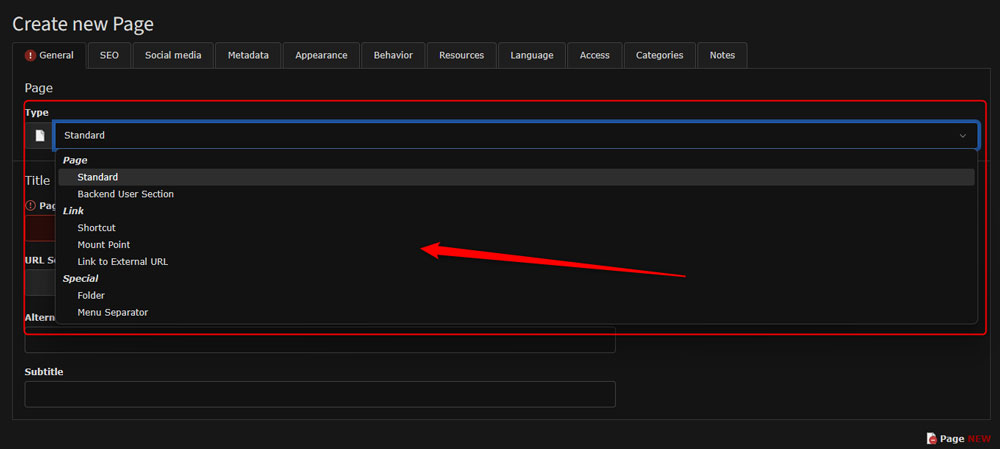
After you click on the New Subpage button, a new page with options will appear. From here, select the type of your new page. This means that you can create a new static page, a page that is visible only from the backend by you and your teammates, make a page link, or other things. To select the type of your new page, via the Type section, click on your preferred type:

Select Page Type


Step 5: Add Page Details

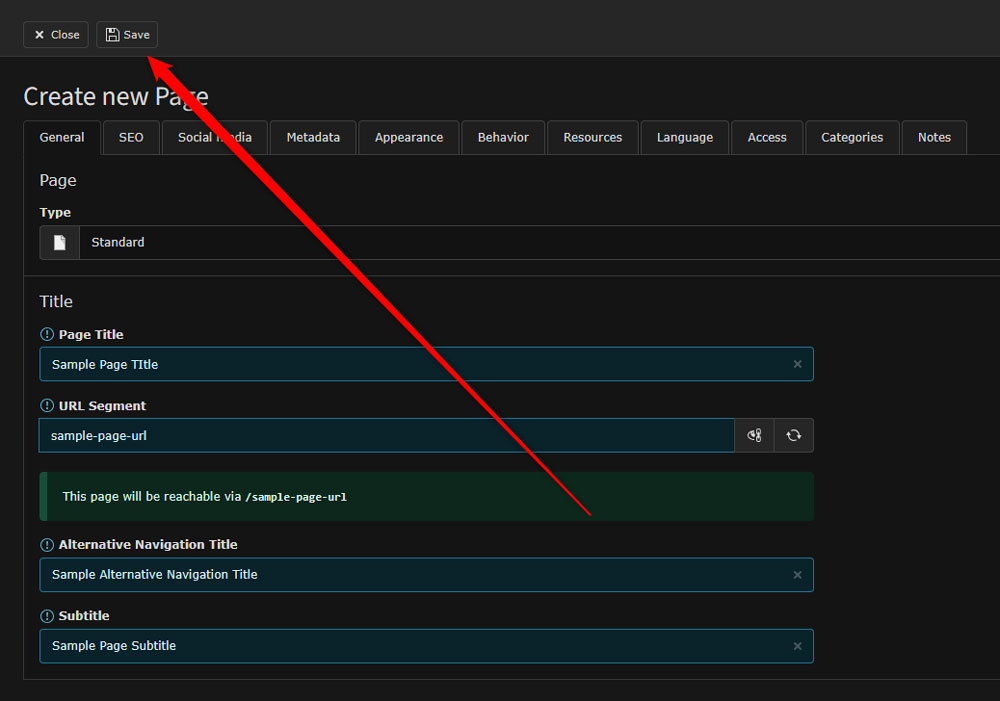
After you have selected a page type, from the same place, add page details:

  • Page Title: The name of your new page
  • URL Segment: the URL address that would lead to this page
  • Alternative Navigation Title: Add this to replace the default Page Title, should the latter be too technical or not user-friendly.
  • Subtitle: The subtitle of your new page


Step 6: Save Your New TYPO3 Page

After you have added page details, it is time to save the new page. This will allow you to add content to it (check Step 7). To save your new page, while in the Page Details section, click on the Save button, located at the top of the screen:

Save page details


Step 7: Add Page Details

Now, it is time to add content to your new page. To do so, navigate to Page->Your New Page:

Select your new page in TYPO3


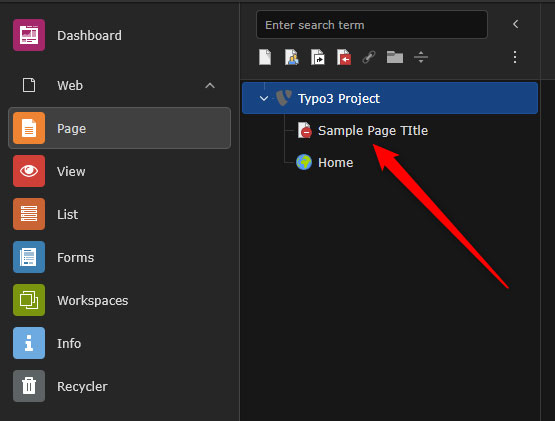
Once you click it, TYPO3 will display new edit options:

New Page Edit Options


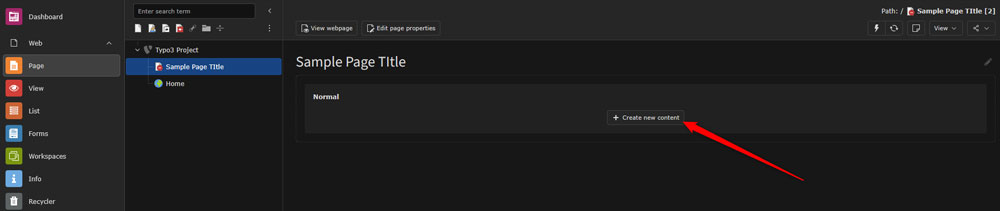
Once you see this page, click on + Create New Content:

Create New Page Content in TYPO3


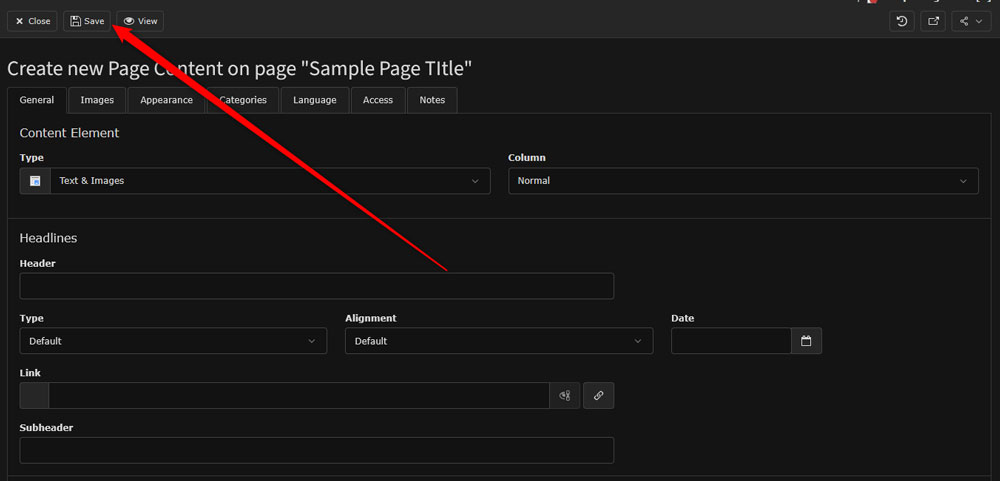
Then, select the elements you wish to include in your new page:

Add Page Elements


After that, add your details within the selected fields. When you finish adding content, click on the Save button, so TYPO3 applies and saves your changes:

Save changes


Tips and Tricks when Creating a New Page in TYPO3

  • Always use clear and descriptive page titles
  • Check whether the page is hidden or not, should you want to make it visible or not to visitors.
  • Use hierarchies and folders to keep your TYPO3 pages organized
  • Add metadata to improve your search engine optimization and organic traffic.


Conclusion

Knowing how to add a page in TYPO3 is essential for growing your website. The process is simple and requires only a few minutes and a few clicks.

Was this post helpful?

i

Relevant tags:

Connect

Latest posts:

How to Check My Auto Renewals

To check your AwardSpace hosting plan auto-renewals, first log in to the admin dashboard. Then, head to Wallet, within the Orders & Invoices section:   After that, click the Auto Renewals tab, where you can check any relevant information about your hosting...

How to Check My Payment Requests

To check your payment requests, first log in to the AwardSpace hosting panel. Then, head to Wallet within the Orders & Invoices category:   Then, click the Payment Requests tab. There, you can browse all the information you need about your...

How to Check My Invoices

To check your invoices in AwardSpace, first log in to the hosting panel. From there, head to Invoices within the Orders & Invoices category:   From this place, you can browse order references, payment orders, payment types, order dates, and various...

How to Check My Wallet Flow

To check your wallet flow, first log in to the AwardSpace hosting panel. Then, click on Wallet within Payments & Invoices:   After that, click the Wallet Flow tab. This is where you can see details about your wallet flaw:

How to Check My Incomplete Orders

To check your incomplete orders, first log in to the AwardSpace hosting panel. Then, head to Incomplete Orders within Orders & Invoices:   Then, you can check the list within the Incomplete Orders tab:  


Create a website for free!


Free forever

Our Support Team is Here to Help


If you need any questions answered, don't hesitate and contact us. Click the button below and follow the instructions. You can expect an answer within an hour.


Contact AwardSpace


iNewest knowledge base articles

How to Check My Auto Renewals

To check your AwardSpace hosting plan auto-renewals, first log in to the admin dashboard. Then, head to Wallet, within the Orders & Invoices section:   After that, click the Auto Renewals tab, where you can check any relevant information about your hosting...

How to Check My Payment Requests

To check your payment requests, first log in to the AwardSpace hosting panel. Then, head to Wallet within the Orders & Invoices category:   Then, click the Payment Requests tab. There, you can browse all the information you need about your...

How to Check My Invoices

To check your invoices in AwardSpace, first log in to the hosting panel. From there, head to Invoices within the Orders & Invoices category:   From this place, you can browse order references, payment orders, payment types, order dates, and various...

How to Check My Wallet Flow

To check your wallet flow, first log in to the AwardSpace hosting panel. Then, click on Wallet within Payments & Invoices:   After that, click the Wallet Flow tab. This is where you can see details about your wallet flaw:

How to Check My Incomplete Orders

To check your incomplete orders, first log in to the AwardSpace hosting panel. Then, head to Incomplete Orders within Orders & Invoices:   Then, you can check the list within the Incomplete Orders tab:  

How to Check My Canceled Orders

To check your canceled orders with AwardSpace, first, log in to the hosting panel. Then, head to Caneled Orders within the Orders & Invoices category:   Then, within the Canceled Orders tab, you can browse your canceled orders with AwardSpace:

Even more web tutorials

Check out our web hosting knowledge base and the WordPress tutorials to learn more, and be better prepared for your website creation and maintenance journey.