How to Create a Page with Grav

Home » Knowledge Base » Design Tools » Grav » How to Create a Page with Grav

Now that you have installed Grav and know how to log in to the admin dashboard, it is time to create your first web page with the CMS.

The process is simple and only includes a few steps.

Read also:


How to Create a Page with Grav

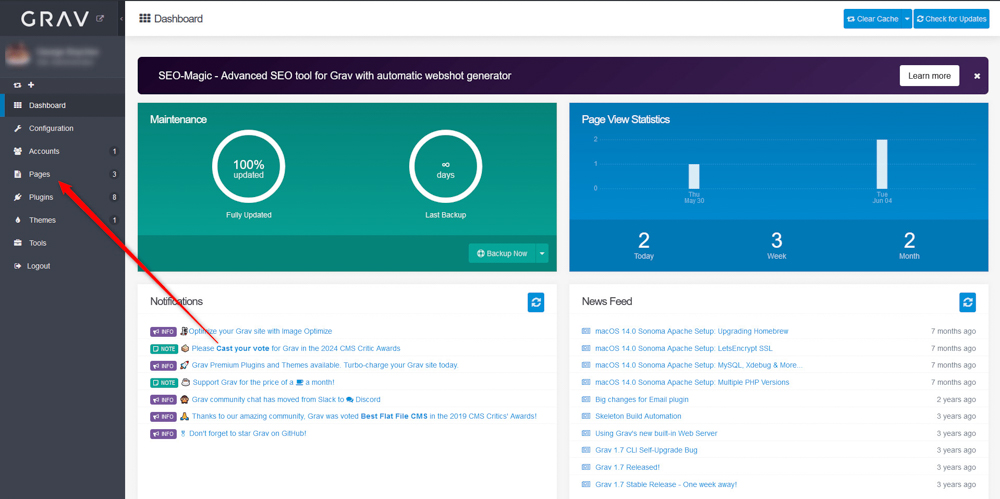
To create a page, you should first log in to Grav and navigate to Pages:

Grav admin dashboard


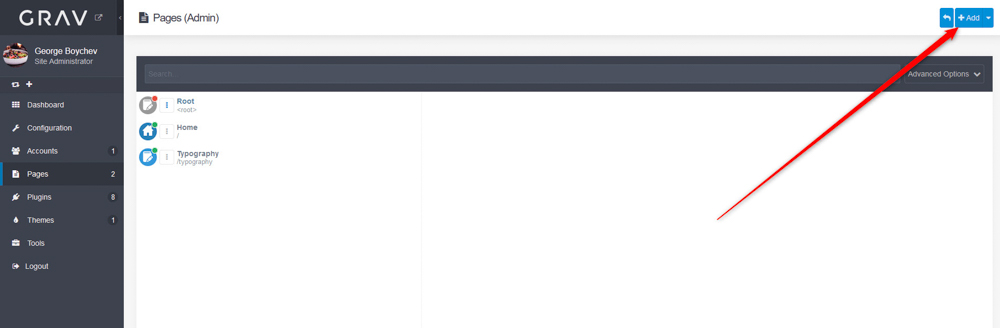
After that, click on the blue + Add button located at the top right corner of the page:

Add new page in Grav


A new box will pop up. Within this box, add page details:

Grav page details


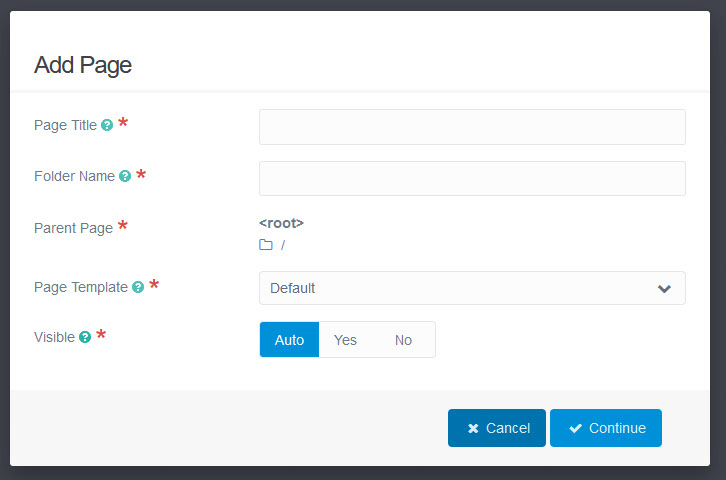
  • Page Title – this is the name of your new page.
  • Folder Name – the name of the directory in which your new web page will be stored.
  • Parent Page – the main page to which your new page will be connected.
  • Page Template – This option lets you choose a type of page such as a blog page, error page, etc.
  • Visible – This option lets you choose whether your new page will be visible or not on your Grav website.


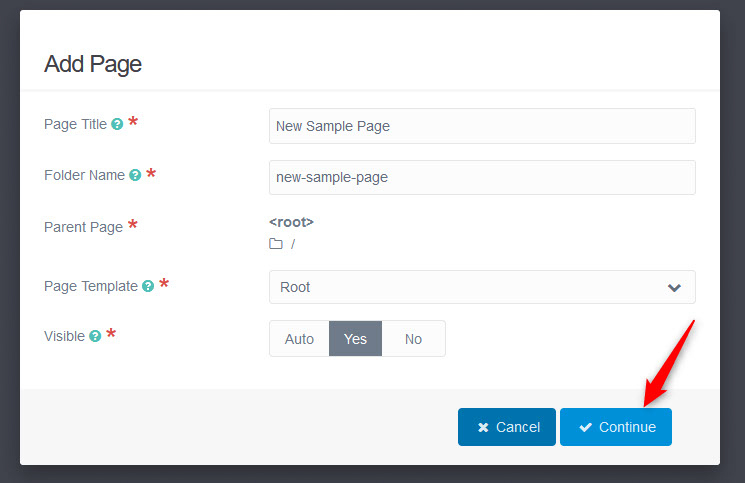
Once you fill in the details, click on the blue Continue button at the bottom right corner of the box:

Grav page settings


Once you click on Continue, Grav will open the page editor in which you can start editing and adding content to your new page:

Grav page editor


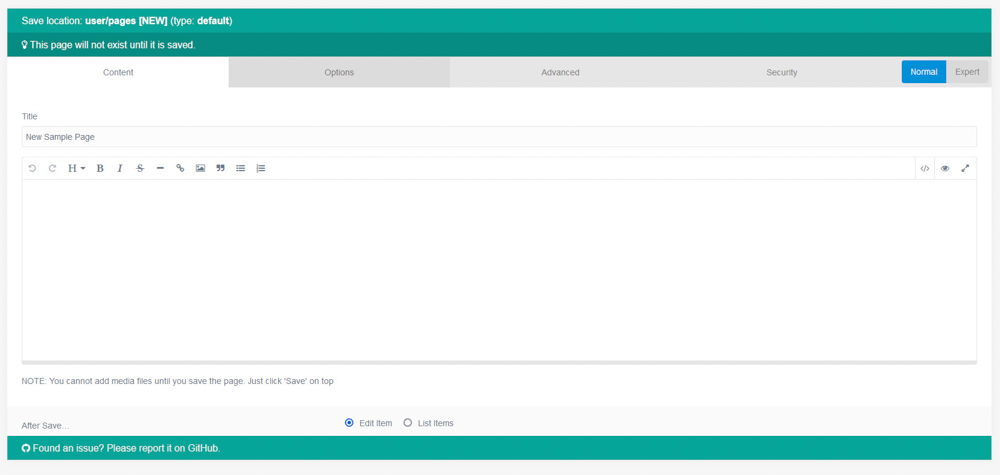
While here, take a look at the menu tabs at the top of the page:

Grav page editor menu tabs


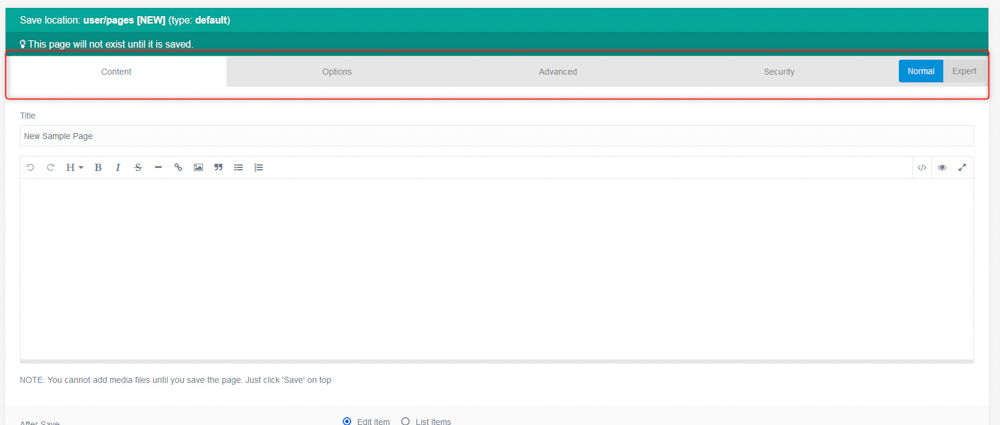
These tabs contain various options for your new page.

  • Content tab – Via this tab you can add text and media files to your new page.
  • Options tab – From here you can make various changes to the publication and visibility options of the new page.
  • Advanced tab – This tab enables you to edit various settings such as menu options, caching, formatting, and others.
  • Security tab – This tab enables you to make changes to page access and permissions.


Once you have finished editing your new page, click on the purple Save button at the top right corner of the page:

Grav save page changes


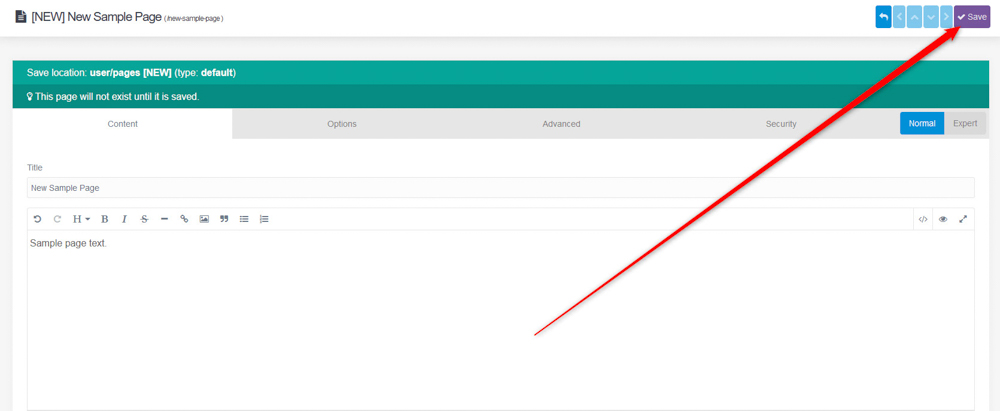
Now you have created your first web page with Grav.


Conclusion

Creating a page in Grav is straightforward. The process is very simple and only takes a few clicks here and there and a few minutes of your time.

Was this post helpful?

i

Relevant tags:

Connect

Latest posts:

How to Upload Files in Zenphoto

Knowing how to upload files in Zenphoto is a fundamental skill. In this guide, we share how to go through the process and manage your project and media library quickly and easily.   Step 1: Log in to Zenphoto The first step in the process is to log in to...

How to Back Up your TYPO3 Project

In this article, we outline the step-by-step process for backing up your TYPO3 project, ensuring that all your data, settings, and other essential information are safely stored. Regardless of your level of expertise, this method is simple to follow and provides...

How to Install Themes in TYPO3

Learning how to install themes in TYPO3 is essential, as it enables you to personalize your website fully. Whether you are working on a personal blog or a complex business website, the process of installing a theme in TYPO3 is the same. In this article, we share how...

How to Add Extensions to TYPO3

TYPO3 is a versatile platform that allows you to customize it any way you wish. One of TYPO3's strengths is the so-called extensions that enable you to add any kind of functionality to your website. In this article, we share how to add extensions to TYPO3. What are...

How to Add a Page in TYPO3

TYPO3 is a versatile platform that offers numerous features and an intuitive interface. If you're just getting started with the CMS, one of the first tasks you'll likely complete is creating a new page for your website. In this guide, we showcase how to do so and...


Create a website for free!


Free forever

Our Support Team is Here to Help


If you need any questions answered, don't hesitate and contact us. Click the button below and follow the instructions. You can expect an answer within an hour.


Contact AwardSpace


iNewest knowledge base articles

How to Upload Files in Zenphoto

Knowing how to upload files in Zenphoto is a fundamental skill. In this guide, we share how to go through the process and manage your project and media library quickly and easily.   Step 1: Log in to Zenphoto The first step in the process is to log in to...

How to Back Up your TYPO3 Project

In this article, we outline the step-by-step process for backing up your TYPO3 project, ensuring that all your data, settings, and other essential information are safely stored. Regardless of your level of expertise, this method is simple to follow and provides...

How to Install Themes in TYPO3

Learning how to install themes in TYPO3 is essential, as it enables you to personalize your website fully. Whether you are working on a personal blog or a complex business website, the process of installing a theme in TYPO3 is the same. In this article, we share how...

How to Add Extensions to TYPO3

TYPO3 is a versatile platform that allows you to customize it any way you wish. One of TYPO3's strengths is the so-called extensions that enable you to add any kind of functionality to your website. In this article, we share how to add extensions to TYPO3. What are...

How to Add a Page in TYPO3

TYPO3 is a versatile platform that offers numerous features and an intuitive interface. If you're just getting started with the CMS, one of the first tasks you'll likely complete is creating a new page for your website. In this guide, we showcase how to do so and...

How to Use Modules in TYPO3

TYPO3 is a CMS based on a modular architecture, meaning that users can use various built-in tools and add-ons to manage content, other users, configurations, and more. In this guide, we share how to use modules in TYPO3, so you get the most out of them.   What...

Even more web tutorials

Check out our web hosting knowledge base and the WordPress tutorials to learn more, and be better prepared for your website creation and maintenance journey.