How to Install Concrete5

Home » Knowledge Base » Design Tools » Concrete5 » How to Install Concrete5

You can easily install Concrete5 for free with any AwardSpace web hosting plan. You can use our free web hosting, shared web hosting, or advanced hosting plans such as semi-dedicated hosting and VPS hosting.

Read also:


How to Install Concrete5

To install Concrete5, the first step is to sign up for any AwardSpace hosting plans.

After signing up for our plans, you should log in to the AwardSpace hosting panel. From there, you can manage your websites, hosting, and domain settings; this is also the panel with which you can install Concrete5.

N.B! To be able to install Concrete5, you have to register a domain name first. Here’s how:

How to Register a Domain Name


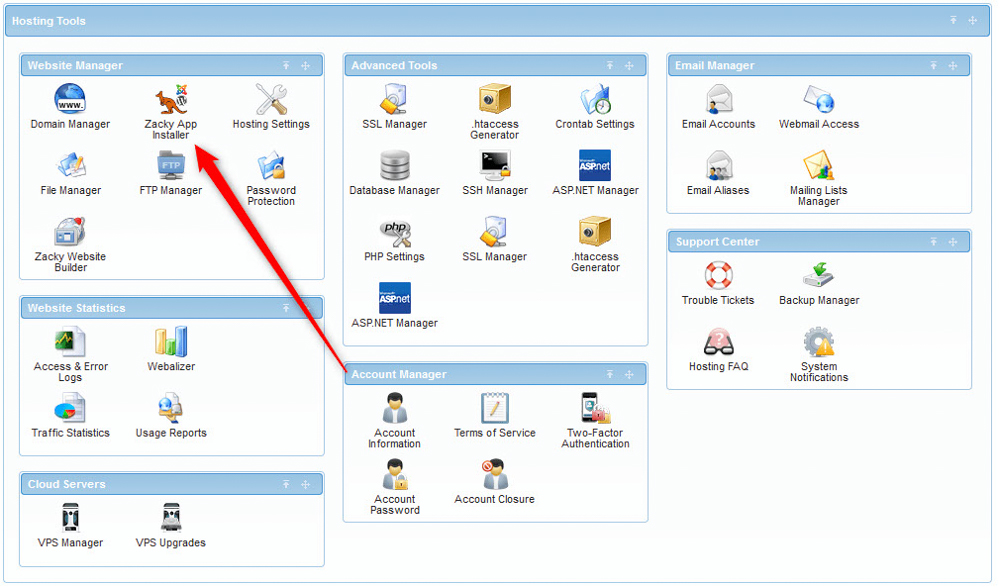
Now that you have entered the AwardSpace hosting panel, navigate to Zacky App Installer:

To install Concrete5, navigate to Zacky App Installer


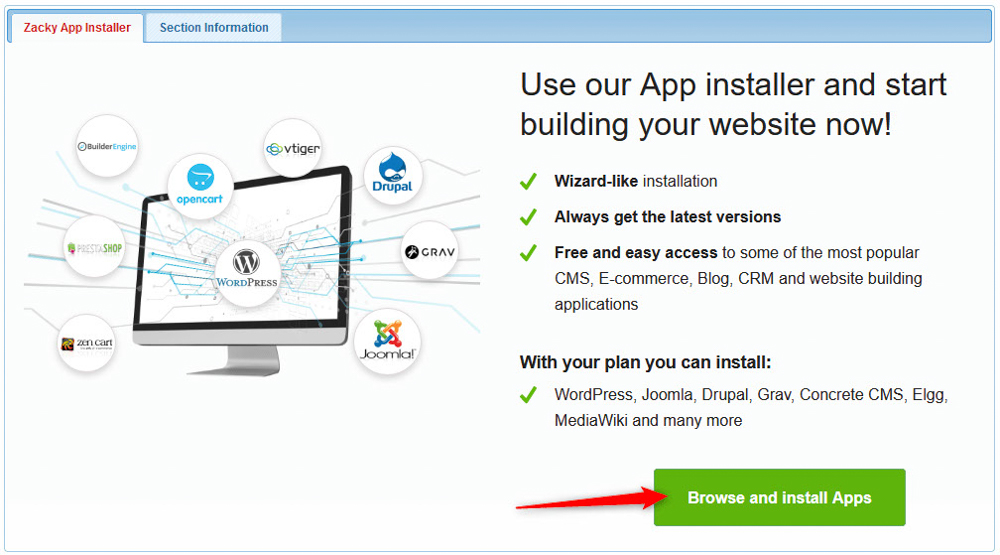
Once you click the Zacky App Installer, a new page will load – when you see it, click the green Browse and Install Apps:

Browse apps to find and install Concrete5


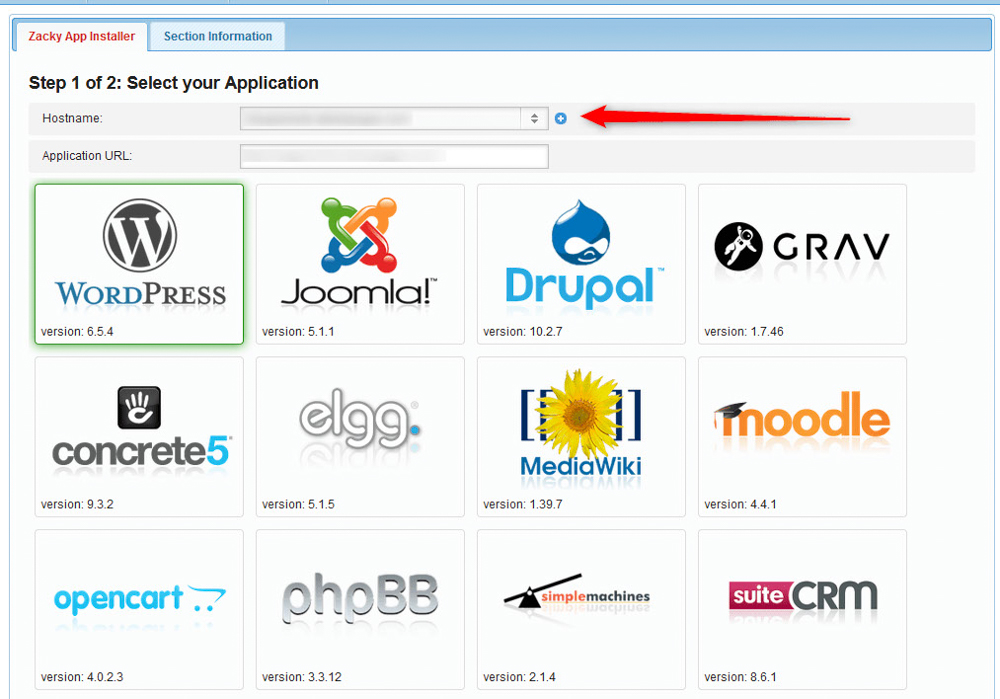
Then, select one of your registered domain names that would be associated with your Concrete5 website:

Select a domain name to associate with your Concrete5 website


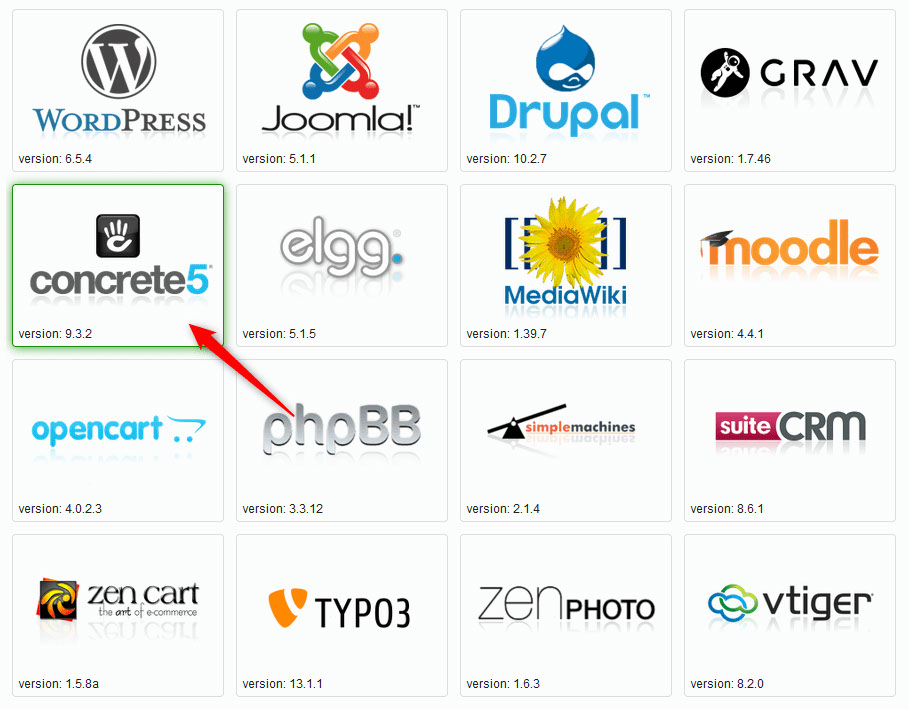
Then, click on the Concrete5 icon:

Select Concrete5 to install the CMS


After you click on the Concrete5 icon, you will be asked to choose a website title, username, password, and email for your Concrete5 installation. Remember these credentials, as they are very important – you will use these to log in to your newly created Concrete5 website:

Add Concrete5 credentials


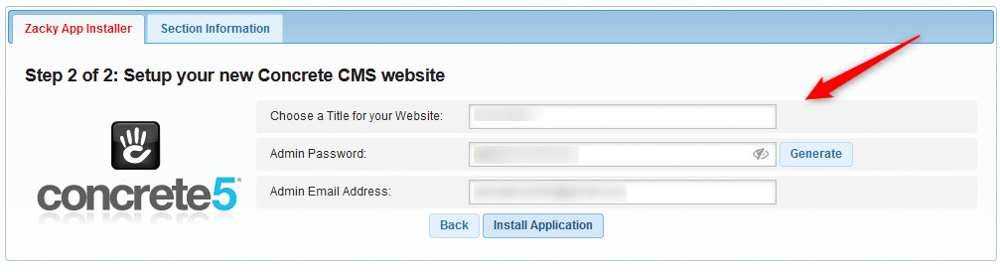
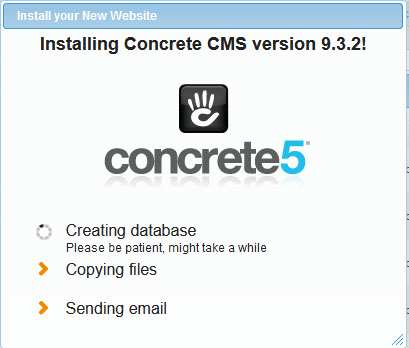
Once you fill in these credentials, follow the instructions and install the platform. The process takes a few minutes:

Concrete5 installation process


Once the installation is complete, you will receive a confirmation message and AwardSpace will send an email to the address you selected when choosing credentials:

Concrete5 confirmation message


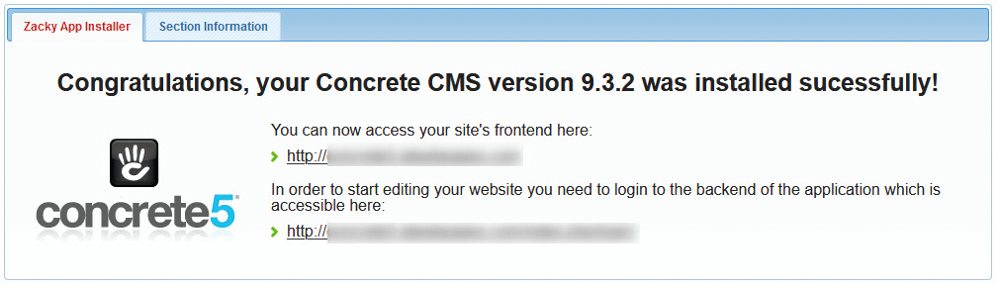
Read the email thoroughly, as it contains important information on how to log into Concrete5 and other important details. Save this email for future reference.

Now you have managed to install Concrete5 successfully.

To start working on your Concrete5 website, you should log in to the CMS. To learn how to do so, read our thorough guide:

Was this post helpful?

i

Relevant tags:

Connect

Latest posts:

How to Fix 308 Permanent Redirect

308 Permanent Redirect is an HTTPS status code indicating that the requested resource has been permanently moved to another location. Similar to 301 Moved Permanently, 308 informs the user of the movement of a given online resource, and unlike the 301 redirect, 308...

How to Fix 301 Error Moved Permanently

The 301 Moved Permanently is an HTTP status code that indicates a permanent relocation of an online resource from a given URL to a new one. More technically, the moved resource has been moved to the new URL specified in the Location header. The HTTP 301 status code is...

How to Fix 307 Temporary Redirect

307 Temporary Redirect is a response HTTP status code that indicates the requested resource has been moved to a different URL for a limited period of time. Unlike a 301 permanent redirect, the 307 Temporary Redirect message indicates that the change is temporary and...

How to Access Crontab Settings

To access the crontab settings, first, you need to log in to your AwardSpace hosting panel. After you have logged in, head to Crontab Settings, located within the Advanced Tools category:   After you click the Crontab Settings icon, a new page should load. Once...

How to Check My Auto Renewals

To check your AwardSpace hosting plan auto-renewals, first log in to the admin dashboard. Then, head to Wallet, within the Orders & Invoices section:   After that, click the Auto Renewals tab, where you can check any relevant information about your hosting...


Create a website for free!


Free forever

Our Support Team is Here to Help


If you need any questions answered, don't hesitate and contact us. Click the button below and follow the instructions. You can expect an answer within an hour.


Contact AwardSpace


iNewest knowledge base articles

How to Fix 308 Permanent Redirect

308 Permanent Redirect is an HTTPS status code indicating that the requested resource has been permanently moved to another location. Similar to 301 Moved Permanently, 308 informs the user of the movement of a given online resource, and unlike the 301 redirect, 308...

How to Fix 301 Error Moved Permanently

The 301 Moved Permanently is an HTTP status code that indicates a permanent relocation of an online resource from a given URL to a new one. More technically, the moved resource has been moved to the new URL specified in the Location header. The HTTP 301 status code is...

How to Fix 307 Temporary Redirect

307 Temporary Redirect is a response HTTP status code that indicates the requested resource has been moved to a different URL for a limited period of time. Unlike a 301 permanent redirect, the 307 Temporary Redirect message indicates that the change is temporary and...

How to Access Crontab Settings

To access the crontab settings, first, you need to log in to your AwardSpace hosting panel. After you have logged in, head to Crontab Settings, located within the Advanced Tools category:   After you click the Crontab Settings icon, a new page should load. Once...

How to Check My Auto Renewals

To check your AwardSpace hosting plan auto-renewals, first log in to the admin dashboard. Then, head to Wallet, within the Orders & Invoices section:   After that, click the Auto Renewals tab, where you can check any relevant information about your hosting...

How to Check My Payment Requests

To check your payment requests, first log in to the AwardSpace hosting panel. Then, head to Wallet within the Orders & Invoices category:   Then, click the Payment Requests tab. There, you can browse all the information you need about your...

Even more web tutorials

Check out our web hosting knowledge base and the WordPress tutorials to learn more, and be better prepared for your website creation and maintenance journey.