
Filters in SuiteCRM are a handy feature that helps you quickly organize your website data and easily find, sort, and analyze specific records across your modules. You can use filters to quickly find leads, organize your workflow, and access a specific class of data in a matter of minutes.
In this guide, we share how to use filters in SuiteCRM quickly and efficiently.
What are Filters in SuiteCRM
Filters are tools in SuiteCRM that enable you to narrow down the records displayed, based on a set of criteria, such as names, dates, status, or any other custom requirement. You can use a filter on modules such as:
- Leads
- Contacts
- Accounts
- Opportunities
- Cases
- Any other custom modules
If you wish to learn more about modules in SuiteCRM, then check out our article on the topic:
How to Manage Filters in SuiteCRM
How to Use Filters in SuiteCRM
To use a filter, first, you should log in to SuiteCRM
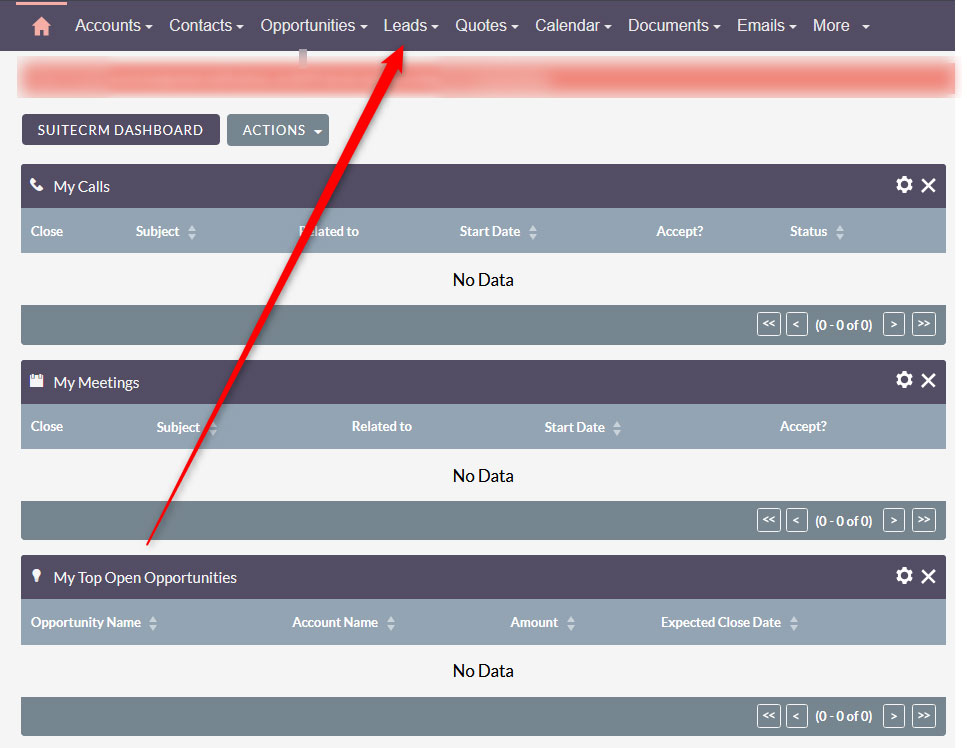
Then, while in the dashboard, click on any of the modules displayed in the top menu, for example, Leads:
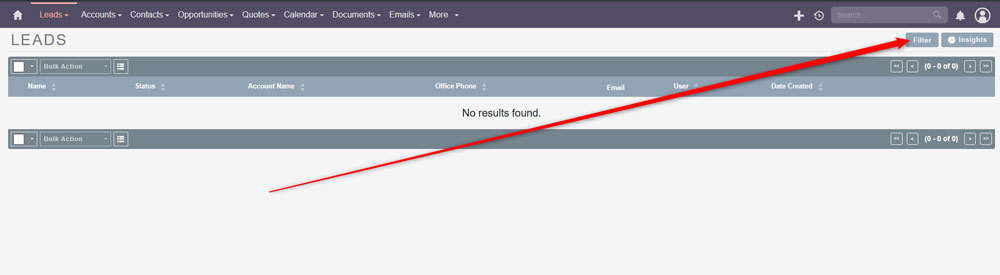
After that, click the Filter button at the top right corner of the screen:
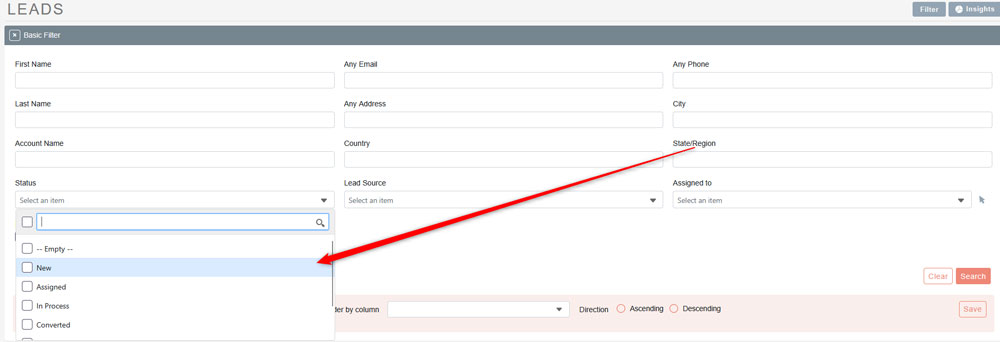
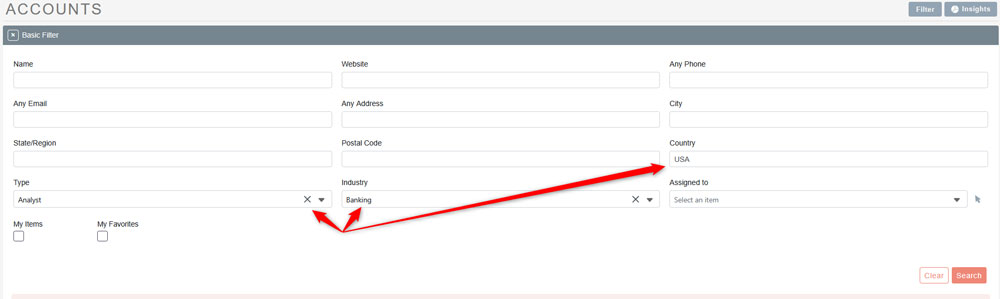
Then, via any of the fields on the screen, select a criterion to filter. For example, via the Lead Source field, you can select options such as Cold Call, Existing Customer, Employee, and others:
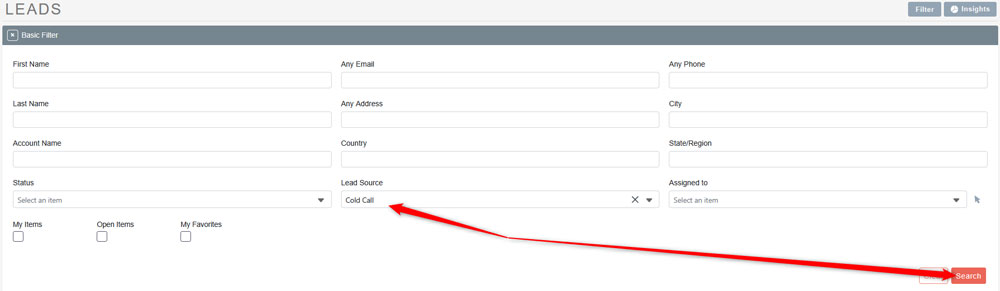
After you select a filter, click on the Search button, located at the bottom right of the page. This will make SuiteCRM display all the data with the selected criterion:
You can also add multiple filters to make an even more detailed search. To do so, simply add several criteria from the Filter tab and again click on Search:
Now you know how to use filters in SuiteCRM.
Conclusion
Filters in SuiteCRM help you manage your data more precisely. Learning how to use filters is simple and allows you to save time and effort when you manage your online project.
