
One of the most ubiquitous methods of communication nowadays is the sending and receiving of email messages. Unlike other forms of electronic communication, emails are very reliable and are universally accepted – when you send a message to someone, you know that they will be able to read it regardless of the operating system, email client, or mail provider they use. Due to these immense benefits, email has become the preferred method of communication for countless individuals and businesses around the world.
Writing email messages using your favorite email program or your mail provider’s web app is probably second nature to you. But did you know that you can also send messages via scripts from your hosting space? In this tutorial, we will show you how you can send email messages via a PHP script.
How Can I Check Whether the PHP Mail() Function Is Enabled on My Account?
Before you attempt to send an email message using the PHP mail() function, you should make sure the PHP mail() function is actually enabled on the server. You can perform this check by running a small test script. Follow the steps below in order to create this script and execute it:
- Open the File Manager section of the Control Panel. If prompted, log into your account.
- Open your domain name folder.
- Use the Create button to make a new file. Call the file something like
test.php. - Copy over the code below and save the file.
 <?php
    if(function_exists('mail')) {
        echo "PHP mail() function is enabled";
    }
    else {
        echo "PHP mail() function is not enabled";
    }
 ?>
- Now copy the path to the test script and run it in your web browser. The path should look something like
.
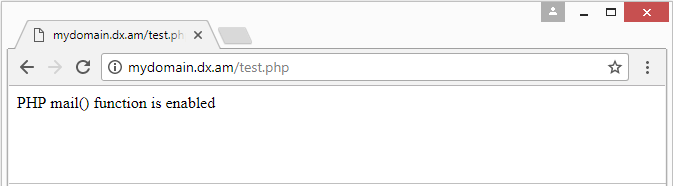
If all goes well, you should see the message PHP mail() function is enabled as shown in the screenshot below:
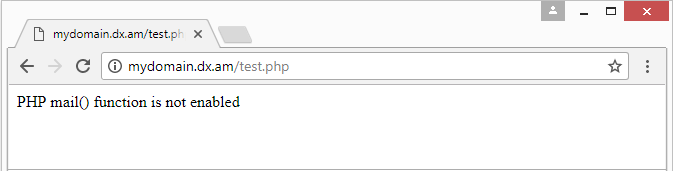
If there is a problem, you will see a PHP mail() function is not enabled message. In the unlikely event that this happens, you should contact the 24/7 Technical Support Team so they can resolve any problems with the server.
Are Free Accounts Allowed to Send Messages Using the PHP Mail() Function?
If you are using our free hosting service, you may be worried that this functionality will not be available to you. The good news is that even free hosting accounts are allowed to use the PHP mail() function. There are just two caveats that you need to keep in mind.
First, to send an email message, you need to have an email account created in your hosting space. This email account will act as the sender. Email accounts can be created through the Email Accounts section of the Control Panel. To have an email account, you need to own a fully-qualified domain name or grab a free .DX.AM domain name from the Domain Manager.
The second caveat to note is that in order to prevent spammers from abusing our free service, we have limited the number of messages that can be sent to 31 messages in any given 31-day period. You can lift this restriction by upgrading to one of the paid hosting packages that we offer.
How Do I Send an Email Message Using the PHP Mail() Function?
Email messages can be sent via a PHP script by running it. Running a script is as simple as opening it in your web browser, just like a regular page on the web. Follow along as we show you how to create and run your first script that uses the PHP mail() function:
- Log in to the Hosting Control Panel.
- If you don’t have an email account yet, create one in the Email Accounts section of the Control Panel. Not sure how to make an email account? Check our guide on how to create an email account.
- Navigate to the File Manager section of the Control Panel.
- Double-click on your domain folder in order to open it.
- Use the Create button to make a new file. Call the file something like
mail-test.php. - Copy over the code below into the empty .PHP file you just created.
<?php

$awardspaceEmail = "FROM";
$recipientEmail = "TO";

$from = "From: Mail Contact Form <" . $awardspaceEmail . ">";
$to = $recipientEmail;

$subject = "PHP mail() Test";

$body = "This is a test message sent with the PHP mail function!";

if(mail($to,$subject,$body,$from)){
    echo 'E-mail message sent!';
} else {
    echo 'E-mail delivery failure!';
}

?>
- You will now have to make two additions to the script. Near the beginning of the script, you will notice the following line of code:
$awardspaceEmail = "FROM";. You need to delete theFROMtext and in its place enter the email address that you created earlier in Step 2 using the Email Accounts section of the Control Panel. Similarly, the next line is$recipientEmail = "TO";. Here you need to remove theTOtext and replace it with the email address where you would like to receive your test message. - After updating the two fields mentioned in the above step, save your changes.
- Now copy the path to the mail test script and run it in your web browser. The path should look something like
. - Once the script finishes loading, you should see the message E-mail message sent! printed on the screen if the message was sent successfully. If there’s a problem, you will see an E-mail delivery failure! instead. In case of an error, you can contact our 24/7 Technical Support Team and they will assist you in resolving any issues that are present.
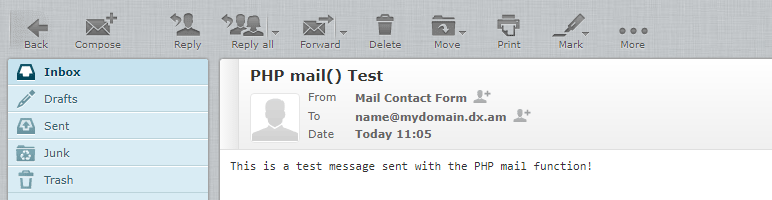
- Verify that your script has successfully sent the test message by checking your email inbox. You should receive a test message that looks like the one shown below:
Is There a Limit to the Number of Messages I Can Send Using the PHP Mail() Function?
As previously mentioned, the free hosting plan allows you to send up to 31 messages for a 31-day period. Upgrading to one of our paid shared hosting plans significantly increases this limit. With a paid plan you can send up to 1000 messages per day. If you need to send even more messages, our Semi-Dedicated hosting enables you to send up to 2000 messages per day. Last, but certainly not least, getting a Virtual Private Server (VPS) package would allow you to send an unlimited number of messages. A VPS is only limited by his hardware and processing power as to the number of messages it can send.
A word of warning: AwardSpace has a zero-tolerance policy when it comes to the sending of unsolicited email messages (SPAM). If you use our mail servers for such an activity, you risk having your hosting account permanently suspended without the option to get a refund.
How Do I Create a Contact Form for My Website?
Now that you are able to send messages via PHP scripts, you may have your sights set on implementing a full-blown contact form into your website. That’s actually surprisingly easy to do. We cover the whole process in our guide on how to create a working contact form.
Conclusion
The ability to send email messages through your website enhances the experience your visitors have when they visit your site. Implementing a contact form, sending order confirmation messages, and emailing a password reset link to a member of your site who has misplaced their password can all make your website much more professional and appealing. And best of all – PHP allows you to automate these messages, so once you set up your site, it will just work with no extra effort required on your part.
