
The WordPress themes are what control the visuals and sometimes functionalities of your website (in a smaller capacity than plugins). Therefore, adding a new theme to your website is an absolutely crucial knowledge. Whether you’re launching a new site or updating an existing one, changing your theme can significantly impact your site’s appeal.
Step 1: Enter the Theme Options Page
To go to the theme options theme, you have to log in to your WordPress website. Once you are in the dashboard, navigate yourself to the Appearance option in the sidebar menu. You have the option to navigate to Themes by either moving your cursor over the Appearance option and selecting Themes from the submenu, or by directly clicking on Appearance.
You’ll get the same result either way.
Step 2: The Add New Theme Button
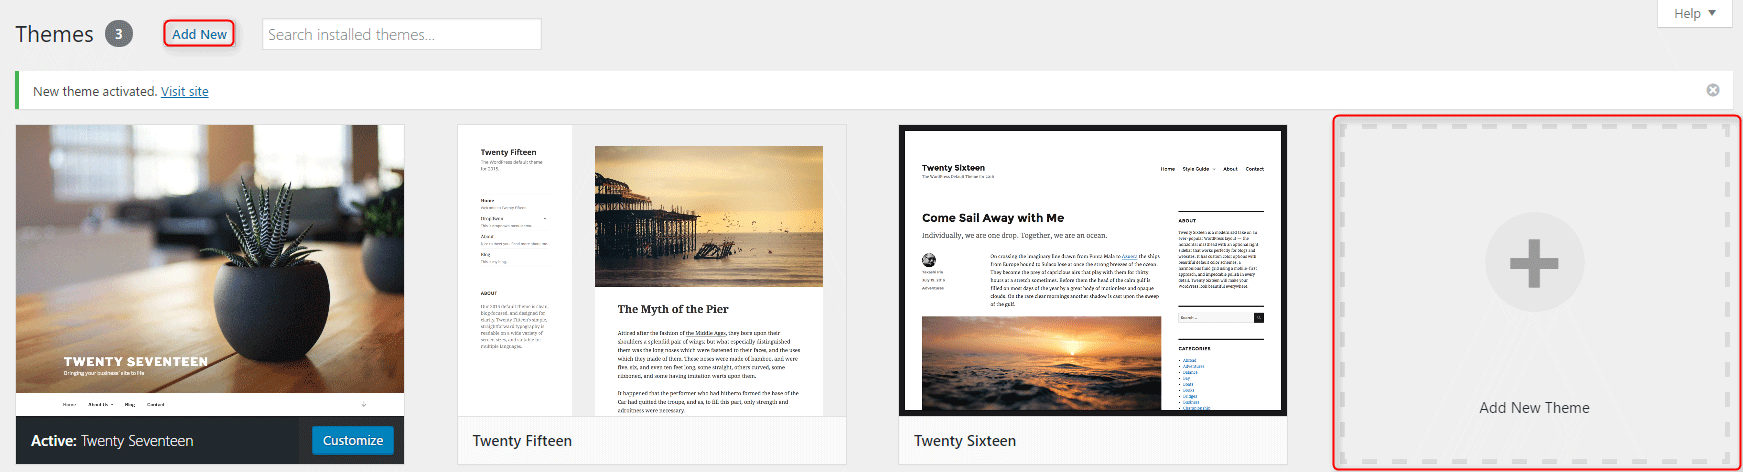
Upon accessing the themes section, you’ll be presented with all the themes currently installed on your site. For first-time visitors, this will typically include two or three default themes that WordPress automatically installs.
To explore additional themes, click the Add New button located above the list of existing themes.
 Or, of course, you can click on the
Step 3: Choose and Install a WordPress Theme
When browsing for a new theme in WordPress, you’re met with two primary methods to find the perfect theme for your site:
- Using the Search Field: Enter specific keywords related to the theme’s intended purpose, such as “News” or “Business,” into the search bar. This search will pull results directly from the WordPress.org theme directory. Once you spot a theme that aligns with your vision, hover over its image to unveil further options. You have the flexibility to preview the theme to see how it looks or proceed directly to install it. After the installation process completes, click on Activate to apply the new theme to your site.
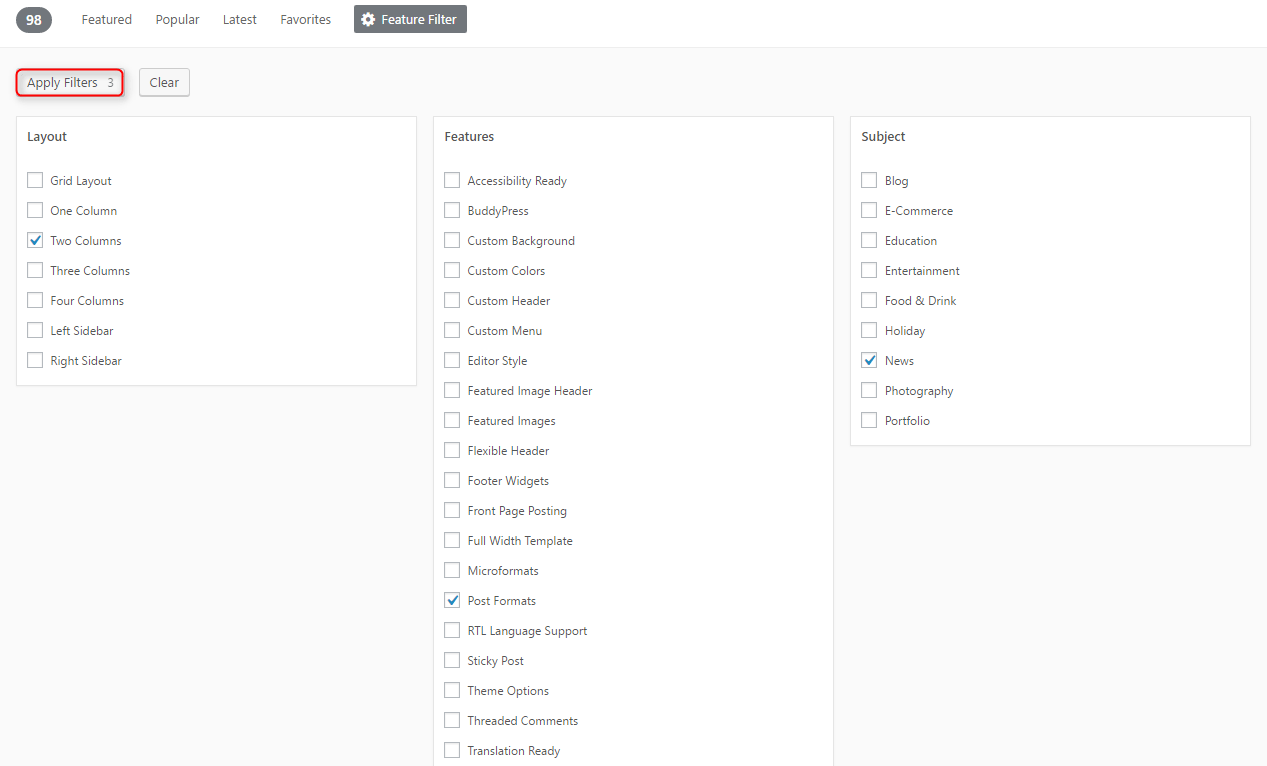
- Browsing Predefined Sections: WordPress simplifies the theme selection process through categories like Featured, Popular, Latest, Favorites, and the Feature Filter. These sections allow for a more guided exploration of themes. For instance, if you’re in search of a “News” theme with a “Two columns” layout that supports “Post Formats,” you can utilize the Feature Filter. Simply tick the appropriate options and hit Apply Filters to narrow down your search results.
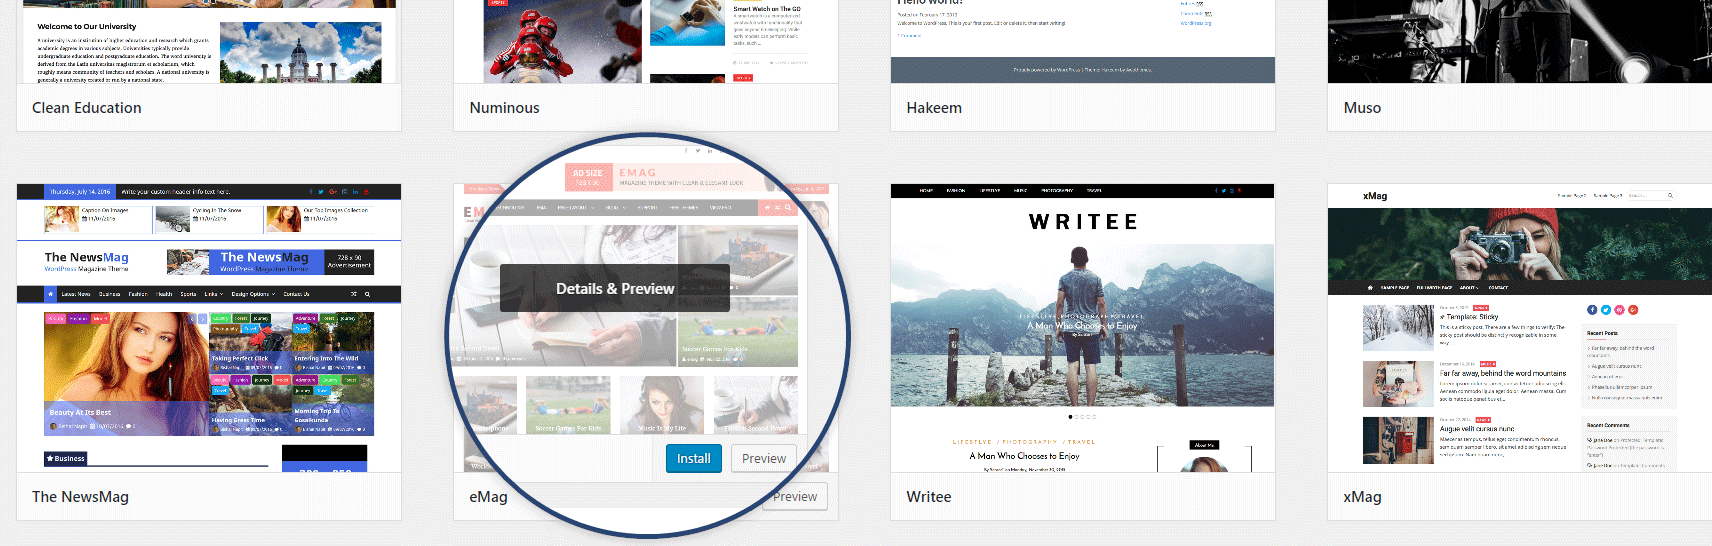
In the search results, you’ll find a list of themes from the WordPress.org theme directory matching your search criteria. As previously mentioned, once you find a theme you like, hover over it, click Install, and then Activate to apply it to your site.
Check the front end of your website to make sure that everything is okay and the website looks as you expected it to.
Tips for Choosing a Theme
- Compatibility: Make sure that the theme you want to use is compatible with the latest version of WordPress and any of the plugins that are crucial for the functionalities of your website.
- Responsiveness: That should go without saying. In times when fewer and fewer people are using desktops to surf the web, you must choose a responsive theme. That will make it look good on both desktop and mobile devices.
- Support and Updates: Support and regular updates are a crucial part of the security of your website. The bigger chunk of the successful attacks on WordPress websites are successful due to a lack of maintenance on the website as a whole, or specific plugins/themes. Check whether the theme you want to use offers regular updates and support from the developers.
- Reviews and Ratings: Naturally, it is a good idea to check what other users think of the theme you want to use.
If you need more in-depth directions, check our previously published article on How to Install WordPress Theme
If you feel like you are ready to go further in the CMS, feel free to browse our WordPress Tutorials section.
Alternatively, check out How to Delete a WordPress Theme.
