
Now that you have installed MediaWiki and learned how to log in to the CMS, it is time to extend MediaWiki’s functionality via extensions.
MediaWiki extensions are sets of files that add various types of functionality to your MediaWiki website. You can use extensions for various features such as adding citations, importing and exporting data, adding maps for geographical location, or, for example, adding code snippets.
MediaWiki extensions can make work on your website easier and faster, and can also help your website visitors work more efficiently with your web pages and online content.
In the following paragraphs, we share how to install a MediaWiki extension on your website.
How to Install MediaWiki Extensions
Most MediaWiki extensions are installed in a similar manner. In short, you should download a given extension to your computer device and then put it in the directory of your core MediaWiki website.
In the following paragraphs, you will read how to do so step by step.
Step 1: Download the MediaWiki Extension
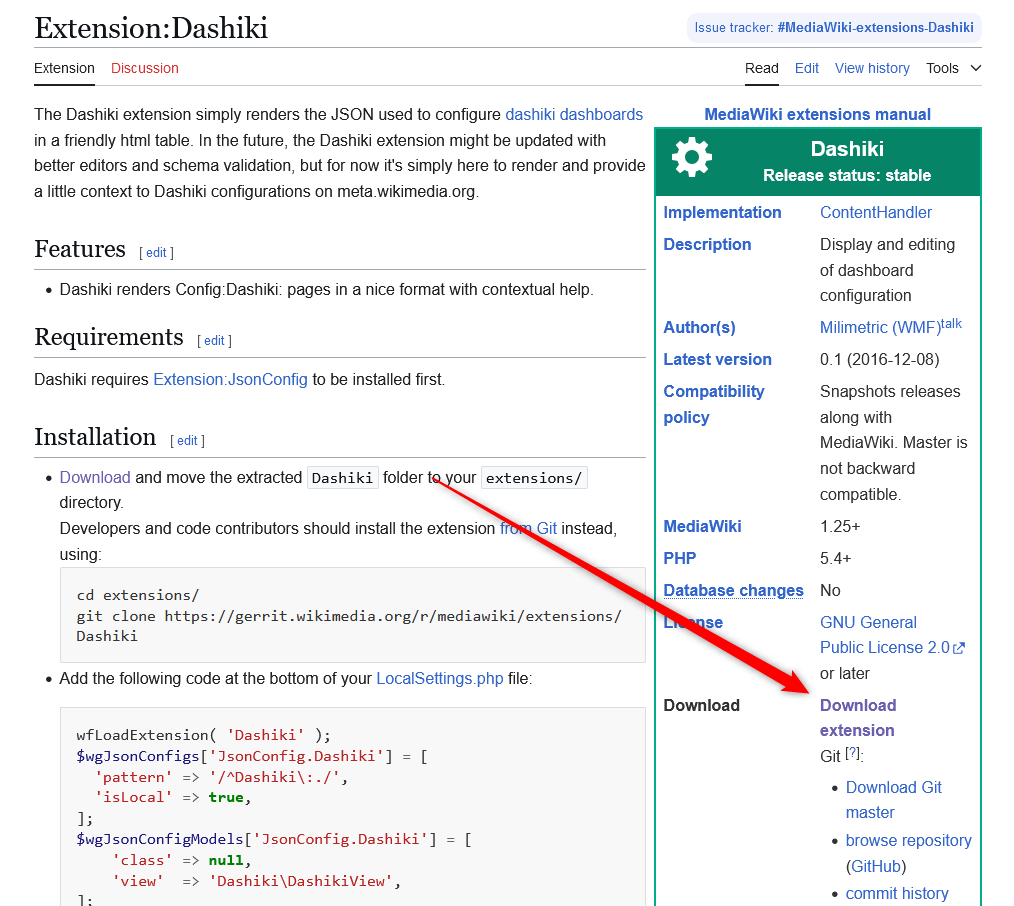
After you find the extension you would like to use, download it on your local machine. The official MediaWiki website contains a vast library of available extensions that you can download right away. You can check the alphabetical list of extensions, or, you can browse for extensions by categories.
Either way you choose to search for an extension, download it on your computer. To do so, on the page with the extension’s overview, click on Download Extension like:
A new page should open. Once you see it, click on the blue Continue button:
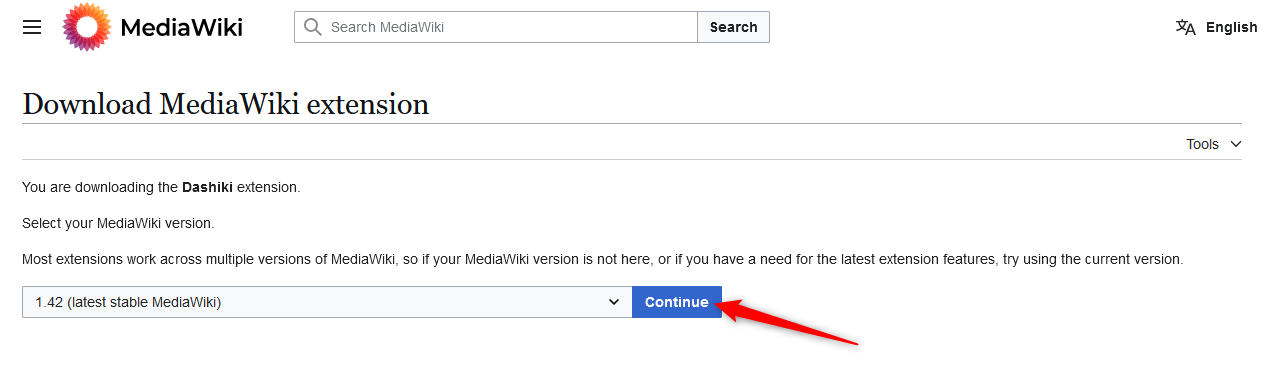
This should start the download process.
Step 2: Upload the Extension to the AwardSpace Server
Now that you have the extension on your computer device, it is time to upload it to the AwardSpace server, containing your MediaWiki website.
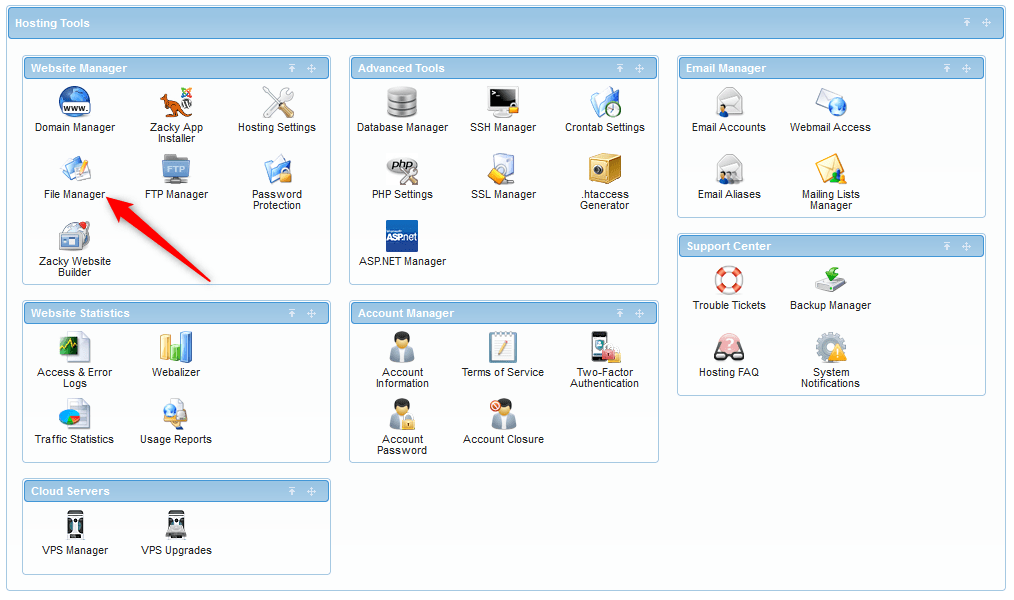
To do so, log in to the AwardSpace hosting panel.
Then, head to File Manager:
Once you open the AwardSpace File Manager, search for the MediaWiki website directory:
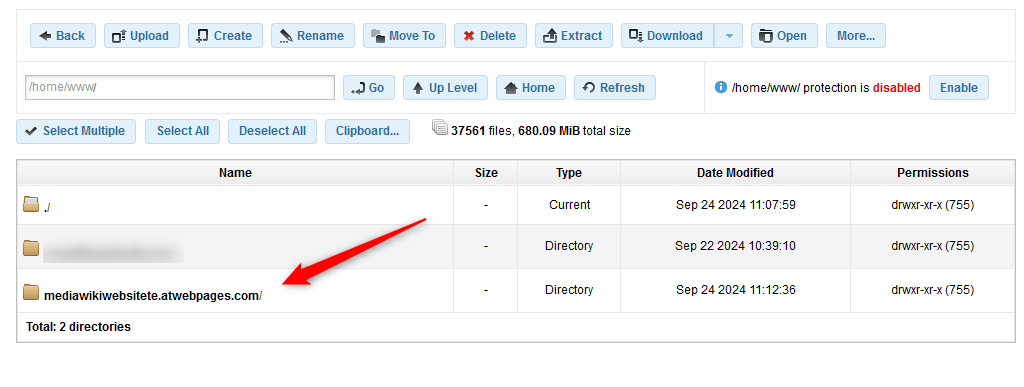
Once there, open the directory search for the extensions folder, and open it:
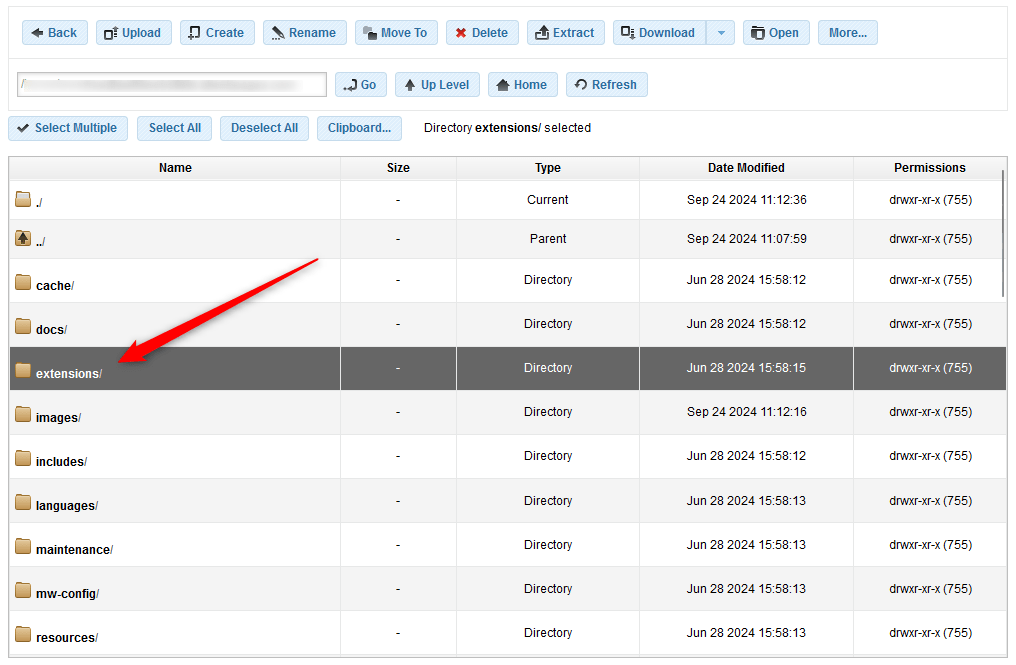
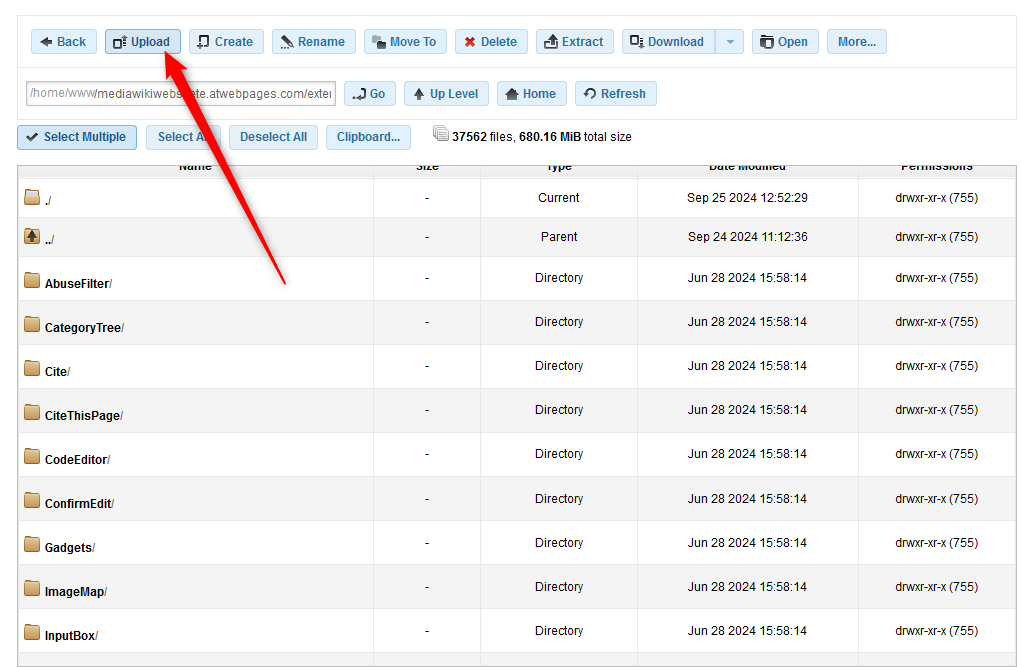
Once inside the Extensions directory, click the blue Upload button, located at the navigation bar at the top of the screen:
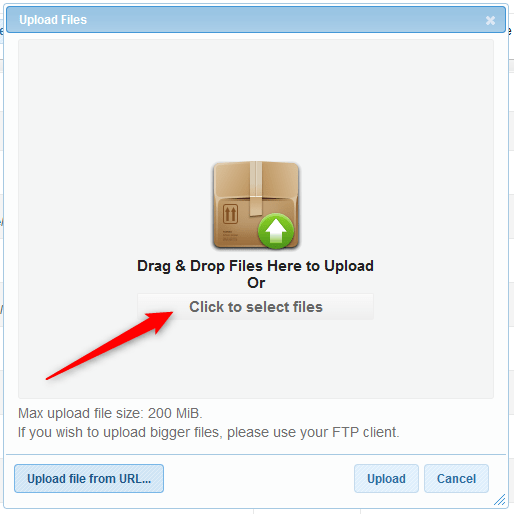
A new window will appear. Once you see it, click on Click to Select Files:
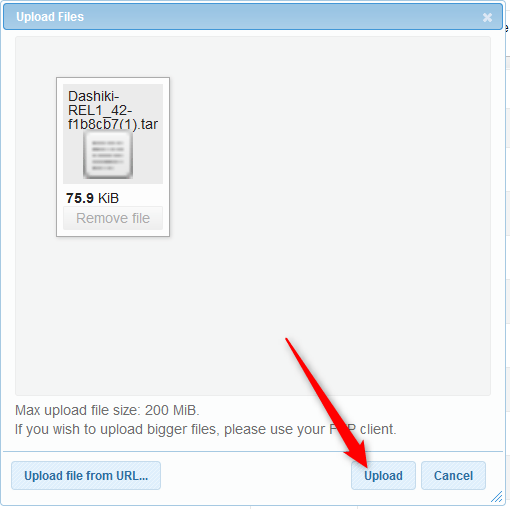
Then, search for the extension you downloaded on your computer device and click on Upload, so you upload it on the AwardSpace server:
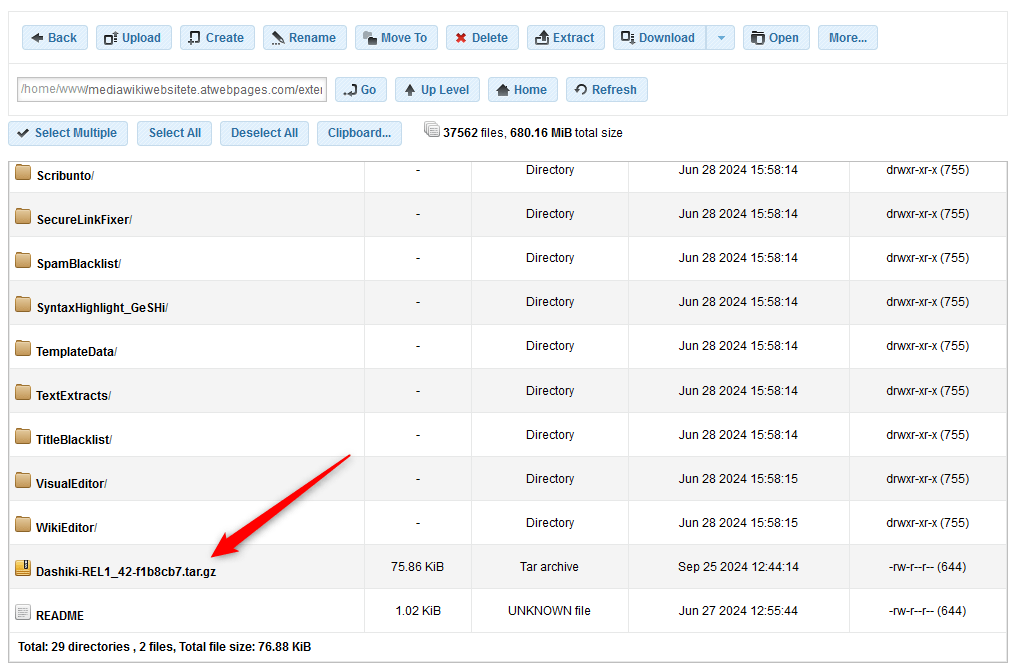
After the process is completed, you will be able to see the extension file within the Extension directory in your AwardSpace hosting panel:
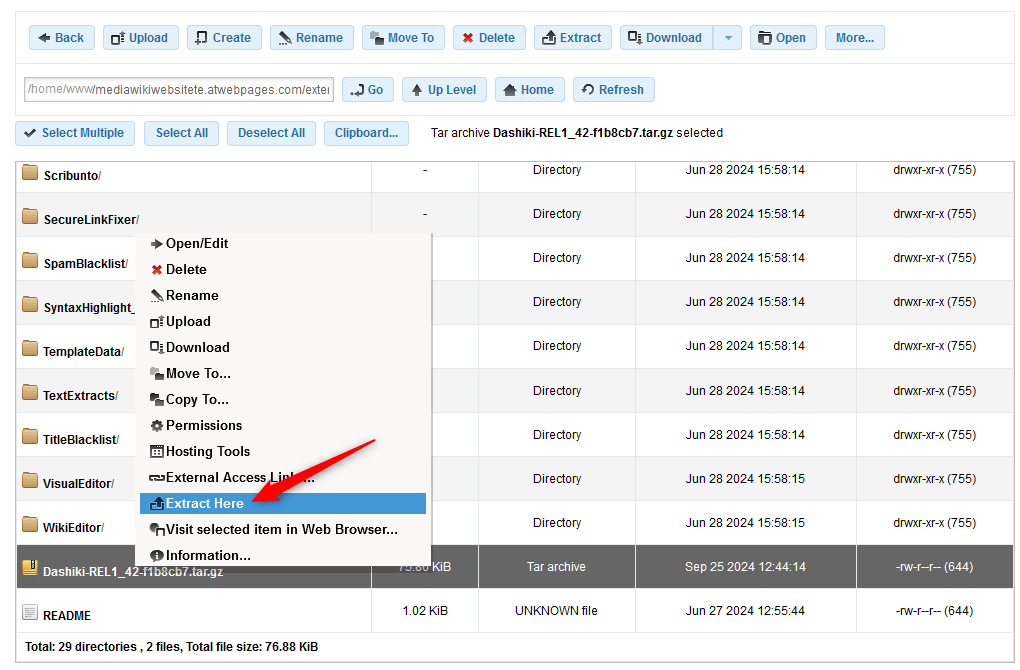
Once you see the file, right-click it and select Extract Here:
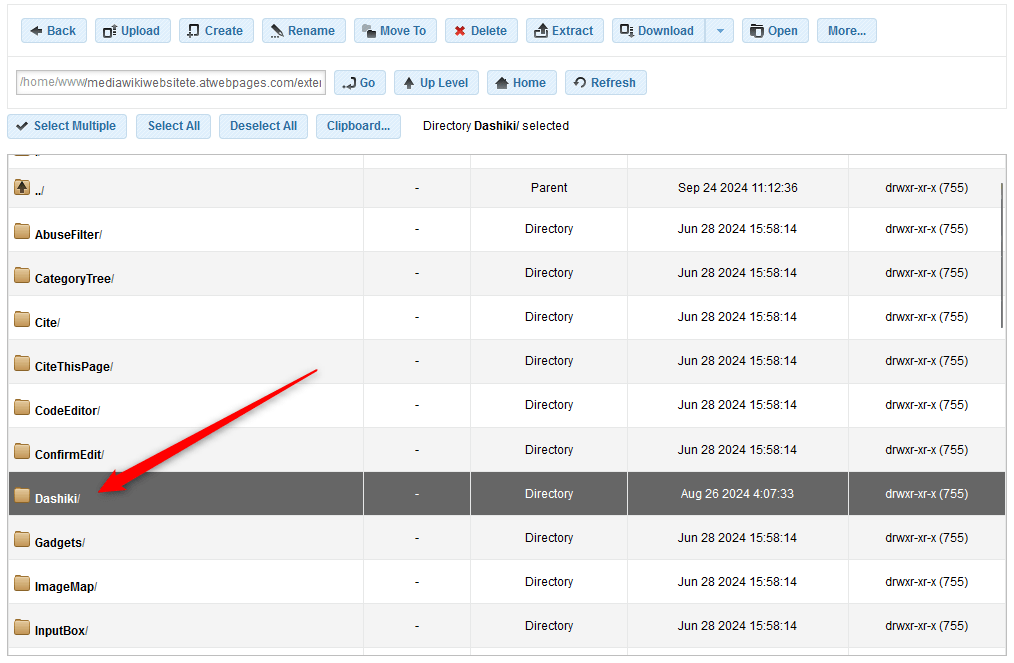
Wait until the process is finished. Once it is, you will see a new folder with the name of the extension you just uploaded:
Now you have managed to install a MediaWiki extension to your website.
How to Activate a MediaWiki Extension
Although you have managed to upload an extension to MediaWiki, you won’t be able to use it until you activate it.
To activate a MediaWiki extension, log in to your AwardSpace hosting panel and head to the root folder of your MediaWiki website, as shown in Step 2 in this article.
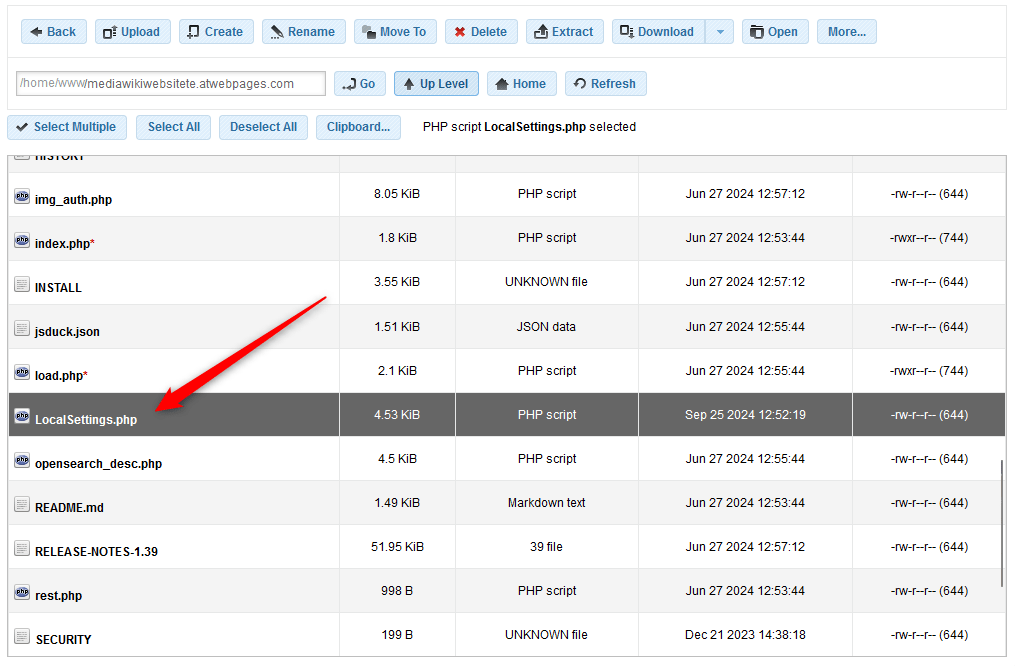
After you enter the MediaWiki directory, search for a file named LocalSettings.php and open it by double-clicking on the file’s icon:
Once you open it, head to the bottom of the document and add this code snippet:
require_once “$IP/extensions/name-of-extension/name-of-extension.php”;
Now, replace the first name-of-extension string with the name of the extension’s folder, and then replace the second name-of-extension string with the name of the extension you just uploaded to the MediaWiki folder.
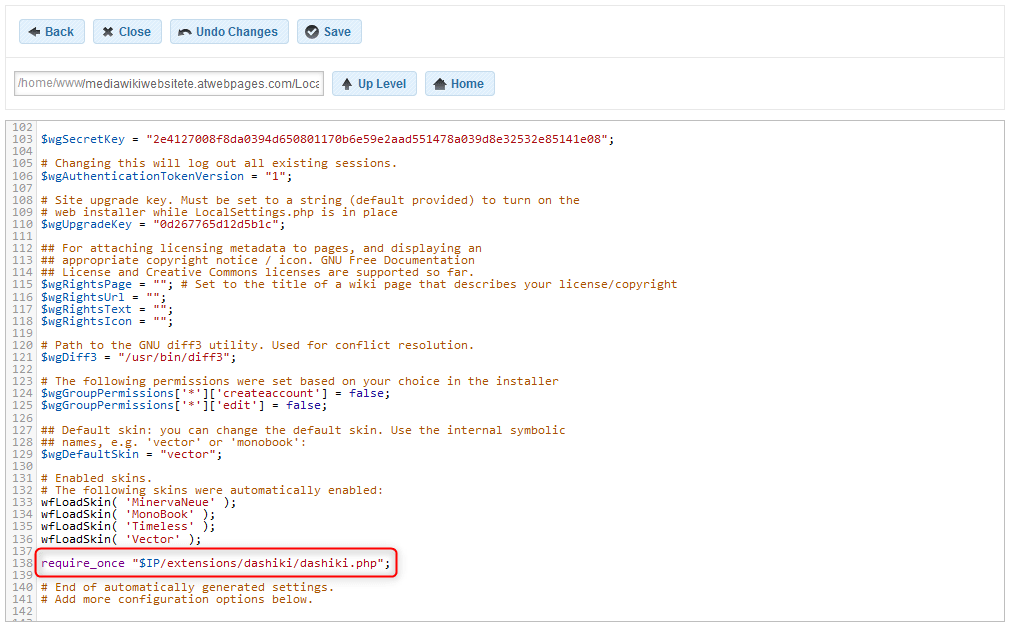
In our example, we uploaded an extension named Dashiki. So, we add this name to the code snippet, so it looks like this:
require_once “$IP/extensions/dashiki/dashiki.php”;
Here’s how it looks in the AwardSpace hosting panel:
Once you add this code snippet within the LocalSettings.php file, click on the blue Save button in the navigation bar at the top of the screen:
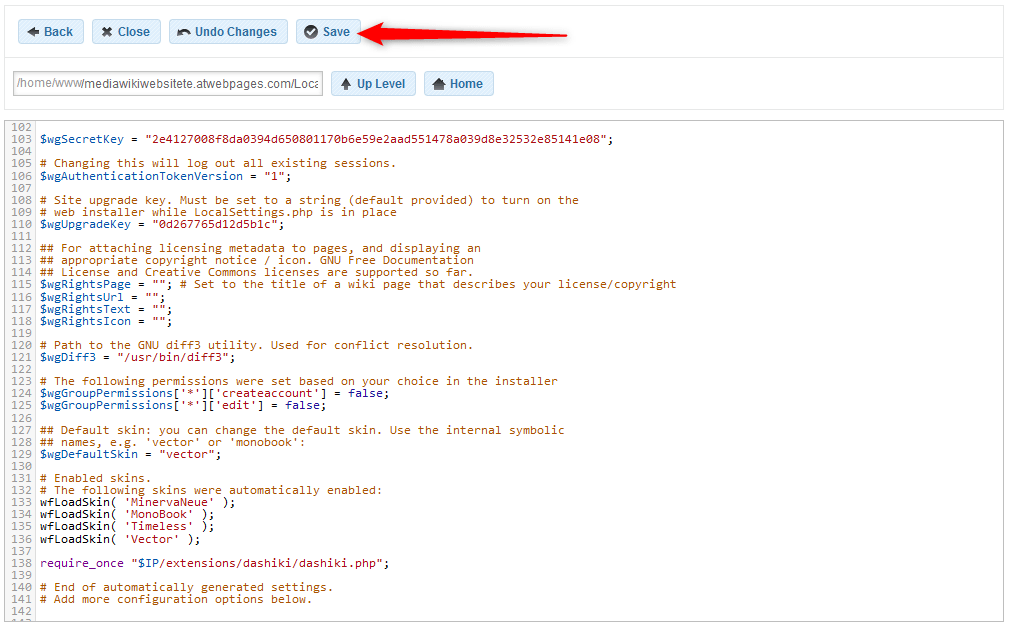
This will save and apply all the changes you made to the document.
Conclusion
Installing a MediaWiki extension is a simple process and in this article, we show how you can do so by following a few simple steps.
Read also:
- How to Install MediaWiki
- How to Log In to MediaWiki
- How to Create a Page in MediaWiki
- How to Install a MediaWiki Skin
- How to Add Infobox Module in MediaWiki
- How to Fix MediaWiki Internal Error
- How to Find Modules in MediaWiki
- How to View and Manage Recent Images in MediaWiki
- How to Check if SELinux is Enabled in MediaWiki
