How to Install WordPress

Home » Help » Creating your first website » How to Install WordPress

Understanding how to install WordPress and make a website with the platform is quite simple.

There are only a few steps you should follow before being able to use the CMS to create a great website.

In the following paragraphs, you will read how to install WordPress in a matter of minutes.

In short:


How to Install WordPress

To install WordPress, follow these steps:


Register to AwardSpace

To publish a website on the Web, you need a hosting plan. This is why, the first step you should take is to register to any of the AwardSpce hosting plans. Depending on your preferences, you can choose between shared hosting, semi-dedicated hosting, or VPS plans.

AwardSpace also offers a WordPress hosting plan, specially optimized for WordPress websites.

Regardless of which hosting plan you choose, the following steps are identical.

Also, read about:


Register a Domain Name

Although not a mandatory element of websites, domain names remain important for each contemporary site project. To do so, check the domain name availability and purchase the one that fits your preferences and needs best.

Read Also:


Enter the AwardSpace Hosting Panel

Now that you have registered to a hosting service and have a domain name, it is time to install WordPress.

To do so, the first thing you should do is log in to your AwardSpace hosting panel.

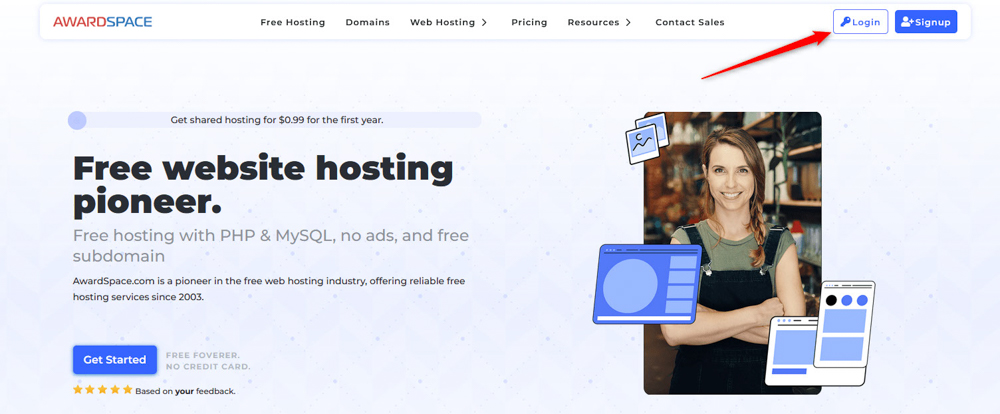
To log in, go to AwardSpace.com and click on the white Login button at the top right corner:

Log in AwardSpace hosting panel to install WordPress


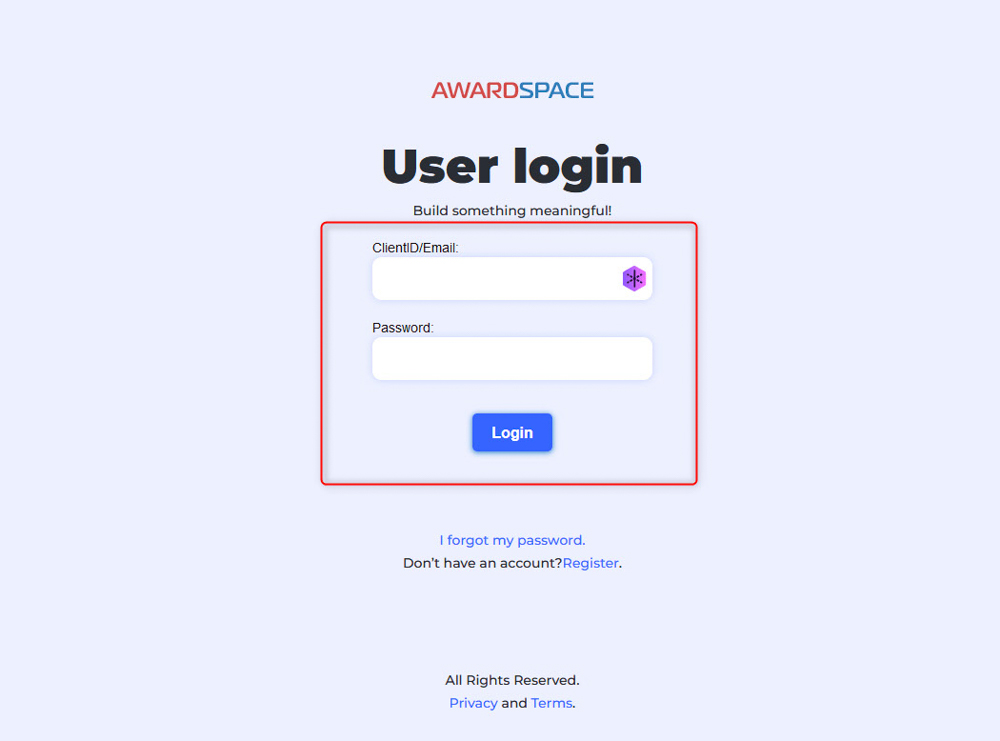
A new web page will open:

Enter your AwardSpace credentials to access the hosting panel


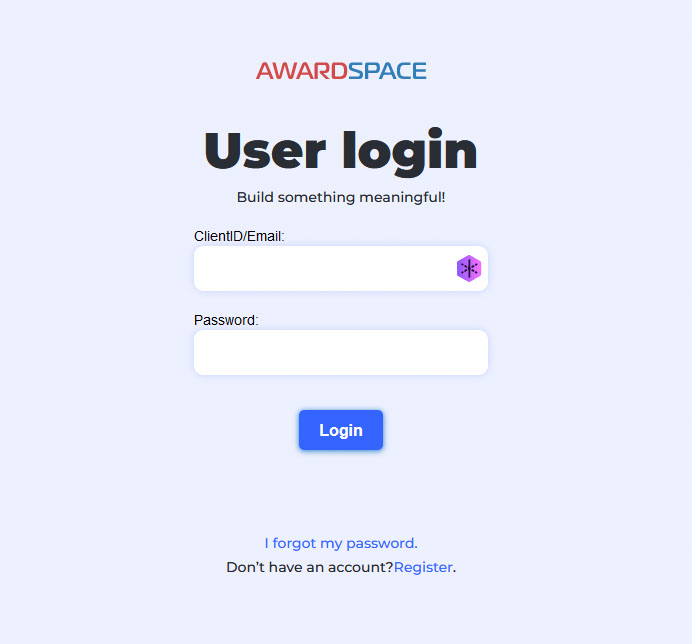
While on this page, enter your AwardSpace credentials (the email and password you chose when registering to an AwardSpace hosting service) and click the blue Login button:

Log in with your AwardSpace credentials


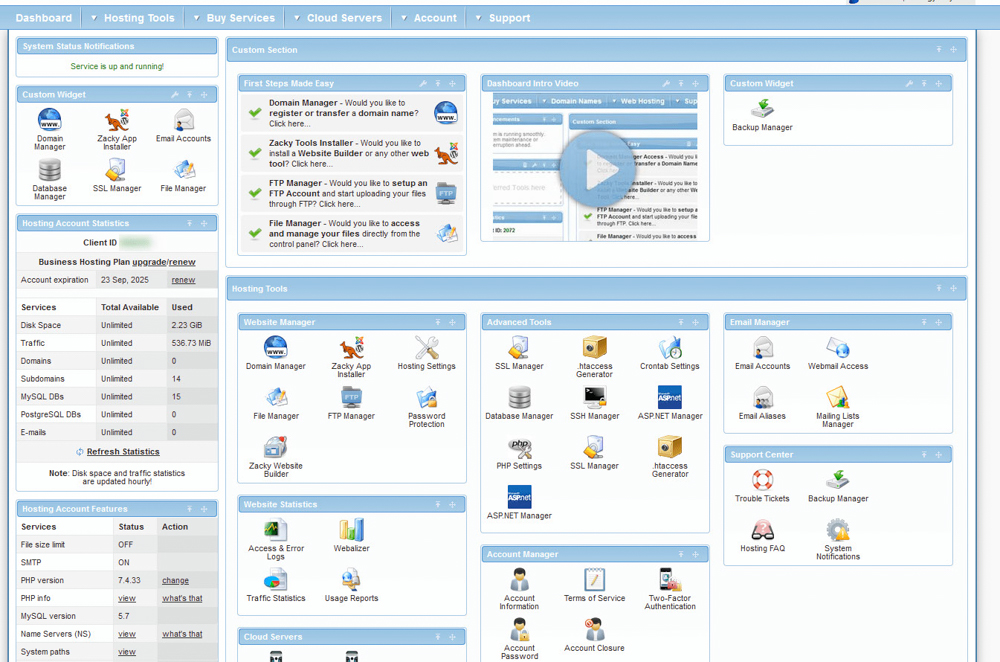
This will lead you to the AwardSpace hosting panel:

Enter the AwardSpace hosting panel


Install WordPress With Zacky App Installer

Now that you have entered the AwardSpace admin panel, it is time to install WordPress.

To do so, within the hosting panel find and click on Zacky App Installer:

To install WordPress, open Zacky App Installer


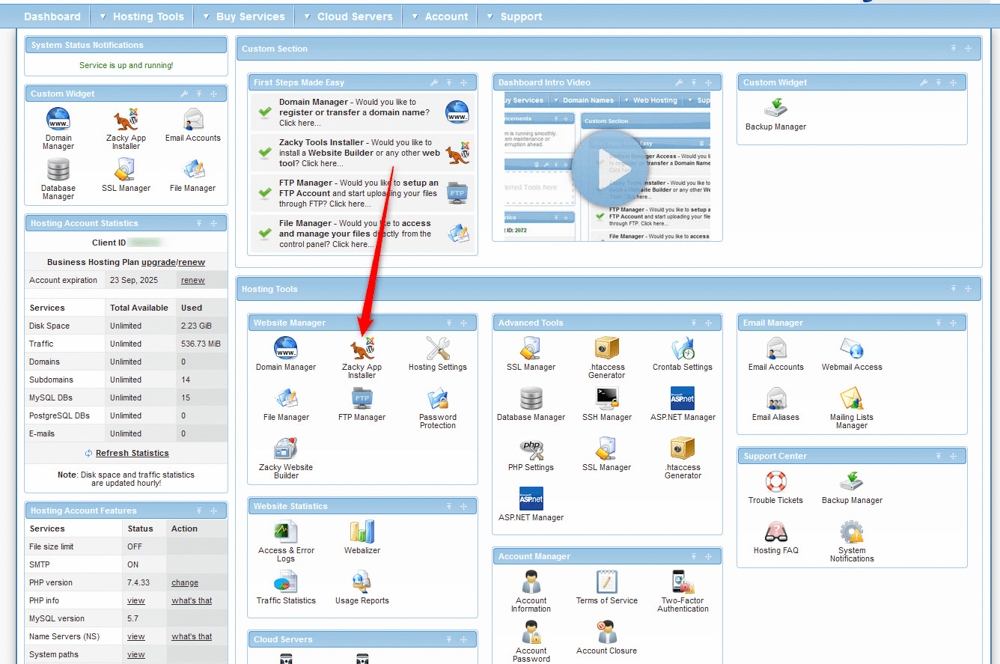
Once you click the icon, a new page will load:

Zacky App Installer


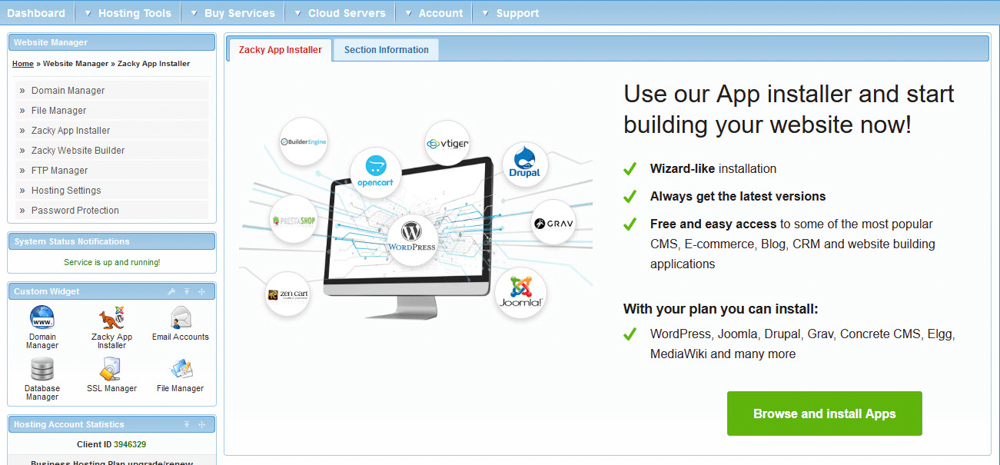
From here you can install plenty of CMS (Content Management System) platforms, including WordPress.

Read also:


To begin the installation process, click on the green Browse and Install Apps:

Click the green button to browse and install CMS apps


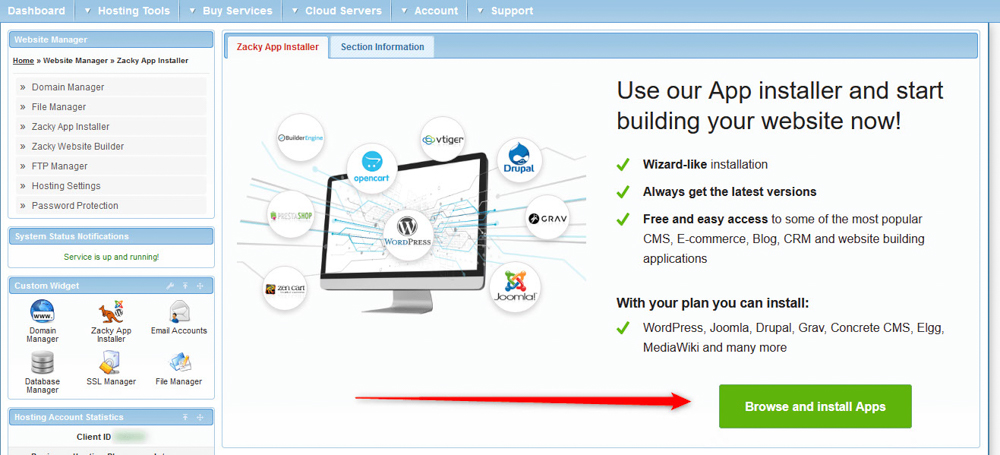
Once you click the button, a list with available platforms will appear:

AwardSpace list of CMS apps


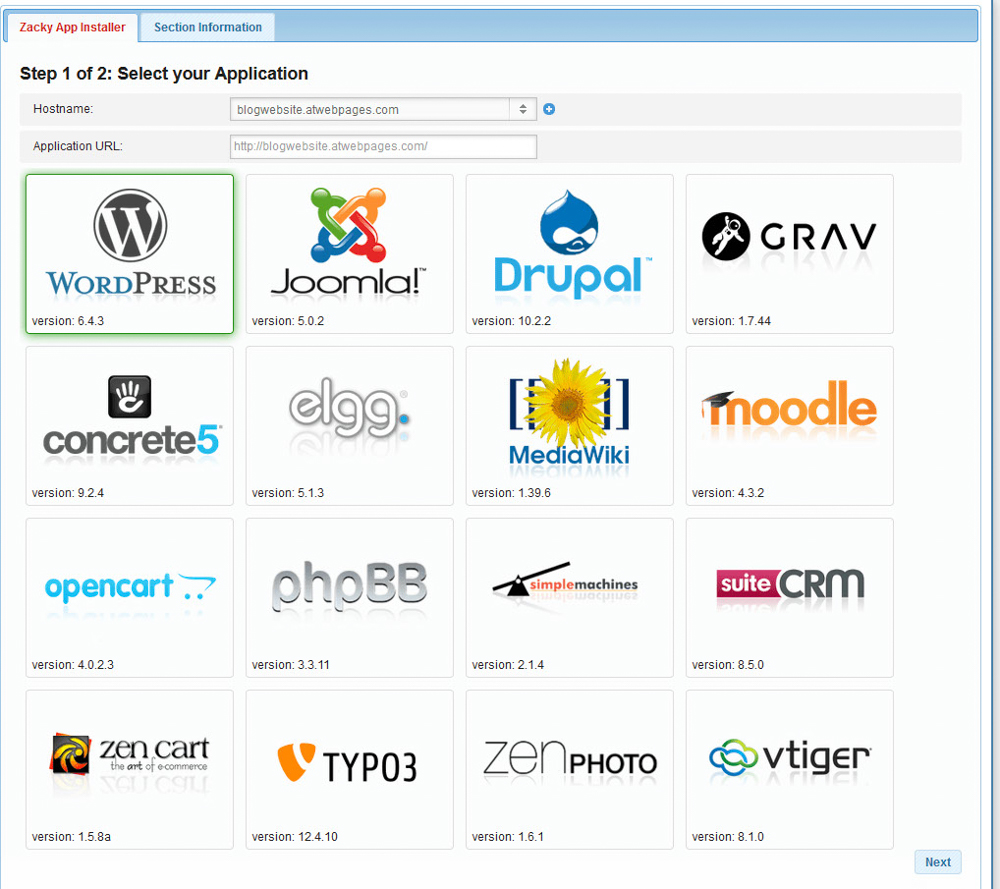
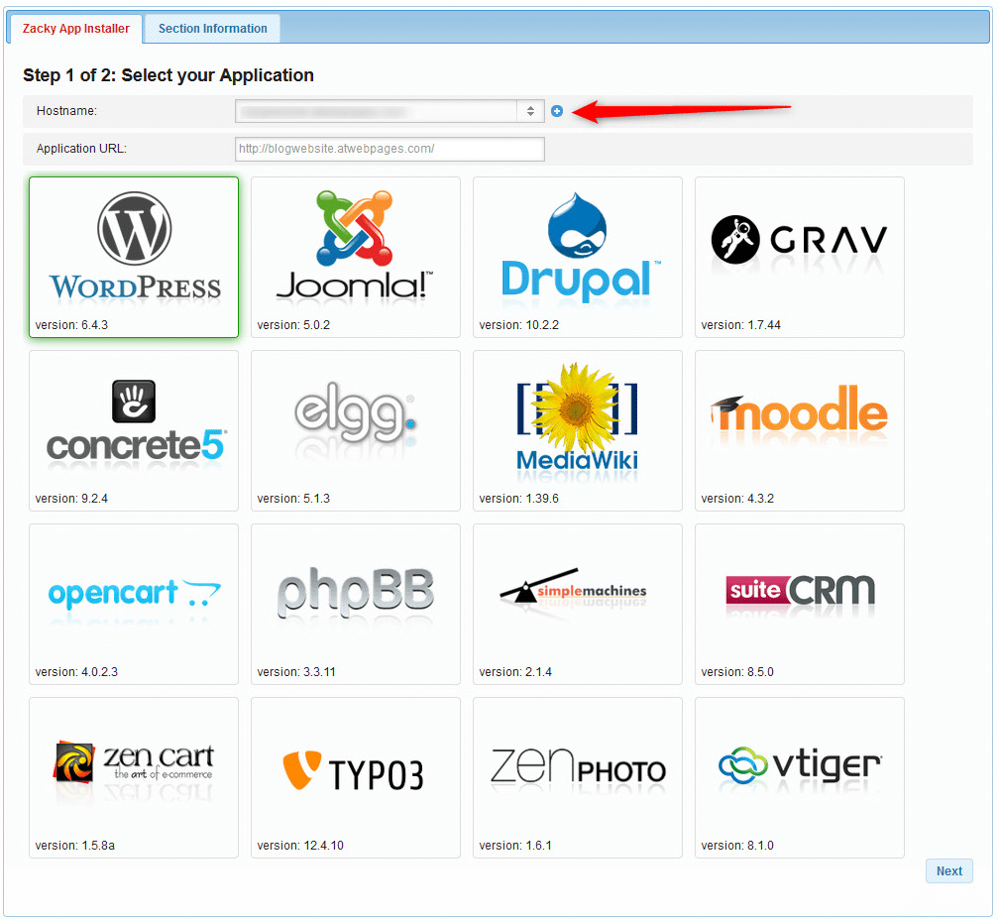
While here, the first thing you should do is select which domain will be connected to the WordPress app you are about to install.

To do so, from Hostname select the domain name you registered earlier in the process:

Select domain name to use with WordPress


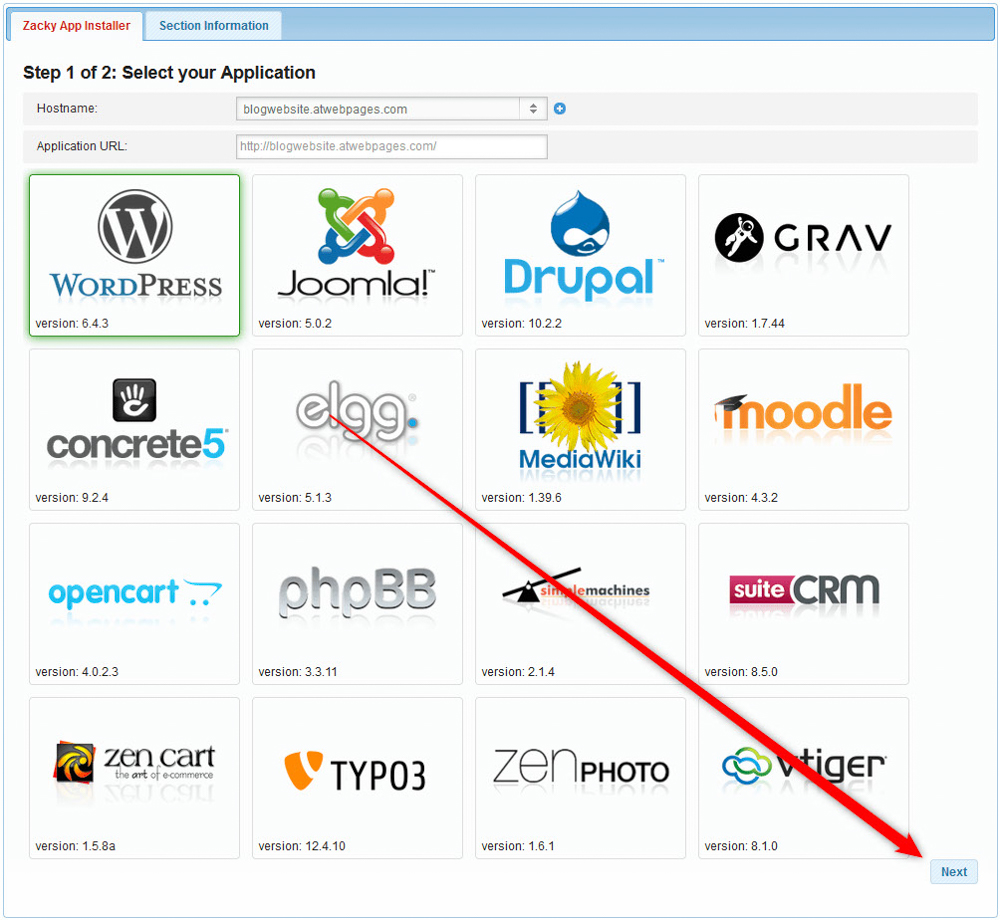
Once you have selected your domain name, you can begin installing WordPress.

To install the CMS, click on the WordPress icon from the list of available apps:

Select WordPress to install the CMS


Then click on the blue Next button, located at the bottom right corner of the screen:

Proceed forward with the installation of WordPress


Clicking the blue Next button would open a new web page, which prompts you to select the admin username and admin password and an email address for your WordPress website:

Add WordPress credentials


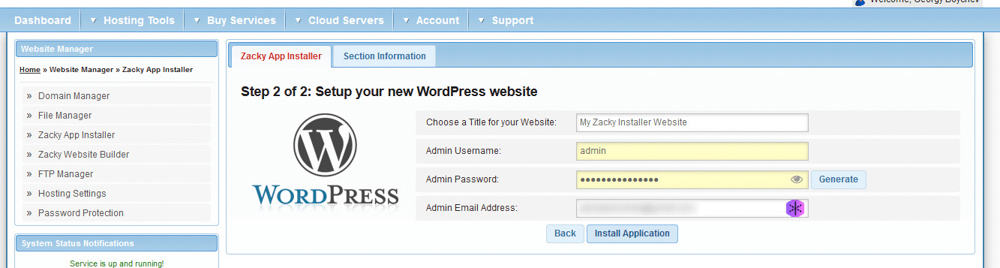
Choose your credentials and click on the blue Install application:

Install WordPress


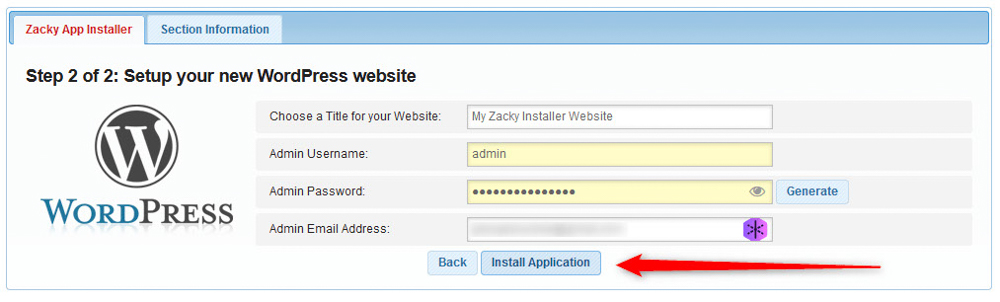
N.B! Remember these credentials, as you will use them to log in the WordPress admin dashboard,

Clicking the button would prompt the WordPress installation:

WordPress installation process


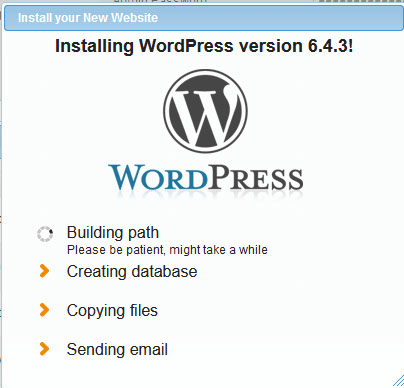
Once the installation process has finished, a message will appear:

WordPress installation finished message


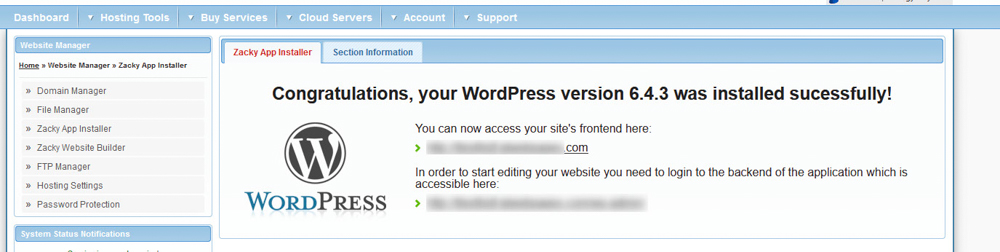
Now you can log in to your WordPress website and start building


Log In to the WordPress Dashboard

To start working on your WordPress website, you should log in to the platform’s admin panel.

There are three main ways to do so:

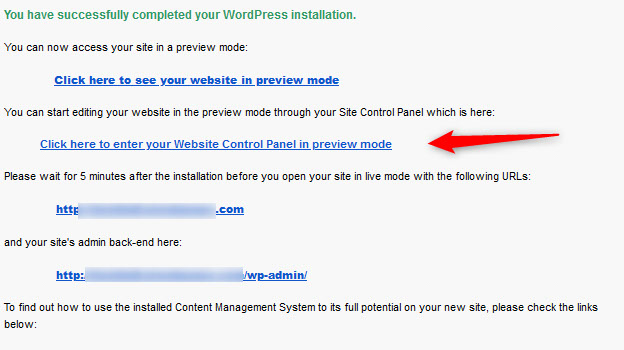
The first way is to follow the link path from the message box that appeared once WordPress was installed:

WordPress admin dashboard login link


The second way is to follow the instructions you received in your email once WordPress was installed:

WordPress admin dashboard email login link


The third way is to manually add an element to your domain name.

The process is simple: at the right of your domain name, you simply add

/wp-admin/

Here’s an example:

Httpt://www.examplewebsie.com/wp-admin/


Either way, you choose, your browser will open the WordPress login page:

WordPress admin dashboard login page


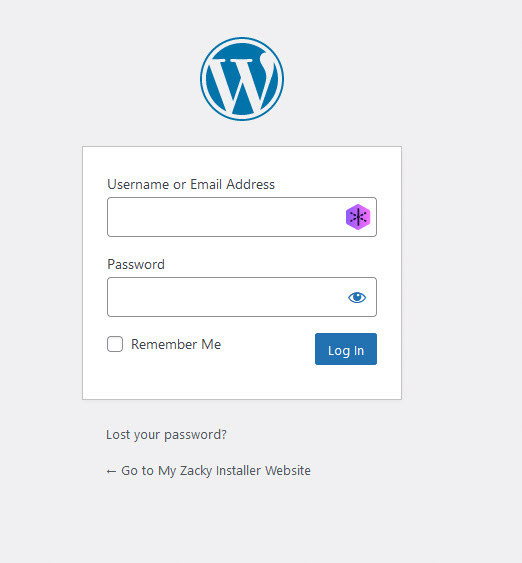
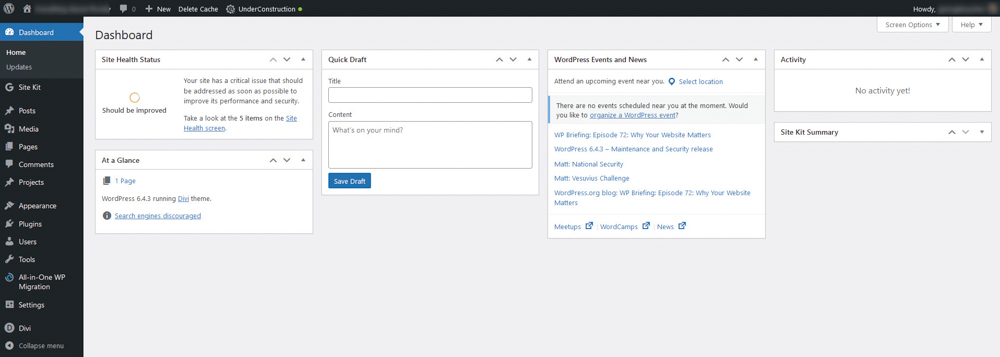
Now you can enter your credentials log in to the WordPress admin dashboard and start working on your website:

Log in to your WordPress admin dashboard


How to Install WordPress – Conclusion

Installing WordPress is simple and fast.

You only need to follow a few quick steps before installing and using the app to create your beautiful and fully functional website.

Was this post helpful?

i

Relevant tags:

Connect

Latest posts:

How to Check My Hosting Limits

To check your hosting limits, follow these steps: First, log in to the hosting control panel. Then, via the dashboard, head to Hosting Settings:   After that, click the Hosting Limits tab:   Then, you will access the information about your account's hosting...

How to Access the Security Settings of My Domains

Accessing the security settings of your hosted domains is easy with AwardSpace. You can access the settings in just a few minutes by following the steps below. First, log in to the AwardSpace hosting panel. Then, head to the Domain Manager page by clicking the...

How to Access The Name Servers Settings of My Domain

Accessing the name server settings with AwardSpace is quite simple. Just follow the next steps. First, log in to the AwardSpace hosting panel. Then, head to Domain Manager:   After that, locate the domain whose Name Server settings you wish to access and click...

How to Access the DNS Settings of My Domains

Accessing the DNS settings of your domains is easy with AwardSpace. The process is comprised of a few simple steps and requires only a minute or two of your time. First, log in to the AwardSpace hosting panel. Then, head to the Domain Manager:   After that,...


Create a website for free!


Free forever

Our Support Team is Here to Help


If you need any questions answered, don't hesitate and contact us. Click the button below and follow the instructions. You can expect an answer within an hour.


Contact AwardSpace


iNewest knowledge base articles

How to Check My Hosting Limits

To check your hosting limits, follow these steps: First, log in to the hosting control panel. Then, via the dashboard, head to Hosting Settings:   After that, click the Hosting Limits tab:   Then, you will access the information about your account's hosting...

How to Access the Security Settings of My Domains

Accessing the security settings of your hosted domains is easy with AwardSpace. You can access the settings in just a few minutes by following the steps below. First, log in to the AwardSpace hosting panel. Then, head to the Domain Manager page by clicking the...

How to Access The Name Servers Settings of My Domain

Accessing the name server settings with AwardSpace is quite simple. Just follow the next steps. First, log in to the AwardSpace hosting panel. Then, head to Domain Manager:   After that, locate the domain whose Name Server settings you wish to access and click...

How to Access the DNS Settings of My Domains

Accessing the DNS settings of your domains is easy with AwardSpace. The process is comprised of a few simple steps and requires only a minute or two of your time. First, log in to the AwardSpace hosting panel. Then, head to the Domain Manager:   After that,...

How to Access The Settings for My Subdomains

Accessing the settings for your subdomain with AwardSpace is quite simple. First, log in to the AwardSpace hosting panel. Then, head to Domain Manager:   A new page should open. Once you see it, scroll down until you see your list of hosted subdomains:  ...

Even more web tutorials

Check out our web hosting knowledge base and the WordPress tutorials to learn more, and be better prepared for your website creation and maintenance journey.