Free Hosting Content Filtering and How to Resolve 403 Error

Home » Knowledge Base » F.A.Q. » Fair Use Policies » Free Hosting Content Filtering and How to Resolve 403 Error

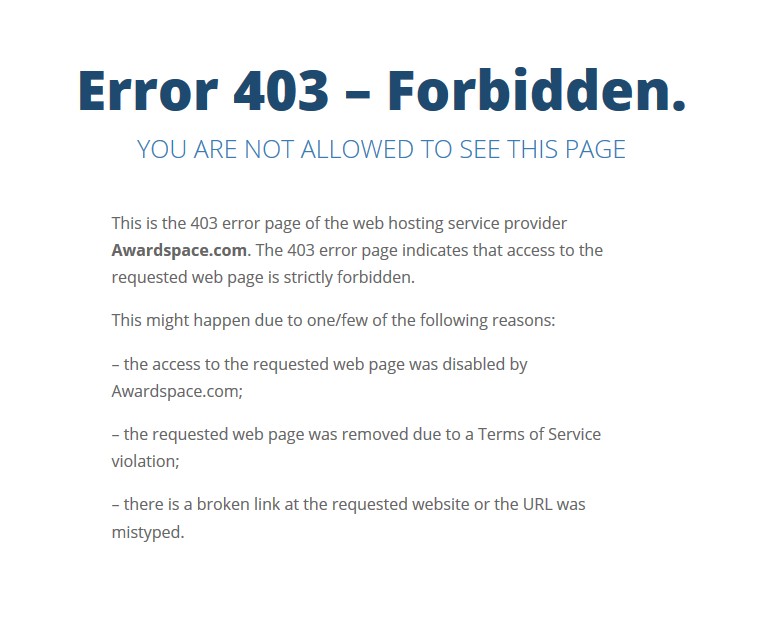
You have created a free account with us, added a domain, and created a website. However, one or more of your pages return a 403 error and you can find out what the problem is. In this article, we will talk about what is causing it and how to fix it.


What is causing the error?

The most common reason for the 403 error on the free plan is our content filtering. Due to a high number of abuses conducted on our free hosting servers, we have enabled automatic content filtering. This is stated in our Terms of Services as well:

5. Your responsibilities

g. YOU acknowledge and agree that based on its sole discretion awardspace.com might filter abusive words and/or links due to security reasons (i.e. words or links of PayPal, eBay, AOL, Amazon [not limited to]).

As such, your page most likely contains one of the forbidden words in our list.

The second reason for having a 403 error is when the directory for your domain/subdomain is deleted.


How to fix the error if your domain/subdomain directory is deleted?

First, you will have to go to your File Manager and check if the domain/subdomain directory is there. The name of your directory should match your domain/subdomain name. If the directory is missing you have to recreate it. This can be done either through the File Manager or the Domain Manager.

If you are not sure how to work with our File Manager you can check our tutorial here.

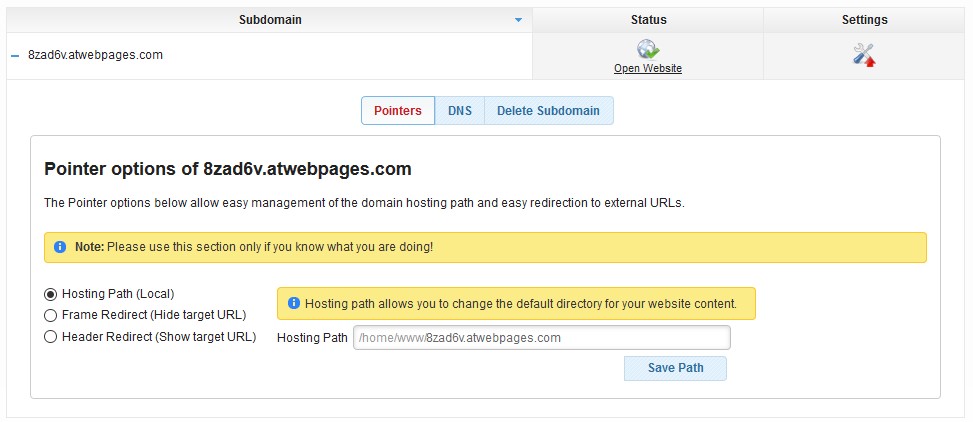
If recreating the directory does not resolve the problem please check if the pointer for the domain/subdomain is set correctly. You can do this from the Domain Manager > Settings > Pointers and check if the Hosting Path (Local) is the correct directory and click Save Path.


How to fix the error if your page contains a forbidden string?

If you experience this issue, you must first contact our technical support team and they will notify you what are the forbidden strings on your pages. You can contact the technical support team by opening a Trouble Ticket or sending us an email at support@supportindeed.com.

You can refer to our article for our Trouble Ticket section if you need help with submitting your ticket.

Now that you know what the forbidden strings you will have to go through the code of your website and remove it from there.  There are a couple of ways that can be used for editing your code and removing the strings.

  • Editing your pages via the File Manager
  • Editing your page locally on your device and then uploading it again

Once the forbidden string(s) is removed the 403 error will be automatically resolved. Be advised that this method would work only for websites, which store their content inside a file.

If your website content is stored inside your database, you will have to search for the forbidden string inside the database. We will review how this is done further in this article.

Note: Make sure to use the Find option for your browser or your local text-editing tool when searching for the forbidden string.


How to search and remove a forbidden string inside a database?

As mentioned above, some websites store their content inside a database. A similar website would be one built with WordPress. To search and remove the forbidden string inside a database follow the steps below:

  1. Open your Database Manager
  2. Open the phpMyAdmin for your website database
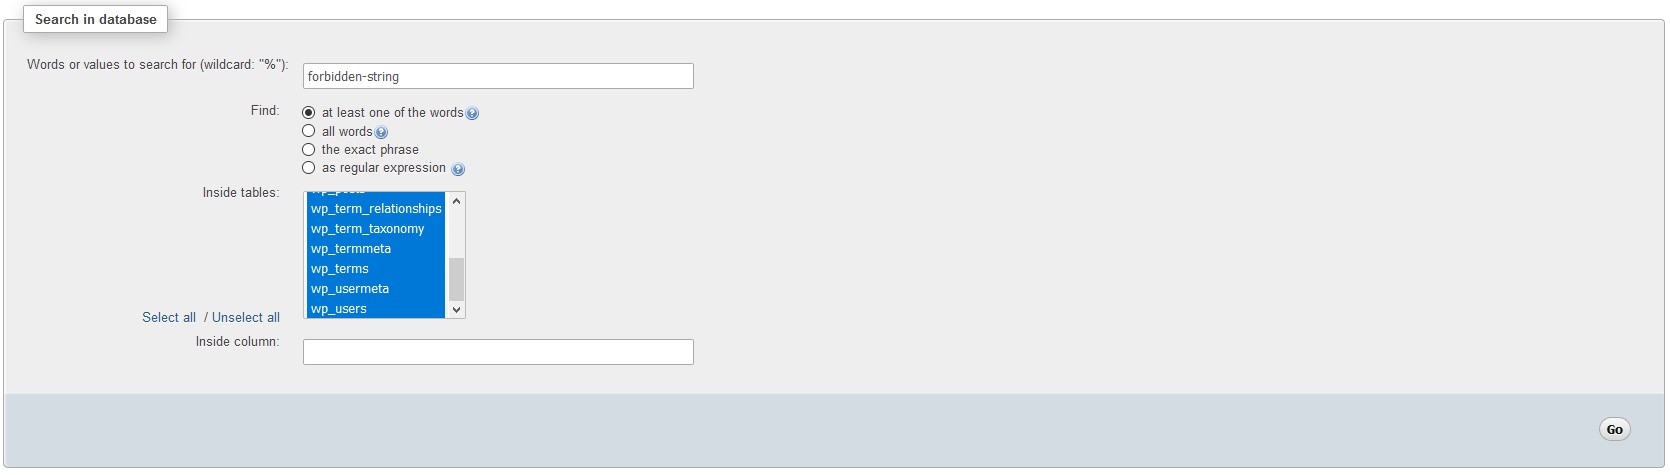
  3. Once inside the phpMyAdmin click on the Search tab
  4. Inside the search, tab enter the string that you would like to find
  5. Then select the tables in which you would like to search (If you are not sure you can select all tables)
  6. Click Go
  7. The phpMyAdmin will return the result of the tables and the data that contains the forbidden string
  8. Edit the role that contains the string and remove it
  9. Once you have done that the 403 error will be resolved


Can I remove the content filtering for my account?

As with every other restriction on our free hosting plan in order to remove it, you will have to upgrade to one of our paid hosting plans. Once the order is approved and your hosting plan is upgraded your website will start working.

Was this post helpful?

i

Relevant tags:

Connect

Latest posts:

How to Upload Files in Zenphoto

Knowing how to upload files in Zenphoto is a fundamental skill. In this guide, we share how to go through the process and manage your project and media library quickly and easily.   Step 1: Log in to Zenphoto The first step in the process is to log in to...

How to Back Up your TYPO3 Project

In this article, we outline the step-by-step process for backing up your TYPO3 project, ensuring that all your data, settings, and other essential information are safely stored. Regardless of your level of expertise, this method is simple to follow and provides...

How to Install Themes in TYPO3

Learning how to install themes in TYPO3 is essential, as it enables you to personalize your website fully. Whether you are working on a personal blog or a complex business website, the process of installing a theme in TYPO3 is the same. In this article, we share how...

How to Add Extensions to TYPO3

TYPO3 is a versatile platform that allows you to customize it any way you wish. One of TYPO3's strengths is the so-called extensions that enable you to add any kind of functionality to your website. In this article, we share how to add extensions to TYPO3. What are...

How to Add a Page in TYPO3

TYPO3 is a versatile platform that offers numerous features and an intuitive interface. If you're just getting started with the CMS, one of the first tasks you'll likely complete is creating a new page for your website. In this guide, we showcase how to do so and...


Create a website for free!


Free forever

Our Support Team is Here to Help


If you need any questions answered, don't hesitate and contact us. Click the button below and follow the instructions. You can expect an answer within an hour.


Contact AwardSpace


iNewest knowledge base articles

How to Upload Files in Zenphoto

Knowing how to upload files in Zenphoto is a fundamental skill. In this guide, we share how to go through the process and manage your project and media library quickly and easily.   Step 1: Log in to Zenphoto The first step in the process is to log in to...

How to Back Up your TYPO3 Project

In this article, we outline the step-by-step process for backing up your TYPO3 project, ensuring that all your data, settings, and other essential information are safely stored. Regardless of your level of expertise, this method is simple to follow and provides...

How to Install Themes in TYPO3

Learning how to install themes in TYPO3 is essential, as it enables you to personalize your website fully. Whether you are working on a personal blog or a complex business website, the process of installing a theme in TYPO3 is the same. In this article, we share how...

How to Add Extensions to TYPO3

TYPO3 is a versatile platform that allows you to customize it any way you wish. One of TYPO3's strengths is the so-called extensions that enable you to add any kind of functionality to your website. In this article, we share how to add extensions to TYPO3. What are...

How to Add a Page in TYPO3

TYPO3 is a versatile platform that offers numerous features and an intuitive interface. If you're just getting started with the CMS, one of the first tasks you'll likely complete is creating a new page for your website. In this guide, we showcase how to do so and...

How to Use Modules in TYPO3

TYPO3 is a CMS based on a modular architecture, meaning that users can use various built-in tools and add-ons to manage content, other users, configurations, and more. In this guide, we share how to use modules in TYPO3, so you get the most out of them.   What...

Even more web tutorials

Check out our web hosting knowledge base and the WordPress tutorials to learn more, and be better prepared for your website creation and maintenance journey.