
What is Gutenberg:
Gutenberg is the name of the new post editor that ships with WordPress. Unlike its predecessor, Gutenberg is entirely block-based. This means that every page element like a paragraph, an image, a video, etc lives inside a block. Gutenberg blocks can be moved around with ease and they tend to more accurately depict how your page will look once it is published.
WordPress has shipped with a free-form post editor since its inception. However, in late 2018, WordPress 5.0 introduced a brand new post editor called Gutenberg. Named after Johannes Gutenberg, the inventor of the printing press, the new post editor promises to revolutionize how we create and publish content in WordPress. Gutenberg’s standout feature is the use of blocks to help you encapsulate and manage your content.
In this article, we will provide you with a crash course on Gutenberg, WordPress’ Block Editor, so you can hit the ground running and start creating right away.
Table of Contents
The Blocks Concept, Explained
As we mentioned in our intro, the biggest difference between the classic WordPress Post Editor and Gutenberg is that the latter uses blocks to manage content. In fact, blocks are so central to Gutenberg that it is also known as the WordPress Block Editor.
The usage of blocks stands in stark contrast to the free-form text layout that was used in the previous post editor. In the past, you would write free-form text and embed images, videos, shortcodes, and other elements into it. But with the WordPress Block Editor, you would encapsulate each piece of content in its own block. In other words, every element on the page such as a paragraph, heading, media, and embedded content is treated as a separate entity and can be independently moved and customized.
You can read our article on Gutenberg blocks if you wish to learn how to take full advantage of the WordPress Block Editor.
Getting to Know the WordPress Block Editor
You can access the WordPress Block Editor by creating a new page or a new post.
Tip:
Gutenberg is also used for editing your existing posts and pages.
Tip:
If you don’t have a WordPress site yet where you can test Gutenberg, you are welcome to sign up for one of our premium WordPress hosting plans or even our free hosting package. They all fully support WordPress and the WordPress Block Editor.
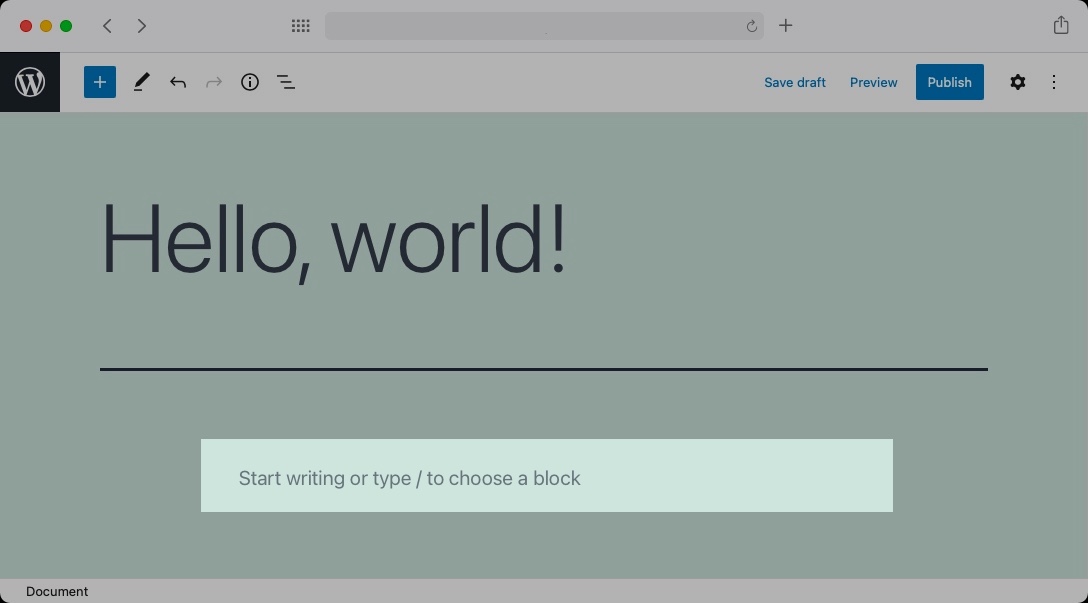
Gutenberg features a more streamlined interface when compared to its predecessor. By default, the only visible elements on the screen will be the Top Toolbar, the Block Settings Sidebar, and the main content area.
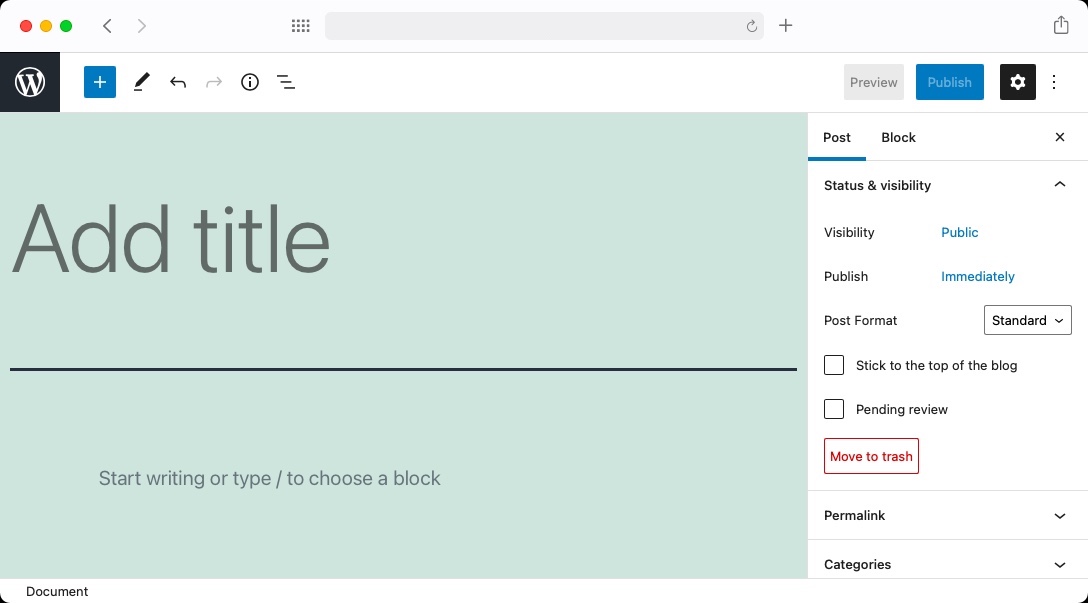
The Block Editor’s sidebar contains two tabs: Post and Block.
The Post tab contains settings related to the post itself, such as its categories, tags, a featured image, publishing options, and others. Overall, if you have used the previous WordPress post editor, the options in this tab will be very familiar to you.
The Block tab, on the other hand, contains options that are specific to the currently selected block. In other words, the contents of the Block tab will change depending on the type of block you are working on.
Tip:
Are you curious what options are available in the Post tab and the top toolbar? If so, you should check out our article on exploring the Gutenberg interface.
Adding a Block
To create a new block and start creating your page or post, click on the “+” button near the top left of the screen. When you do so, you will see Gutenberg’s block gallery. Clicking on any of the available block types would insert the chosen block into your post/page.
Removing a Block
The option to remove a block is not as discoverable, but it is still just a few clicks away:
- First, select the block that you wish to remove.
- Then, click on the three dots at the end of the Block Toolbar.
- And finally, choose the last available option which should be Remove block.
And just like that, your block is removed.
Warning:
Be careful with the removal option as there is no message asking you to confirm your choice.
Tip:
If you happen to remove a block by accident, you can use the Undo button from the main toolbar to revert your changes. You can also use
Ctrl+Zon Windows/Linux orCmd+Zon Mac to undo the deletion.
Working With Text
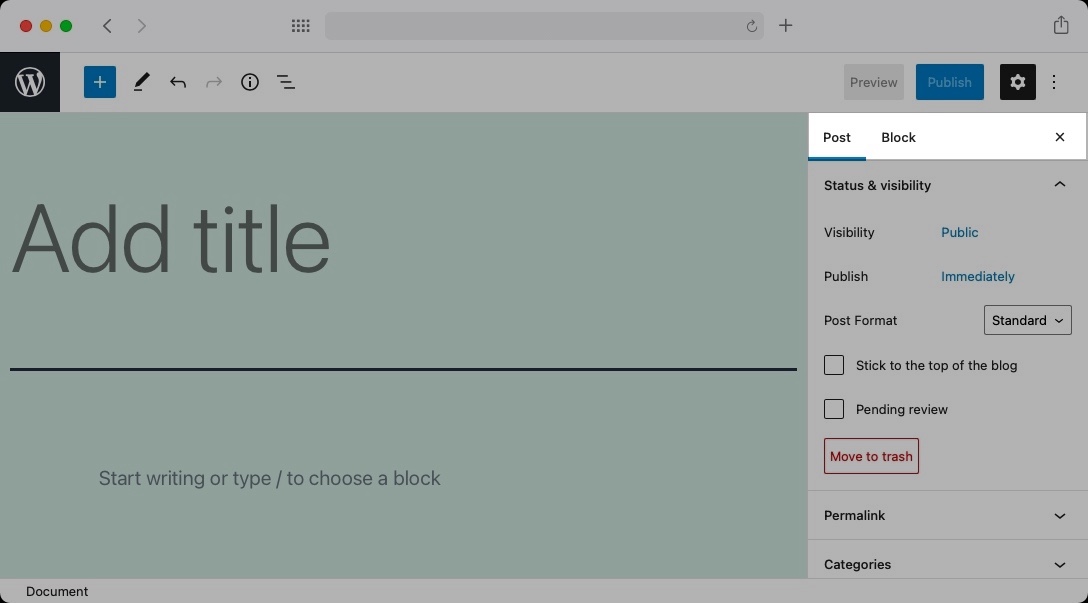
Text-related blocks like paragraphs and headings are some of the most widely used blocks, so it’s a good idea to learn how to use those first. And it’s really easy – as soon as you add your preferred block, your cursor will focus on it automatically and you can start typing right away.
Tip:
There is an even faster way to create a new paragraph block. Have you noticed the
Start writing or type / to choose a blocktext? If you click on that text and start writing, Gutenberg will create a paragraph block for you automatically.
To add a second paragraph to your post or page, simply repeat the steps you took to add your first one. Namely, click on the “+” button, choose the paragraph block, and start typing:
Tip:
If you have just finished working on a paragraph block and wish to create a new paragraph, then simply make sure that your text cursor is at the end of the paragraph block. Then, simply press
Enterand a new paragraph block will be created for you automatically.
Inserting an Image Into Your Post
Images can greatly enhance the quality of your posts, so it’s important to know how to insert pictures, photos, and other graphics.
As you might imagine, Gutenberg allows you to work with images using an Image block. You can add a new Image block by clicking on the “+” button in the top left corner:
Once you have added an Image block to your post, you need to specify the image that you wish to use there. The simplest way to do so is to just drag an image from your desktop and drop it into the Image block itself:

Of course, you can also use your WordPress Media Library to choose your image. To do so, click on the Media Library button and choose your preferred image.
Publishing Your First Post
Once you have finished making your post, it is time to publish. If you have used the classic post editor in the past, you’ll be glad to read that the publishing process remains pretty much the same with Gutenberg. To publish your post, you need to:
- Click on the Publish button in the top-right of the screen.
- A short checklist of settings and suggestions will appear. It is recommended to quickly go through those.
- Once you have gone through the suggestions presented by the WordPress Block Editor, click on the Publish button one more time.
Once your post is successfully published, you will see a screen similar to the one shown below:
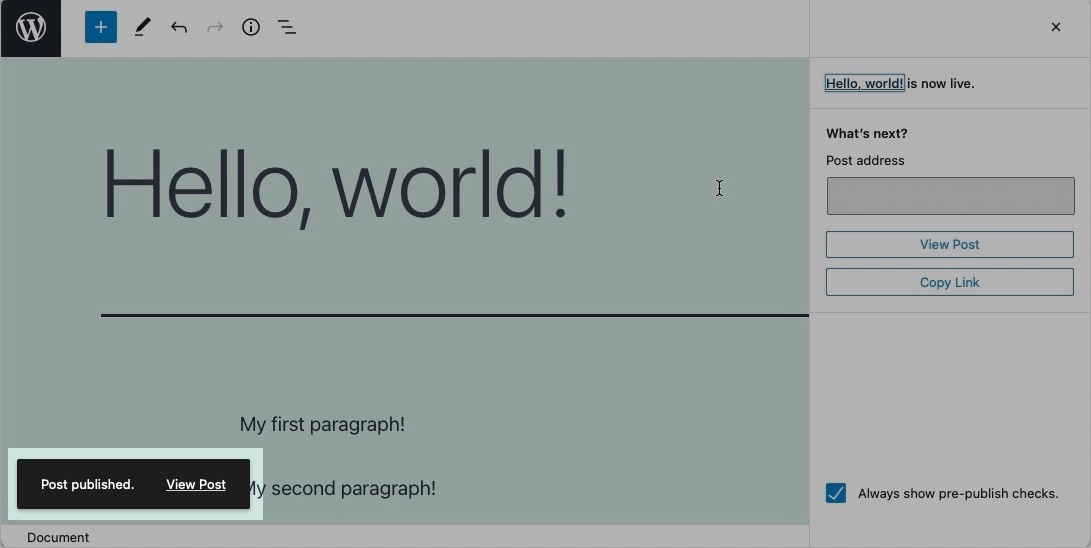
Note the small notification in the lower-left corner. You can click on the link there to open your live post.
Tip:
If you are new to WordPress and wish to learn how to properly publish your posts, you can check our tutorial on post/page publishing for additional information.
Updating an Existing Post
You’ll want to update your published posts sooner or later, either because of an issue you have found or because you wish to add more content. Thankfully, updating your live posts is quick and easy with Gutenberg. To update a post:
- Open the post in the WordPress Block Editor.
- Make your edits.
- Click on the Update button in the top right corner of the screen.
And that’s it! Your post will be updated and you’ll see a small notification in the bottom left corner of the screen letting you know that your update was carried out successfully.
Next Steps
Overall, the WordPress Block Editor strikes a nice balance between functionality and ease of use. All common actions are easily accessible while more advanced features are never more than a few clicks away.
Using the information in this tutorial, you should be able to start publishing with Gutenberg right away. Of course, there is a lot more to learn about Gutenberg blocks and the Block Editor in general. If you want to further enhance your knowledge, we recommend going through our tutorials on how to work with Gutenberg blocks, exploring the WordPress Block Editor interface, and customizing and extending the WordPress Block Editor.