
What you need to know:
The WordPress Block Library contains all blocks that you can use while working in Gutenberg. To insert a block, drag it from the Block Library and drop it in your document. In addition to regular Blocks, the Block Library also supports Block Patterns and Reusable Blocks. Last but not least, the block selection in the Block Library can be expanded via third-party plugins.
WordPress differs from other content management systems in that it uses blocks to manage content. There are various types of blocks available and all of them are housed in the Block Library. In this article, we’ll show you how to use the Block Library. In addition, we’ll share the various ways in which you can customize it.
Table of Contents:
What Is Gutenberg?
Gutenberg, also known as the WordPress Block Editor, is the successor to the classic WordPress WYSIWYG editor. Unlike the classic editor, Gutenberg uses blocks to encapsulate all content. If you are new to Gutenberg, we recommend going through our tutorials on the basics of Gutenberg and the WordPress Block Editor interface.
How Can I Access Gutenberg?
You can access Gutenberg by creating or editing a post, page or widget.
Tip:
Don’t have a website yet? Sign up for our free hosting plan or for one of our premium WordPress hosting packages and install WordPress with just a few click.
Gutenberg Blocks, Explained
Most document editors that we use can be classified as free-form text editors, meaning that you can place text anywhere in the document. Other elements, such as images or video, are embedded within the text itself. Gutenberg, on the other hand, is a block-based text editor and every piece of content is encapsulated in its own block.
The benefit of this block-based approach is that your embedded media is no longer directly tied to the written text or the other multimedia elements. Instead, every element in the document is completely independent and can be modified without negatively affecting neighboring blocks.
Tip:
We have a separate article where we list all available blocks in Gutenberg.
Exploring the WordPress Block Library
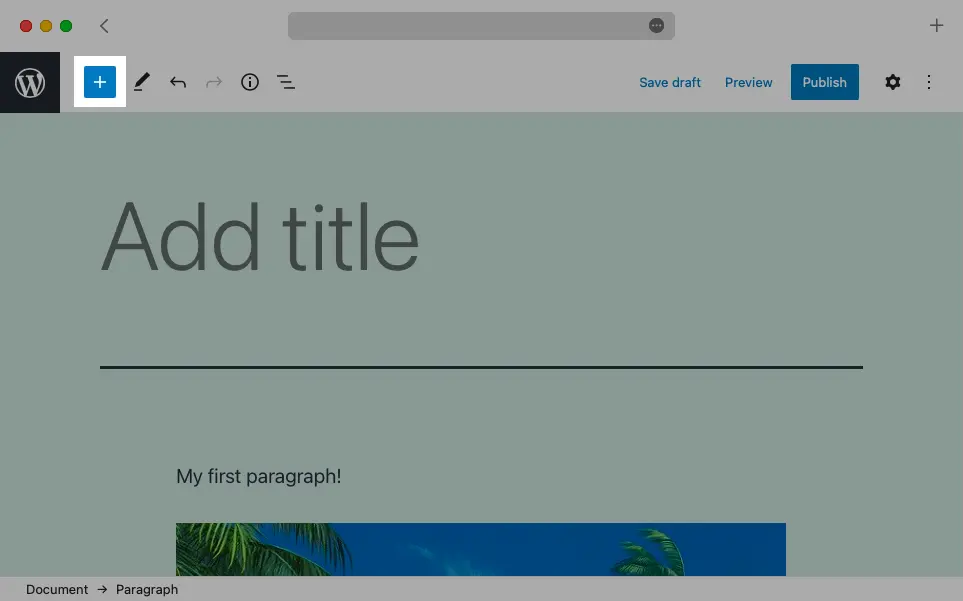
You can access the WordPress Block Library by pressing the “+” button in the Top Toolbar.
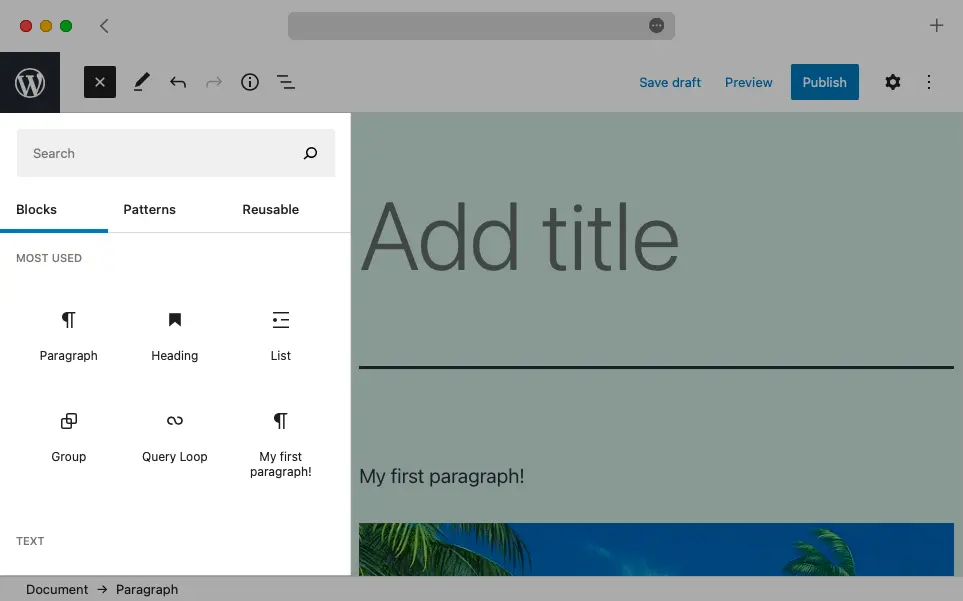
Once you click on the WordPress Block Library button, you will see a new panel open up on the left side of the screen. It will be divided in up to three tabs – Blocks, Patterns, and Reusable. We will explore each of these tabs in greater detail later in this tutorial.
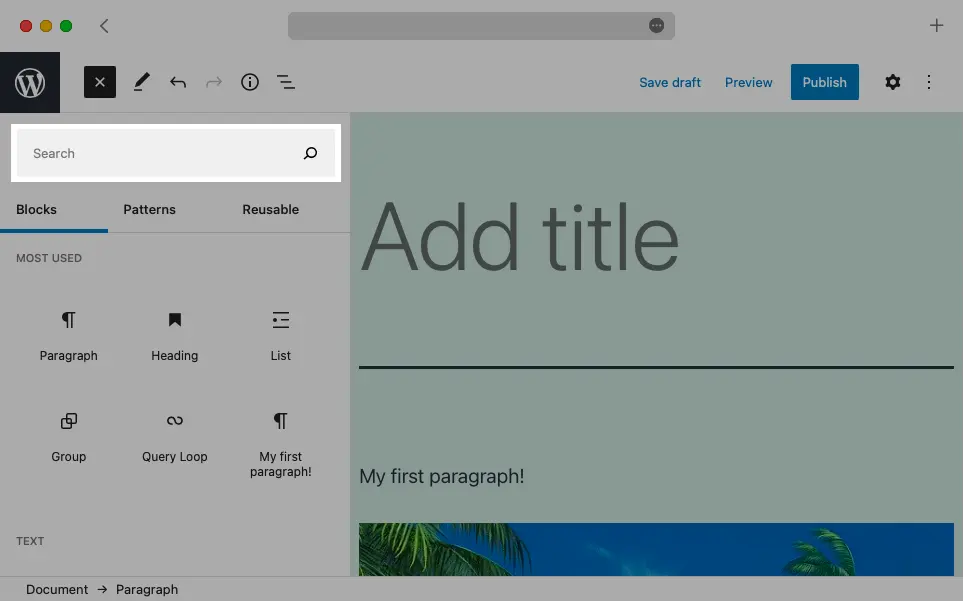
By default, the WordPress Block Library lists all available blocks which may make it hard to find the block that you need. Fortunately, there is a search bar near the top of the Block Library that allows you to quickly find your desired block.
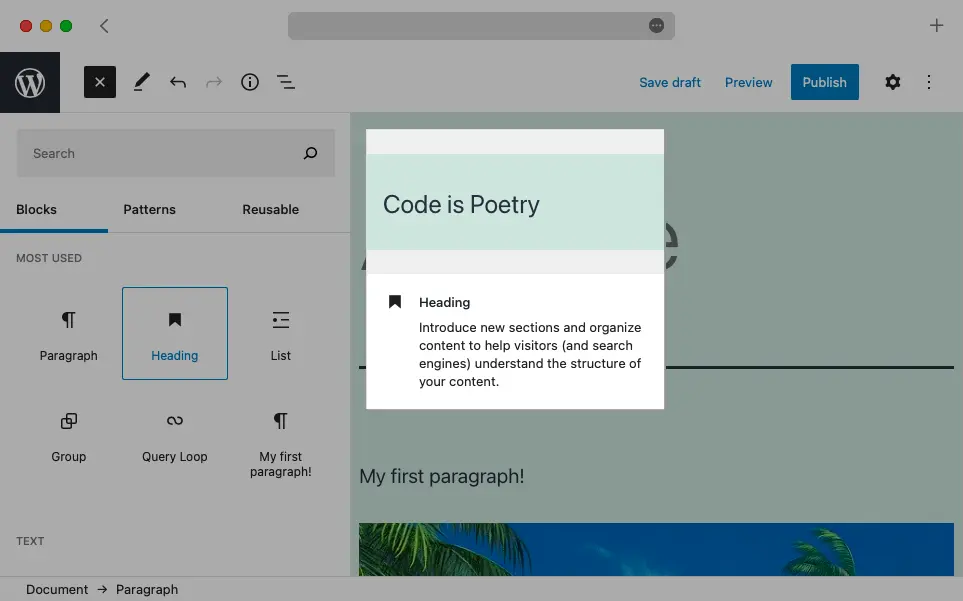
Another useful feature, especially for those who are just beginning to learn Gutenberg and the various blocks it has to offer, is the ability to preview what a block looks like and what its function is. To take advantage of this feature, simply hover your mouse cursor over it and the preview will appear to the right.
Blocks Tab
Here, we’ll explore the Blocks tab. It is the tab that is shown by default when you open the WordPress Block Library. It simply contains a list of all available Gutenberg blocks grouped by their type.
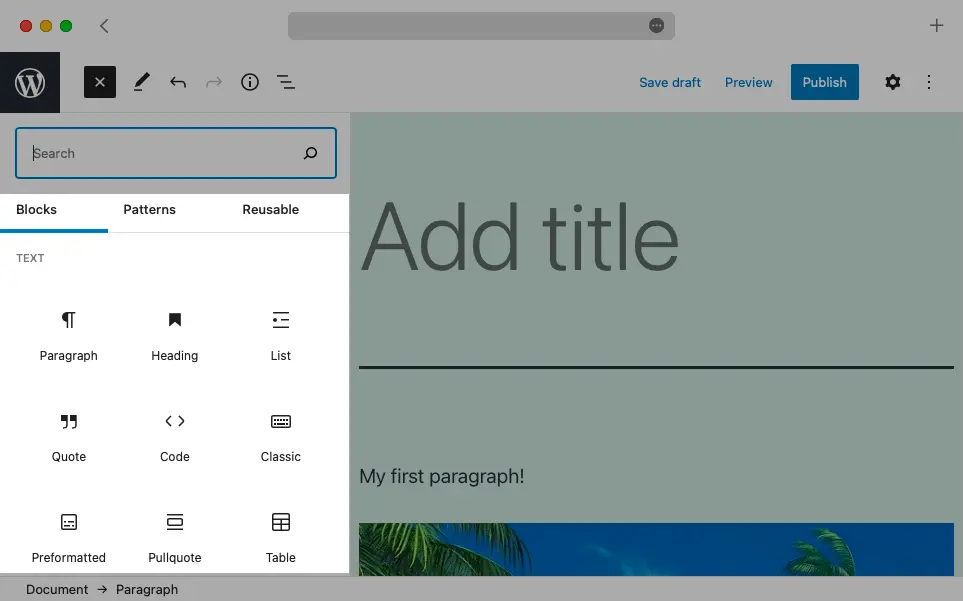
We’ll show you how to customize the Blocks tab a bit later in this tutorial. And if you are wondering what the various blocks do, you can check the article where we list all available blocks in Gutenberg and their function.
Patterns Tab
The Patterns tab allows you to insert patterns into your document instead of individual blocks. A block pattern is a group of blocks that go well together. While block patterns typically have very few customization options, they make up for it by having a nice layout and design from the outset.
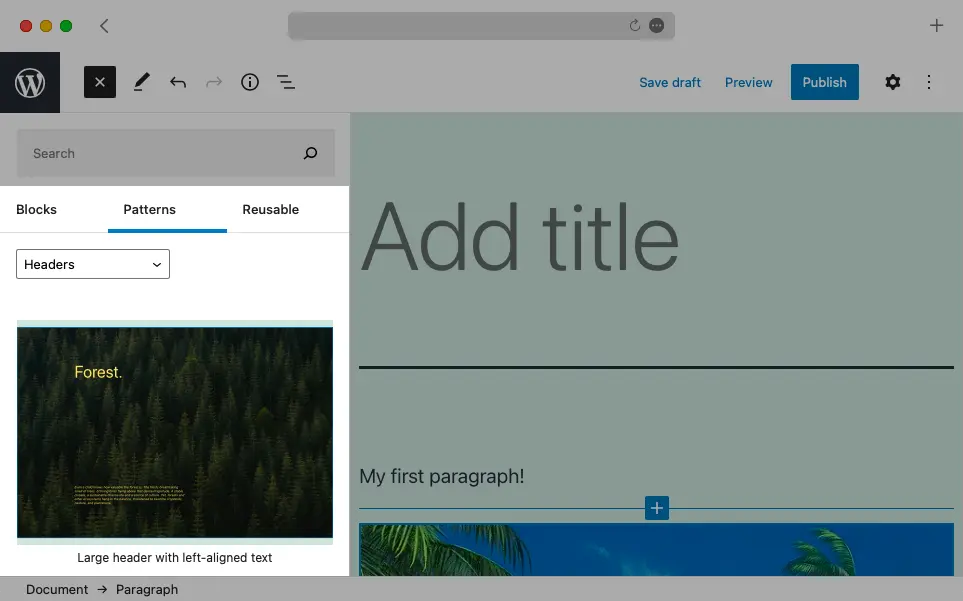
Unlike the Blocks tab, the Patterns tab features a dropdown menu where you can select the category of block patterns that you wish to browse. Among the options, you’ll find the default block patterns that ship with WordPress, any block patterns added by your theme and plugins, and any custom block patterns that you may have created.
Tip:
Intrigued by Gutenberg’s block patterns? If so, check out our complete guide to block patterns in Gutenberg for more information on this feature.
Reusable Blocks Tab
The last tab that we’ll look at is called Reusable and it houses all of your reusable blocks. Unlike the other tabs, this tab is shown only when you have at least one reusable block and as such, it may be hidden.
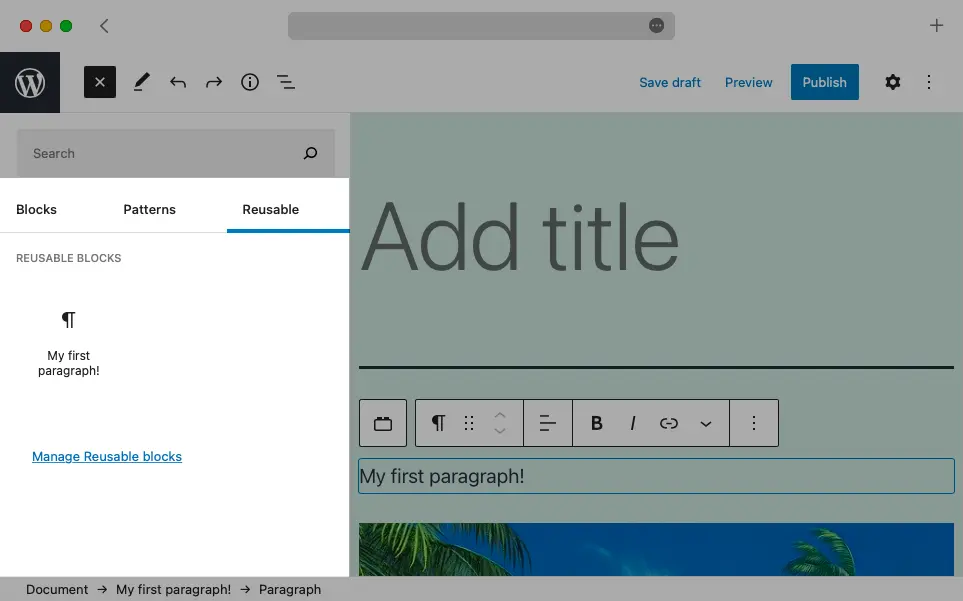
To learn more, you can read our complete guide on reusable blocks in WordPress.
Inserting Blocks From the Block Library
Now that we have explored the WordPress Block Library interface, we’ll show you how to insert a block into your document. Generally speaking, there are two ways to do it.
The first method of inserting blocks from the Block Library is to drag a block from the library and drop it into your document. You will notice a blue line that appears near your mouse cursor as you are about to drop the block. The line represents the spot where the new block will be inserted.
Warning:
The drag-and-drop method does not work for block patterns!
The other way of inserting blocks from the Block Library simply involves clicking on the spot in your document where you wish to place your new block and then clicking on the block itself within the Block Library.
Tip:
The WordPress Block Library can also be accessed via a keyboard shortcut! Place the text cursor on an empty paragraph, type
/, and then type the name of the block that you wish to use. Once your desired block is selected, press theEnterkey.
Customizing the WordPress Block Library
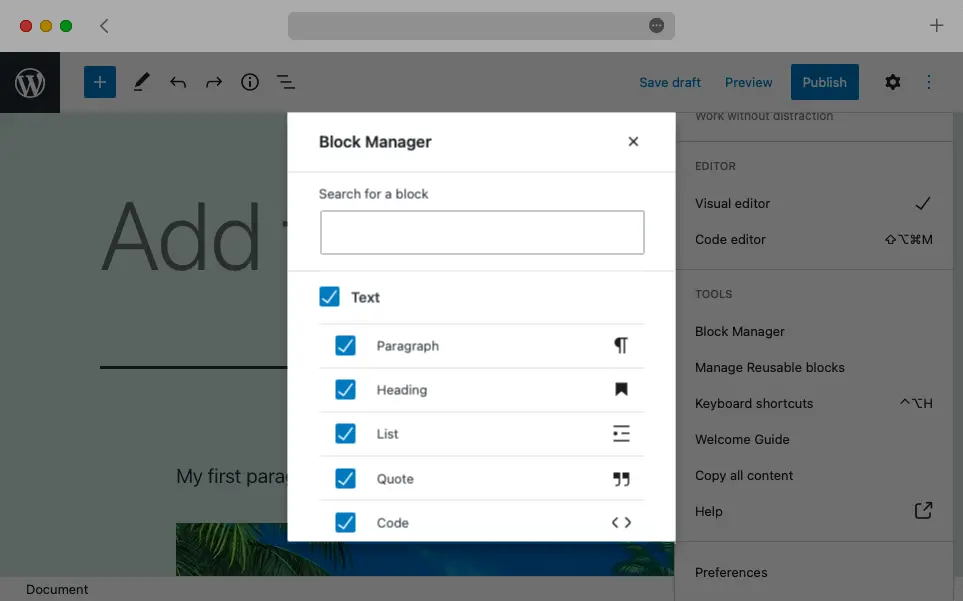
Gutenberg allows you to customize the WordPress Block Library in two different ways. First, you can use the Block Manager to disable any blocks that you do not need. Doing so will make the Blocks tab less cluttered.
Warning:
Disabling a certain block will hide it not only from the Block Library but from Gutenberg as a whole. As a result, disabled blocks cannot be used at all. That said, disabling a certain block type will not affect its instances that you have already placed within your documents.
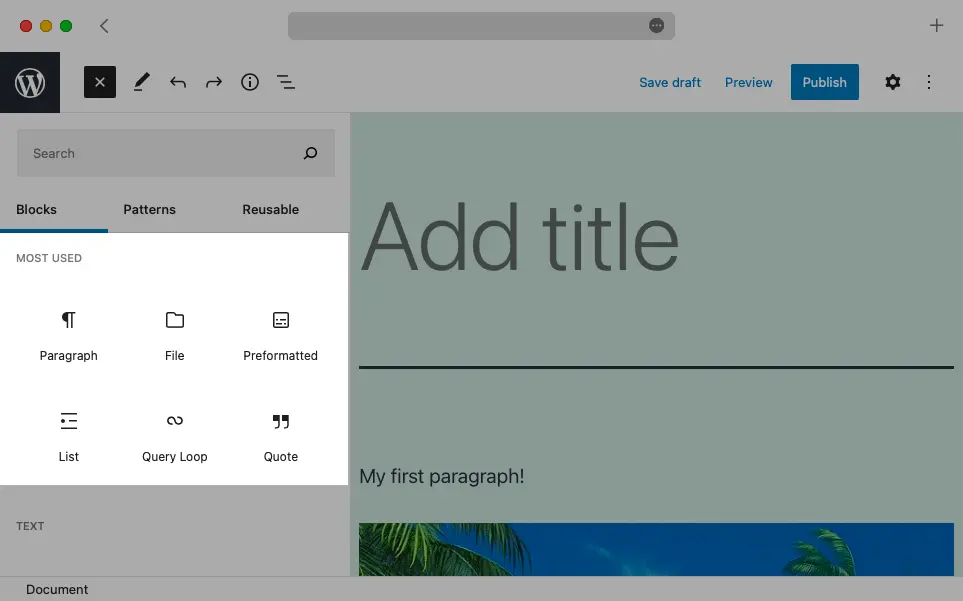
The other way in which you can customize the WordPress Block Library is by including a Most Used section in the Blocks tab. The Most Used section sits at the top of the Blocks tab and lists your six most-used blocks.
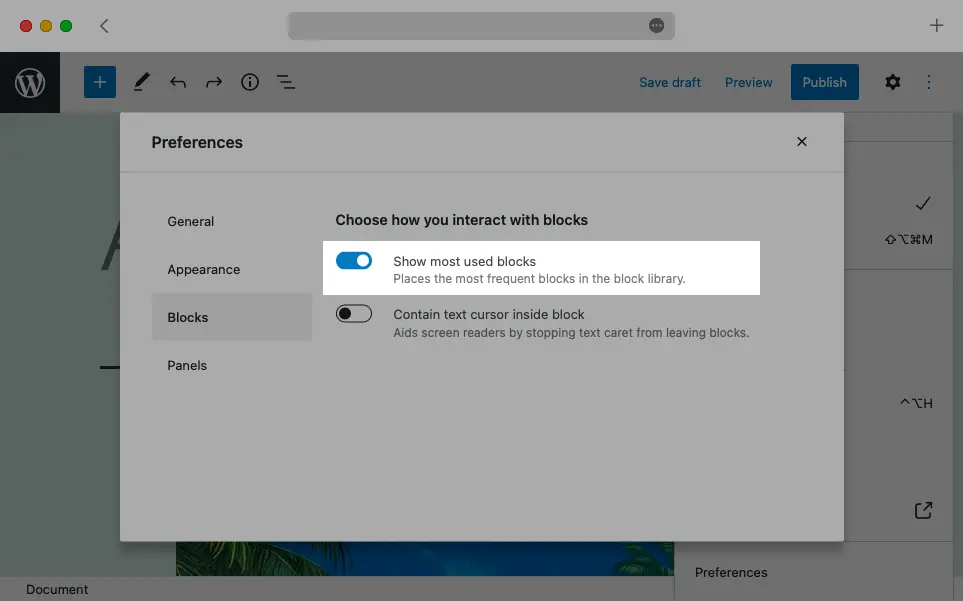
You can activate the Most Used section by following these steps:
- Click on the three-dot icon at the right edge of the Top Toolbar.
- Choose the Preferences option at the bottom of the list.
- Switch to the Blocks tab.
- Enable the Show most used blocks option.
Tip:
If you wish to make the WordPress Block Editor truly your own, go through our guide on customizing Gutenberg.
Next Steps
Now that we have gone over the WordPress Block Library, you should have a good understanding of what it is used for, how it functions, and what it looks like. Of course, in WordPress, everything can be further expanded via plugins and Gutenberg is no exception. So, if you wish to further enhance the WordPress Block Editor, you can check our list of the best plugins for Gutenberg as a whole as well as our list of the best block plugins.