
If you are running any type of Facebook ads for your WordPress website, it is crucial to add the Facebook pixel in order to optimize these campaigns.
Facebook Pixel is similar to Google Analytics, only it is for Facebook ads. Using it will allow you to better target your audience and evaluate the effectiveness of your ads.
Getting Facebook Pixel up and running with WordPress is way trickier than it is to add Facebook like Box. We figured that adding the pixel might overwhelm you, as it is an operation that requires some technical skills. Although we acknowledge that, we believe that after you read this article, you’ll know how to add the Facebook pixel to a WordPress website.
How to Add Facebook Pixel to WordPress
You can add the Facebook pixel to WordPress in one of two methods – you either do it manually, or you use a plugin that allows you to add code in your website’s header.
The correct way and the one that will less affect the speed of your WordPress is the manual, as the plugins, as little as it is, are weighing down any WordPress, and you, most often than not, should do what you need, without using them.
To add Facebook Pixel to WordPress, you’ll need two things:
- Create a new Facebook Pixel, using the Facebook Business Manager (if you haven’t already)
- Insert the code that Facebook pixel will present you into the <head> section of your WordPress website.
We’ll do this in two simple steps.
Step 1: Create a new Facebook Pixel via Facebook Business Manager
Go to your Facebook Business Manager, and once there, look for the Events Manager.
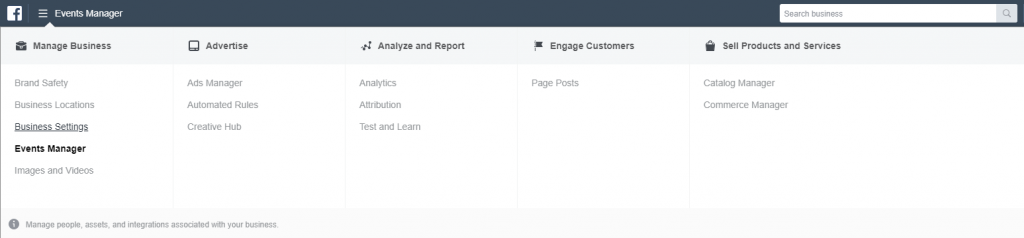
When the page loads, you’ll see the following data source options:
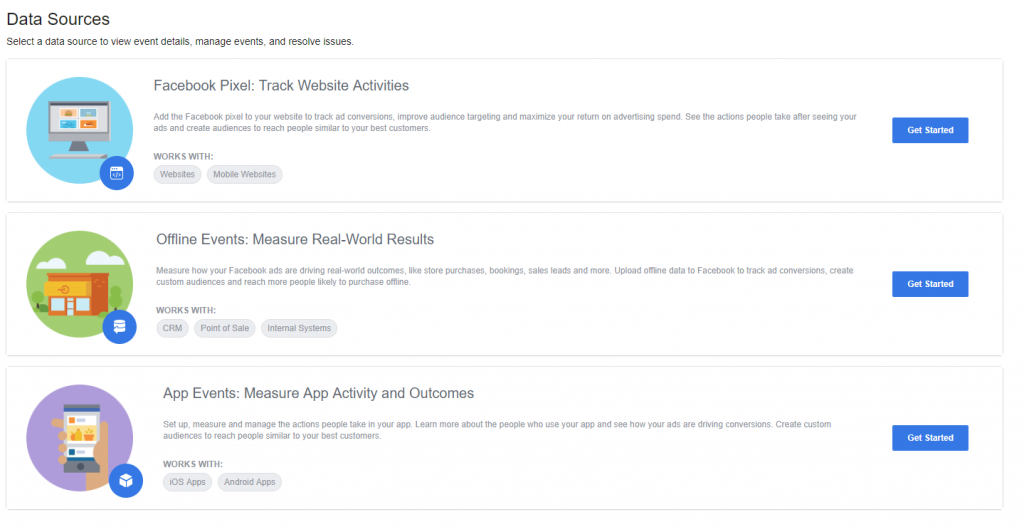
If you haven’t already, create your Facebook Pixel by clicking the get started button.
A box should appear that asks you for a name – then all you need to do is click Create.
![]()
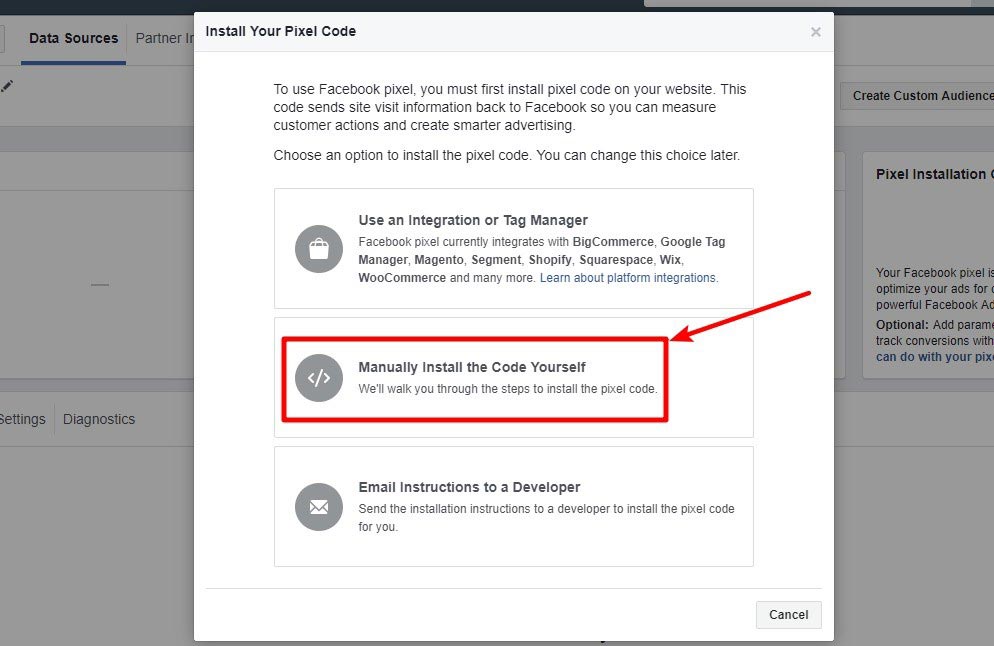
After that, you should see some options for how to add the Facebook pixel to your website. Choose the Manually Install the Code Yourself option:
That should display the Facebook Pixel tracking code:
![]()
Now, don’t close that tab, while you go to your WordPress website.
Step 2: Add Facebook Pixel tracking code to WordPress <head> section
The method you’ll use to add your Facebook pixel depends on a large number of variables.
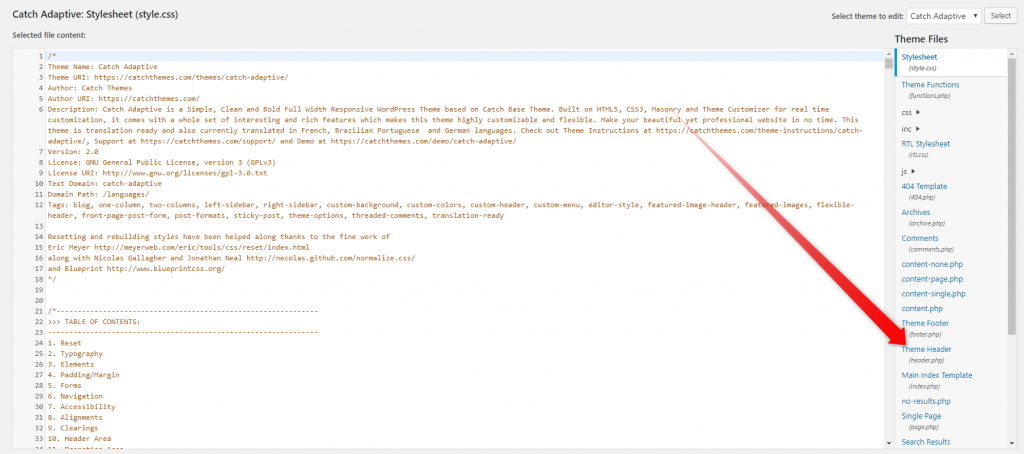
If you haven’t created a child theme, you should be able to edit the header.php file by using the Theme Editor:
- Login to your WordPress admin panel
- Hover over the Appearance option in the sidebar menu.
- Click the Theme Editor option at the bottom of the pop-up menu.
- Look for the php file, and open it
- Add the Facebook Pixel code just above the closing head tag – </head>
If, however, you have created a child theme, depending on the theme you are using, you may be able to add code to your header. This option should be available somewhere in the theme customizing page. As some themes have their own, backend, customization page, search for it.
On the other hand, if the theme that you’ve chosen doesn’t allow you to add a code in the header, you can use a plugin.
We recommend you to use the Header Footer Code Manager, as it is easy to use a lightweight plugin.
If you don’t know, here is how to install a WordPress plugin.
Test whether your Facebook Pixel is Working
Now that we’ve added Facebook Pixel to WordPress, you need to do one more thing:
Make sure Facebook Pixel is actually working!
Doing so, we can achieve by installing the Facebook Pixel Helper Chrome extension. Install and activate the extension. Then visit your website. If there is an active Facebook Pixel on the website, you should see something like this, should you click on the extension:
![]()
Now you know all about how to add Facebook Pixel to WordPress.