

Creating scroll-over elements in WordPress can help you make your website visually more appealing and enhance the overall user experience. Whether you want to highlight details, add tooltips, or reveal additional content, scroll-over elements can help you make your WordPress website more immersive and functional.
In this article, we share how to create scroll-over interactive elements in WordPress.
What Are Scroll-Over Interactive Elements
Scroll-over interactive elements are features that trigger a certain action when the mouse cursor hovers over a given element on your website. These actions can take various forms – buttons may become slightly larger, colors may change, or additional content may be revealed, all with just a hover over the element.
Read Also: How to Customize the Scrollbar in WordPress
Why Should You Use Scroll-Over Interactive Elements on Your Website
As mentioned, there are numerous benefits to using scroll-over elements on your website. Here are only some of them:
- Increased engagement – hover effects can encourage visitors to engage with your content, as such effects make the browsing experience fun and interactive.
- Scroll-over effects guide users, so navigation on your website is easier and more intuitive.
- Highlight important elements – hover effects can help your site visitors notice important details faster.
- Modern style – hover effects contribute to making your website look polished, sharp, and modern. Features that site visitors enjoy.
How to Create Scroll-Over Interactive Elements in WordPress
There are three main ways you can create scroll-over interactive elements on your WordPress website:
- By using a WordPress plugin.
- By using the scroll-over features of your WordPress theme.
- By adding code manually.
In the following paragraphs, we share how to add such elements with all three methods.
How to Create a Scroll-Over Interactive Element with a WordPress Plugin
You can create various scroll-over effects by using WordPress plugins. Simply browse the vast plugin library and install a plugin that fits your goals best.
Our suggestions for such plugins are:
- Image Hover Effects Ultimate – great for adding image grids and hover reveals.
- Tooltipy – as the name suggests, this plugin focuses on adding tooltips to texts, icons, and other elements.
- Shortcode Ultimate – although not a scroll-over effect plugin, this one allows you to add hover animations.
Read also: Best WordPress WYSIWYG Editor Plugin
Although each plugin comes with individual settings and mechanics, we share a general approach towards creating a scroll-over effect by using plugins:
- After you install a plugin, open its options menu.
- Choose a type of layout you wish to create – grid, carousel, slider, etc.
- Choose a type of effect you want to create – changing colors, changing size, revealing more text, etc.
- Add more details via the plugin’s options, should it have this feature.
- Once you are finished with creating the hover effect, the plugin will generate a short code.
- Copy and paste this code into a post, page, widget, button, or other element you wish to be affected by a hover motion.
- Done!
How to Create a Scroll-Over Interactive Element with a WordPress Theme
Various themes and theme builders come with scroll-over settings. When browsing for a good WordPress theme, keep in mind the hover feature, should you wish to add such effects without coding. Here are 3 suggestions:
- Elementor
- WPBakery
- Beaver Builder
- Divi
Depending on the theme you install, the options and mechanics can vary; however, the general approach remains the same. Here’s how it might go:
- From your WordPress dashboard, head to the theme settings.
- Select a section you wish to edit – it can be a button, a widget, a text box, or anything else.
- Open the theme options for this particular element and search for options such as Motion Effects, Hover Effects, or similar (names vary depending on the theme).
- From these options, choose the hover effects you wish to apply to the element – growing, shrinking, changing color, revealing more text, etc.
- Then, adjust the speed and delay of the hover effect, should such options be available, and should you wish to edit them.
- Click Apply/Save/Update (names depend on the theme).
- Done!
How to Create a Scroll-Over Interactive Element by Adding Code Manually (ADVANCED)
If you feel comfortable working with code, you can add scroll-over interactive elements by manually generating such effects. This method is more technical, but also allows for full control over the effect and the element it surrounds.
One way of creating a scroll-over effect with code is by adding CSS code to WordPress. You can do so by following these steps:
Step 1: Identify the target element
Via the CSS selectors, target the specific element you wish to apply hover effects to. These can be an element type, a class, or an ID.
Step 2: Define the hover effect styles
Within the CSS rules, add :hover pseudo-class after the selector, so you specify the style that should be applied on hover. There’s a lot you can customize here:
- Colors
- Background colors
- Font size
- Borders
- Opacity
- Shadows
Step 3: Add the CSS snippet to WordPress
First, log in to the WordPress dashboard.
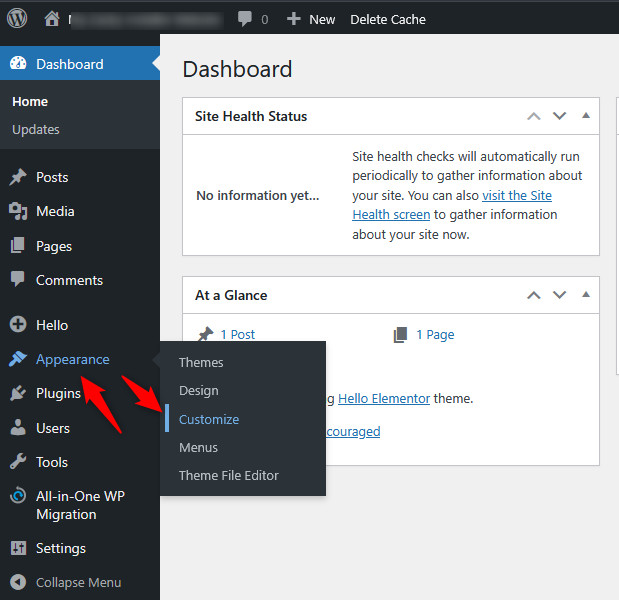
From there, head to Appearance -> Customize via the sidebar on the left:
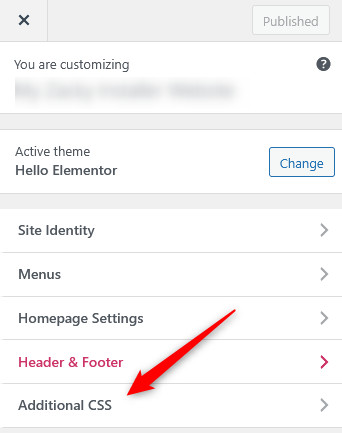
A new page should open. Once it loads, click Additional CSS, usually located at the bottom:
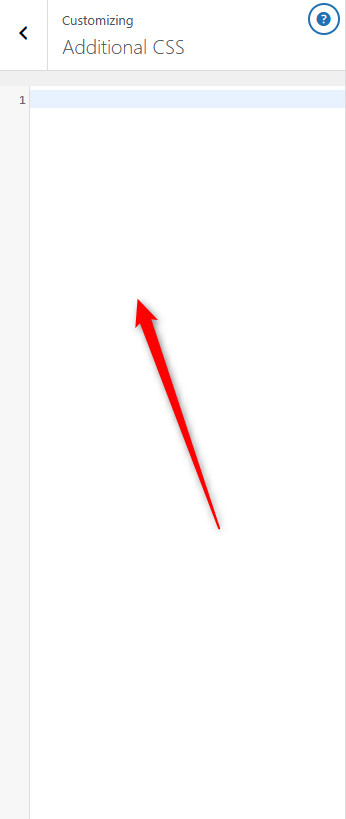
Paste your CSS code here:
Conclusion
Scroll-over interactive elements are not only an effective tool to engage your website visitors, but also contribute to a more stylish and modern-looking website. There are various ways to add hover effects on your WordPress website – by using a plugin, via the options of your theme, or manually adding code for maximum control and customization.