The following tutorial provides information about enabling and configuring Maintenance Mode on your WordPress site.
What Is Maintenance Mode?
Each website owner needs to conduct an update or perform troubleshooting once in a while. Maintenance mode is an option that allows the administrator of a website to suspend or take their web page offline for a certain period of time. It also gives them the ability to inform their customers about the ongoing upgrade by placing and displaying a temporary (landing) page.
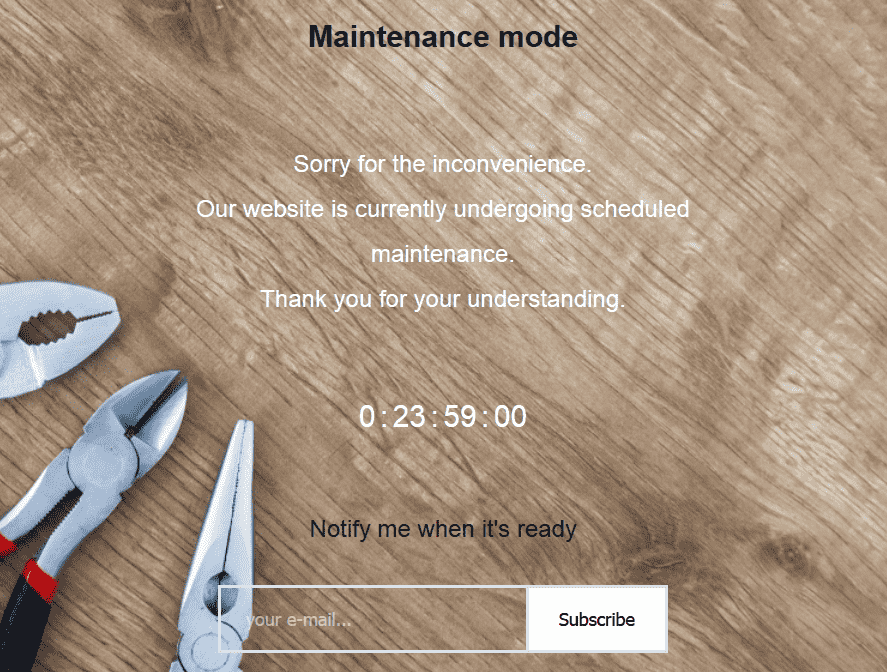
When enabled, the regular website visitors are no longer given access to the front page of the website. Instead, they are presented with an “Under Maintenance” screen.
What Are The Steps Involved?
You can enable Maintenance Mode on your WordPress website in 3 quick and easy steps:
Step #1: Choosing an appropriate plugin
The very first step is to decide on a plugin. We highly recommend WP Maintenance Mode for the best results and performance. The plugin has proven to be a reliable and irreplaceable tool for more than 600 000 WordPress users. WP Maintenance Mode is extremely easy to use and offers a variety of features, all of them free of charge.
If you wish to make a different choice, you’re welcome to search for another suitable plugin in the official WordPress plugin repository.
Step #2: Installing and activating the plugin
The activation process is straightforward and easy to follow.
Note: If this is your first time when installing a plugin, please kindly review our step-by-step tutorial on How to Add a Plugin to WordPress.
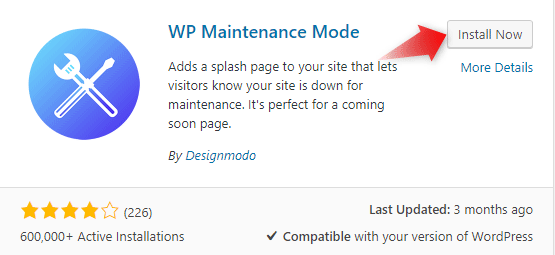
All you need to do is hover your mouse over the selected plugin and press Install Now.
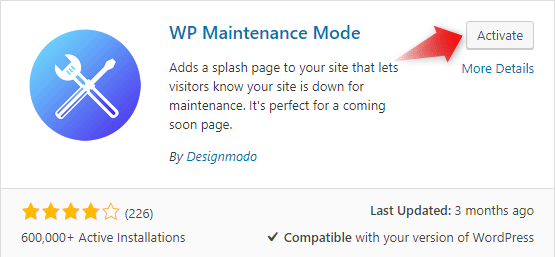
You will then be prompted to activate the plugin. To activate it, click on the Activate button.
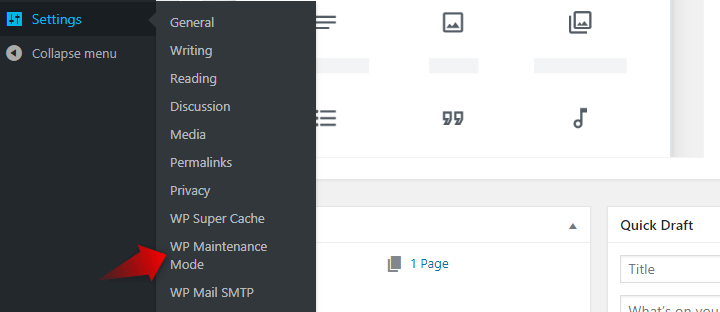
After successful plugin activation, a new option called WP Maintenance Mode will appear under the Settings menu.
Step #3: Putting the website into maintenance mode
Once you have installed the WP Maintenance Mode plugin, it is time for you to make it go live and bring it to a functional state.
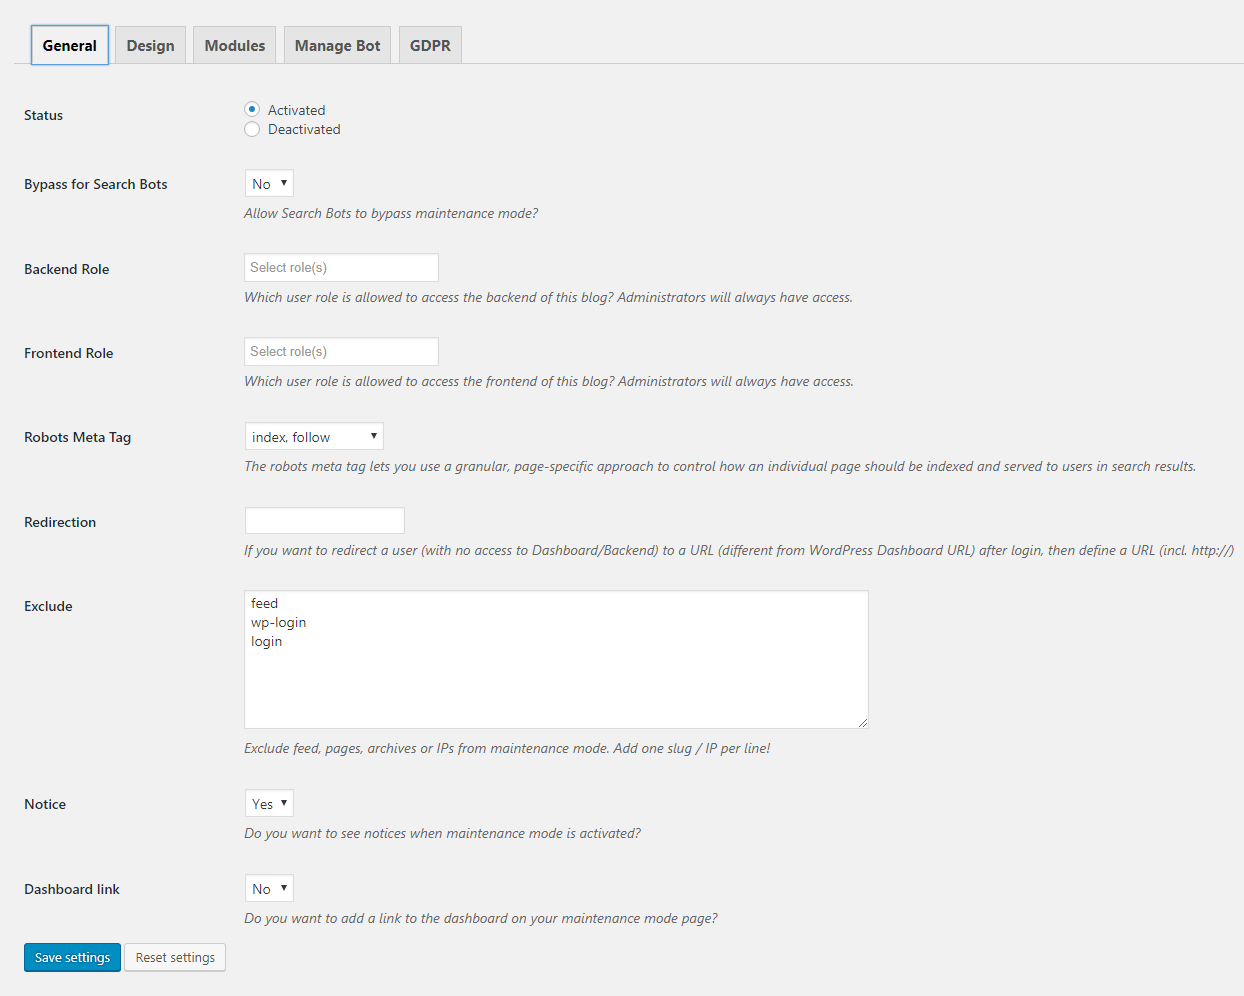
When on the plugin’s page, you will notice that the main menu is divided into 5 different tabs:
- General
- Design
- Modules
- Manage Bot
- GDPR
In this tutorial we’re going to go through the first three modules, which should be sufficient for covering most of our needs – to enable and personalize our “Under Maintenance” page.
General Settings
The General tab contains a list of options. However, the most important one is the Status setting, which displays the current state of the plugin. By default, it is set to Deactivated. To put your website into Maintenance Mode, click on the Activated radio button.
The second option is called Bypass for Search Bots and lets you decide whether search bots and engines should be allowed or disallowed to crawl your blog while being in an offline state.
The rest of the options in this section are mostly self-explanatory. There are additional fields to be filled in, but anyone of them can be left blank.
Design Settings
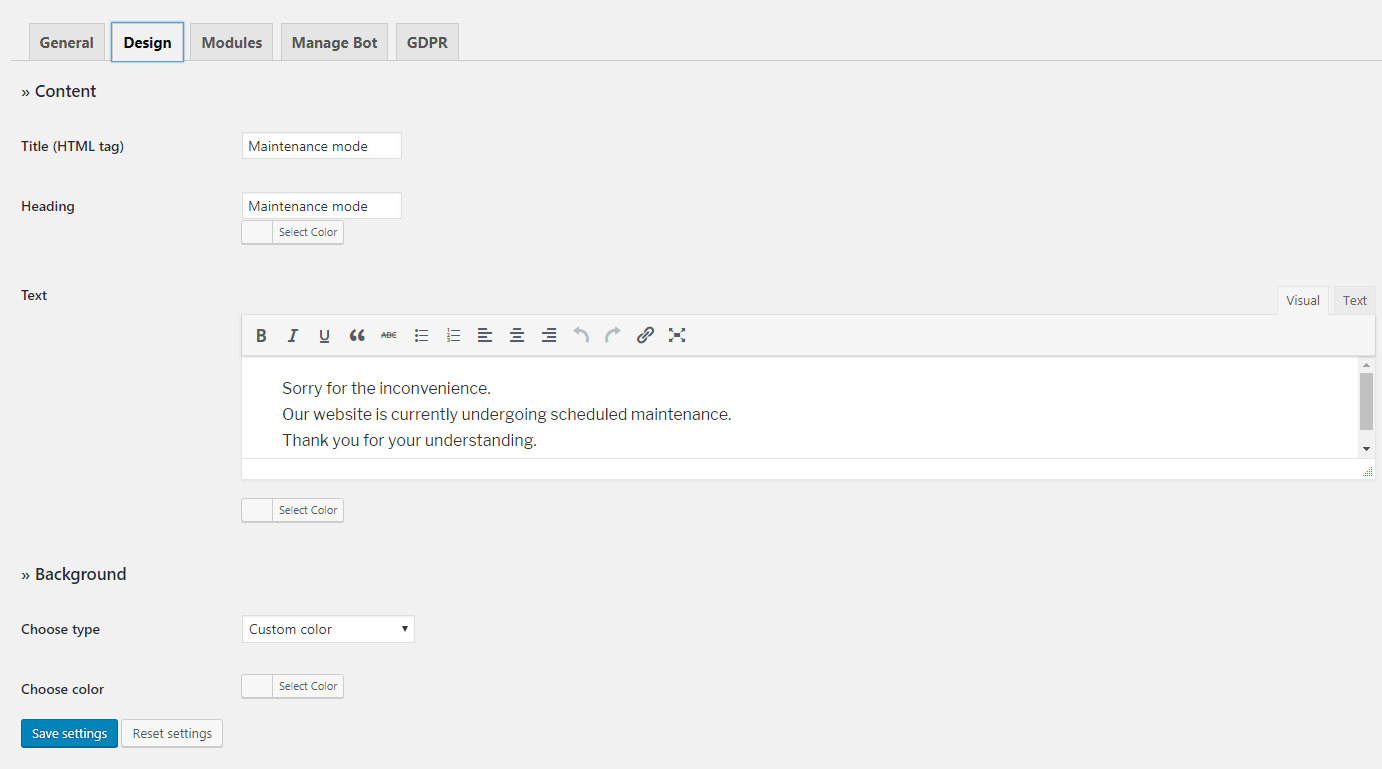
The Design page is the place where you can modify the content of your landing page. It gives you various options, such as changing your “Under Maintenance” page title and heading.
With its built-in editor, you are able to modify the greeting according to your own preferences. Another great plugin feature is the ability to upload and set up your own background image.
Module Settings
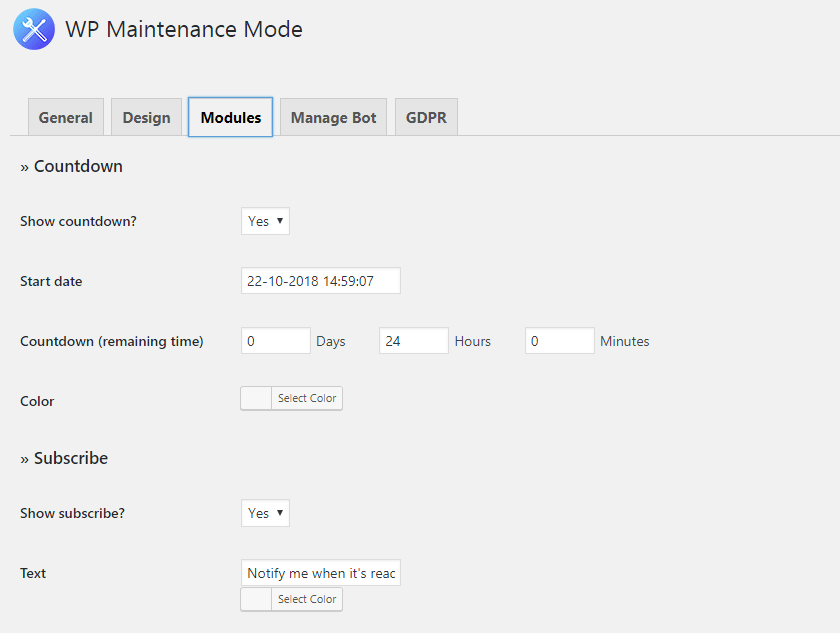
The Design tab allows you to add a subscribe form and custom countdown timer to your landing page. When enabled, your visitors will be informed about the current progress of the ongoing upgrade and will know when the maintenance will be completed.
When you’re done configuring and personalizing your landing page, press the Save Settings button for the changes to take effect. Finally, log out of the admin area of your admin panel and visit your blog’s main page in a web browser.
That’s it! You’ve just learned how to enable and set up a WordPress site to operate and run under Maintenace Mode.
