In this step-by-step guide, we will demonstrate how to integrate a Live Chat system into a WordPress website.
Customer Service is an important aspect of every online business, and so is the need to have a live chat messaging system. The use of live chat can improve your business’s credibility and loyalty with customers and can bring more sales.
Following are step-by-step instructions for enabling a Live Chat plugin in WordPress.
Step 1: Choosing an appropriate Live Chat plugin
The very first step is to find a Live Chat solution for your blog. More than 90% of our WordPress Hosting customers use and recommend WP Live Chat Support. The plugin itself is probably one of the best on the market and is currently being used by more than 60,000 users. Another benefit of using WP Live Chat Support is that it comes absolutely free of charge. Great, isn’t it?
Now, let’s move forward and proceed to the next step.
Step 2: Installing and activating the plugin
To install WP Live Chat Support to WordPress, please follow the instructions outlined below:
-
- Log in to the admin area of your WordPress site.
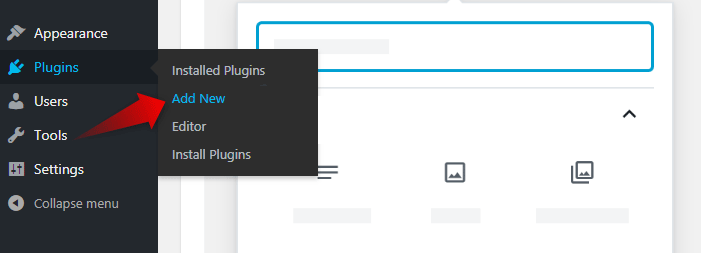
- Once in the dashboard, hover your mouse over the Plugins icon and press Add New.
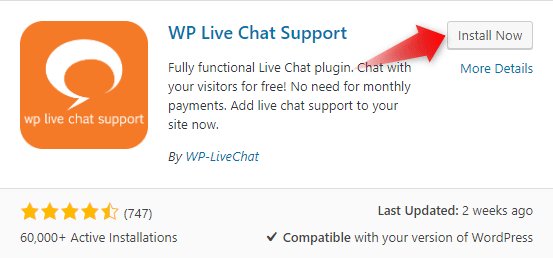
In the search bar enter WP Live Chat Support. Wait a few seconds until WordPress populates the results. Locate the WP Live Chat Support plugin (it should appear first in the list) and click the Install Now button.
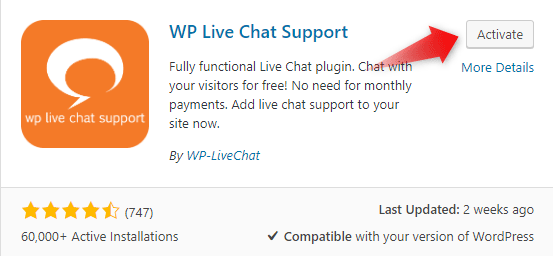
Next, click Activate in order to activate the plugin and make it go live.
After the activation process is complete, you will receive a successful message.
If, for some reason, you run into a problem while installing your desired plugin, please see our detailed step-by-step guide on How to Add a Plugin to WordPress.
Step 3: Enabling WP Live Chat Support
The final stage of the process is to configure and enable WP Live Chat Support in WordPress.
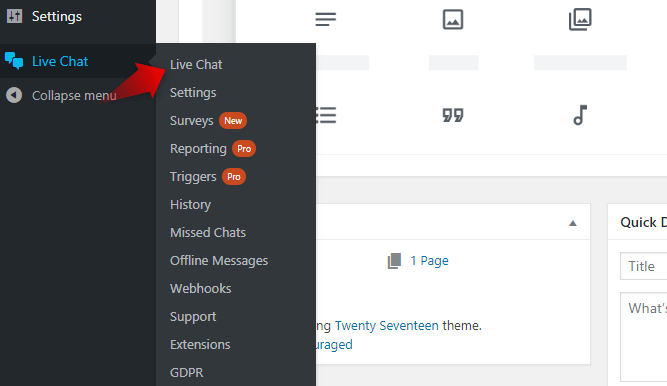
Once the plugin has been installed and activated, WordPress will add a new option to your dashboard. It will appear right under the Settings menu and will be named Live Chat.
Go ahead and click on the Live Chat button.
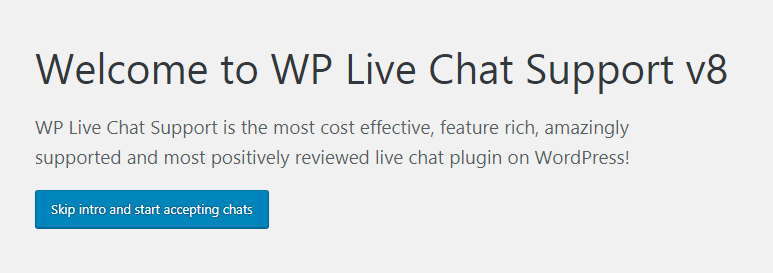
You will be greeted with a message Welcome to WP Live Chat. To begin using WP Live Chat Support, press Skip Intro and start accepting chats.
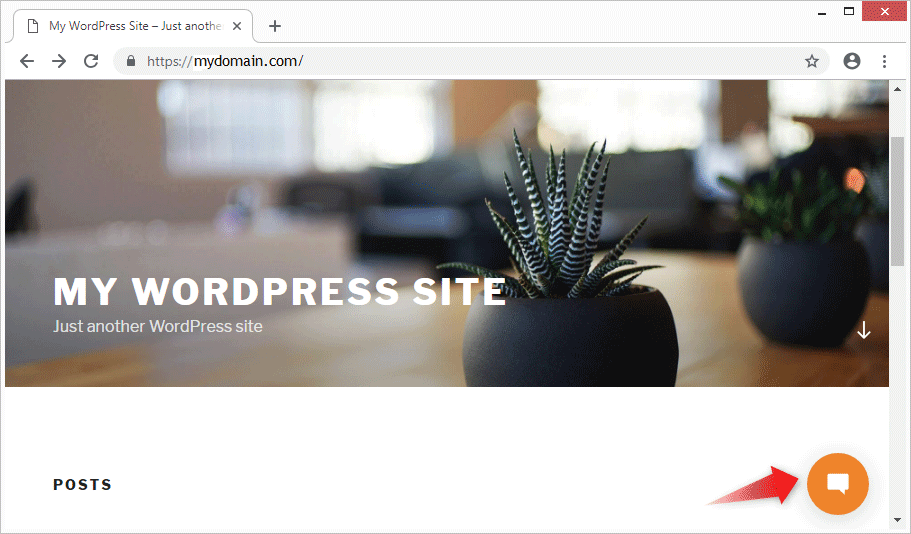
Launch your favorite Internet browser and enter the URL of your website in the address bar. You will notice that an orange circle button appears at the bottom of the page. Once clicked, it will take your website, and visitors, directly to the messaging application.
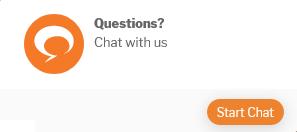
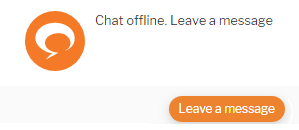
After pressing the button, a new chat box will appear that will show whether there is an agent available or not. In order to initiate a chat session, the visitor must press the Start Chat button. If there is no agent present at the moment, they will be allowed to leave an offline message.
Note: It is important to mention that you must be logged in to your WordPress website to be able to accept chat requests from your customers.
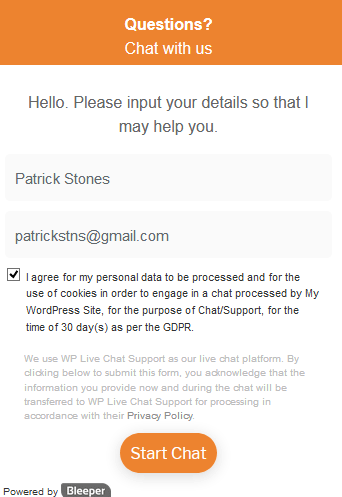
A new window will pop up, prompting the website visitor to enter their contact information. Once the required fields have been filled in, the user must click the ellipse button labeled Start Chat.
Shortly after that, you will get an alert in your WordPress dashboard about the incoming chat, along with details about the person initiating the call (such as their geographical location, browser type, operating system, and so on). To accept their chat request, press Accept Chat.
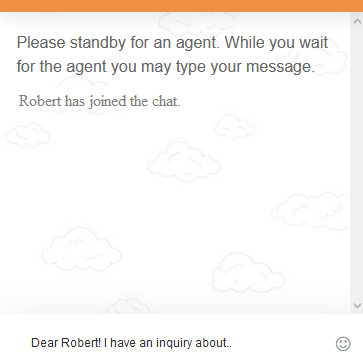
Once you have accepted the request, your conversation with the visitor will begin automatically.
Congratulations! Your very first chat session has just started and your customer is awaiting your response. Have fun!
