

Ever wondered how some websites display a maintenance mode when you try to enter them? Whether it’s a brand new website that is coming soon or a website that is going through some changes, a Maintenance page comes in handy.
When it comes to brand new websites, WordPress Maintenance mode can prepare the audience for the upcoming launch. As a page on which users land after clicking on curated content, it can serve as a “coming soon” notice.
As of maintenance, a page like this can come in handy when switching WordPress themes, testing plugins, and doing some minor adjustments. In these cases, incorporating WordPress Maintenance mode can solve all of the issues that come from visitors entering a half-done website revamp.
Share your ideas online by starting a website. WordPress Hosting is carefully optimized for WordPress and allows you to create a beautiful web space for your needs.
If you have decided to make changes to your website and want to restrict the availability of your website, you need WordPress Maintenance mode. Here is the easiest way to enable it and save your time and nerves.

How to Еnable WordPress Maintenance Mode?
To enable a WordPress Maintenance mode, there are a number of steps to be undertaken. Most importantly, the process’ main purpose is to be quick and easy. That’s why saving time when doing some cosmetic tweaks to your website is essential.
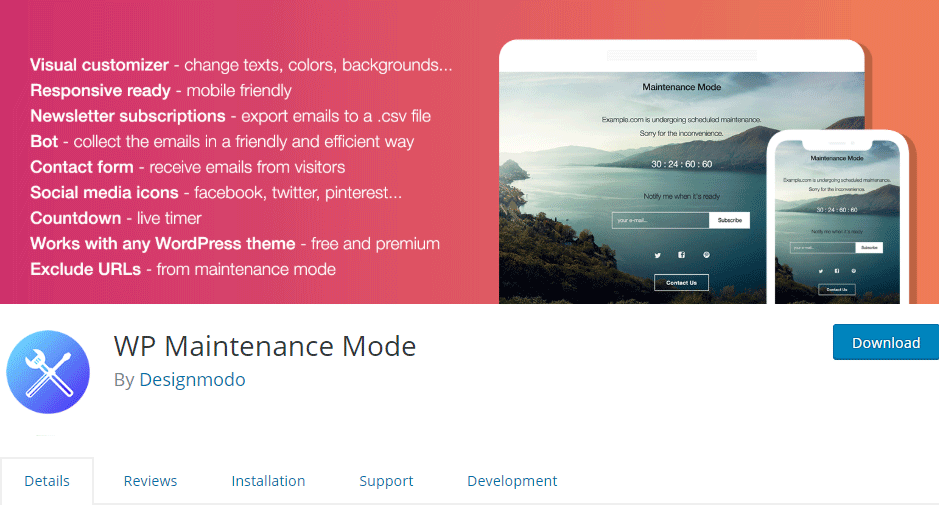
1. Install the WP Maintenance Mode Plugin
While there are numerous plugins that offer this simple feature, the one that allows the utmost customization in WP Maintenance Mode.
I believe the plugin is so great because of a number of reasons. The most important ones are the fully customizable responsive design and the contact form.
To install WP Maintenance mode, find out how to add a plugin to WordPress. Once the installation process is clear, you can go on to add and activate the plugin on your WordPress website.
2. Activate the Plugin and Customize the Design
Now that the plugin is added to your WordPress directory, it’s time to activate it.
How to activate: Go to your plugins, find WP Maintenance mode and choose Settings. On Status choose Activated and click Save settings to put the website in maintenance mode.
Now your visitors will not be able to enter the website and will land on a maintenance page. This page, however, has quite a generic look that you can personalize.
How to customize: To start customizing the design, switch to the Design tab in the plugin’s settings. Here you can change the text and customize the background by either uploading an image or choosing a predefined one.
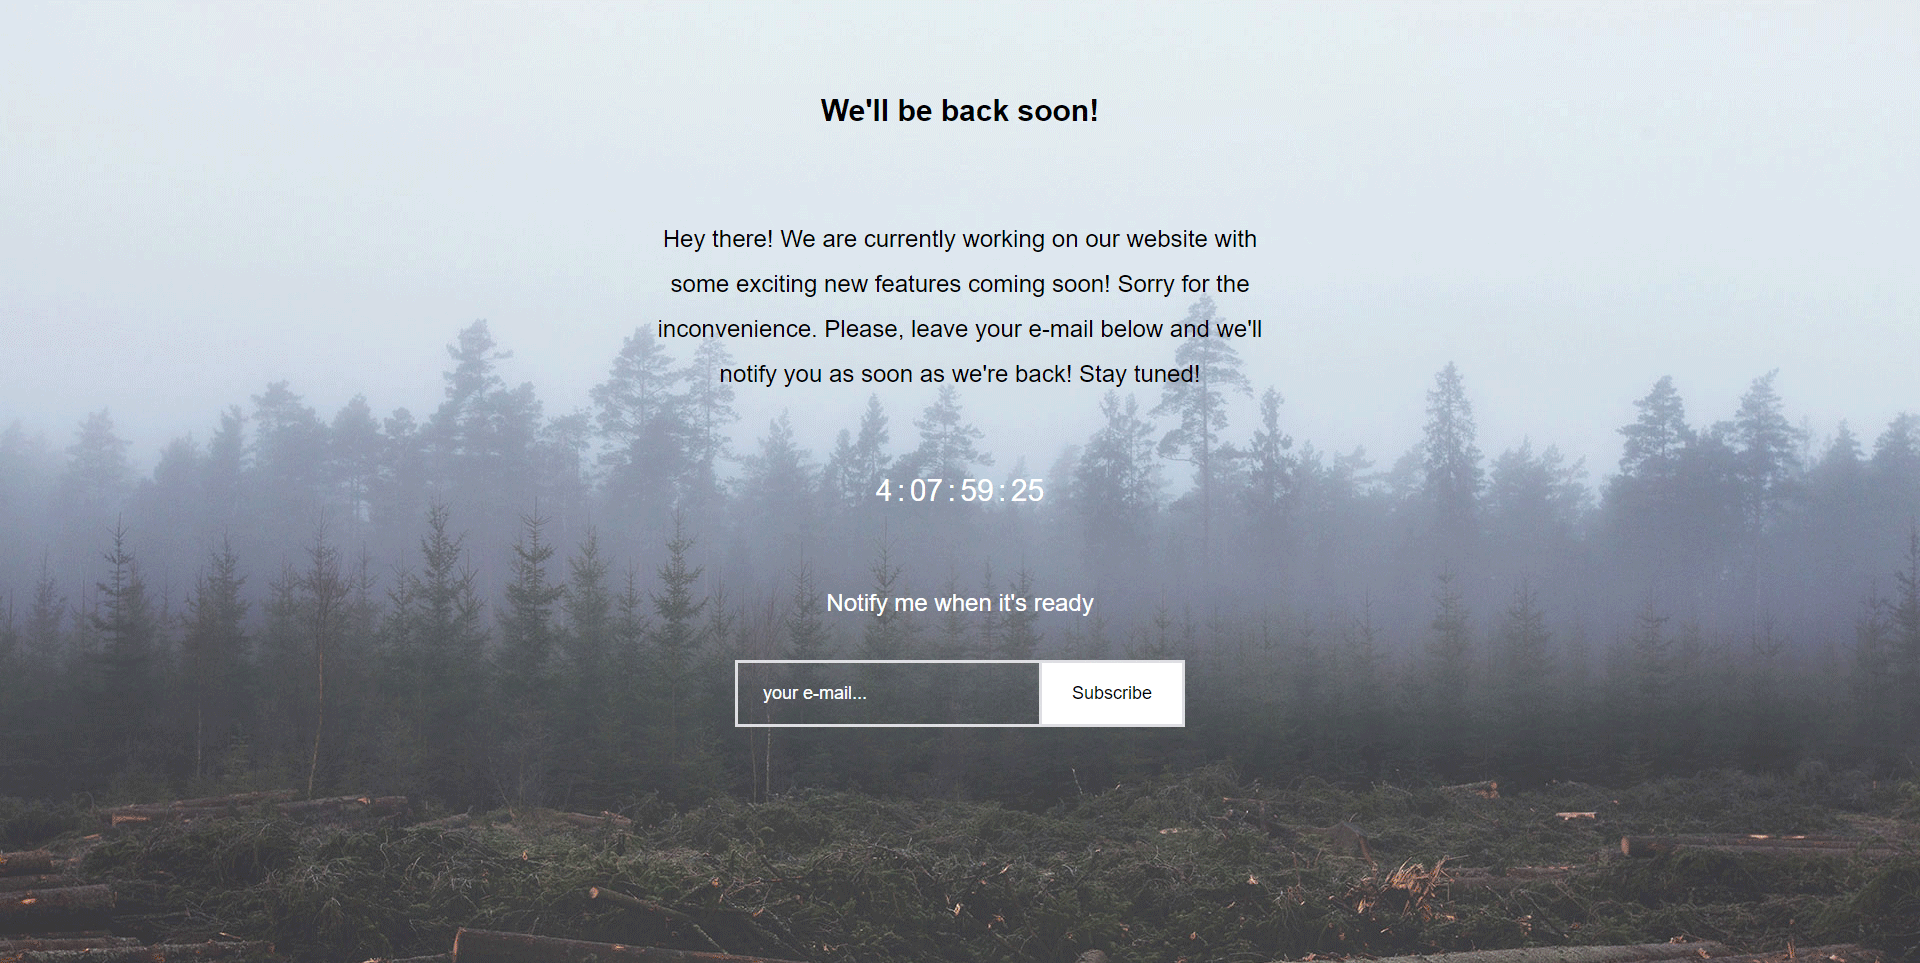
How to add modules: To add modules such as a countdown and a subscribing feature, as shown above, switch to the Module tab. There, you’ll be presented with the countdown option where you can enter the desired start date and remaining time. Next, you can enable the subscribe button and collect the e-mails of visitors who want to be notified once your maintenance is done.
All of these elements contribute to an overall positive user experience who will land on a rather personalized page. Moreover, the visitors will be able to leave their e-mails in order to demonstrate their interest in your upcoming tweaks.
3. Collect E-mails and Deactivate the WordPress Maintenance Mode
Once you start collecting your first e-mails, it’s time to keep your users updated with the process. These could be email messages with some additional information or an announcement of a certain feature coming up. By this, users will remain engaged with your brand even when not interacting directly.
Once finished with the changes, do not forget to Deactivate the plugin from the Settings. Afterward, your website will be displayed once the domain is visited and will start being indexed by Google.
Final thoughts
Overall, WordPress maintenance mode can not only help you restrict access to your website but also maintain meaningful communication with them. Customizing the content including text and images turns every generic page into a unique piece that conveys your brand voice and style.
Furthermore, collecting e-mails and displaying a countdown timer shows that you care to keep your visitors updated and on track with the upcoming changes.
WP Maintenance Mode is a favorite plugin of thousands of creators because of its flexibility and the high customization opportunities that it offers. Through the number of features included in the plugin, one can turn every website downtime into a personalized message to send to the world.