If you are anything like me, then you just adore a sharp and minimal web design. Trying to accommodate that preference into your WordPress website can turn out to be the bane of your life. Don‘t panic! I‘m here to help!
A huge part of your website‘s vision is the buttons included in the design. Even though they might seem like something insignificant in the big picture, they are actually one of the main graphic elements on the web. That‘s why they can turn your whole website‘s style upside down if done wrong.
The general way to create a button in WordPress is with shortcodes. I‘m not going to lie – it‘s time-consuming and annoying. There is, however, an easier solution – plugins. I‘ve tried a couple of plugins while trying to design my own buttons, but there was one that stood out – Button X.
Button X is an incredibly user-friendly plugin that provides easy and clean button designs that are extremely customizable. Here comes the best part: you can generally adjust every single detail of each button, thus making them as close to your personal style as possible. Let‘s follow the creative process in the next 5 steps!
1. Download and activate the plugin. Here I assume that you‘ve already gone through the How to Add a Plugin tutorial and are aware of the steps to take when adding a plugin.
2. Go to Buttons. The Button X plugin will create a page in your Admin Panel. Hover over it and a dropdown menu will appear. Choose Buttons. 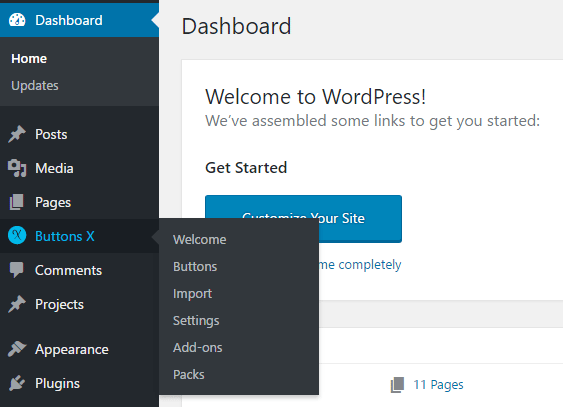
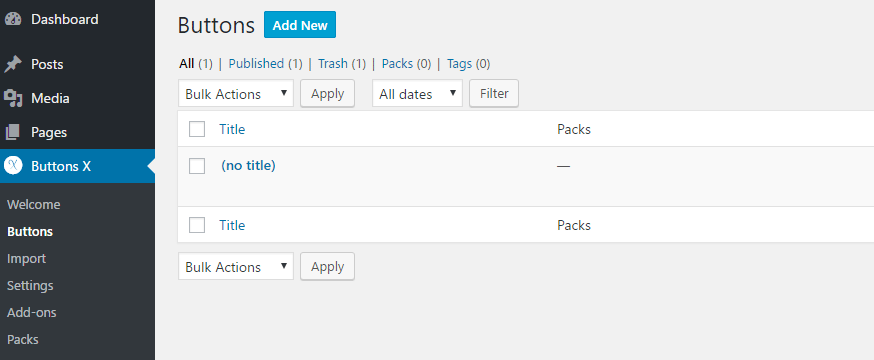
3. Add a new button. By clicking Add New you start creating your first button. You can name it and browse through the options.
4. Design your button. At this point , you’ve already seen the full options which you can adjust for your button. Go through them.
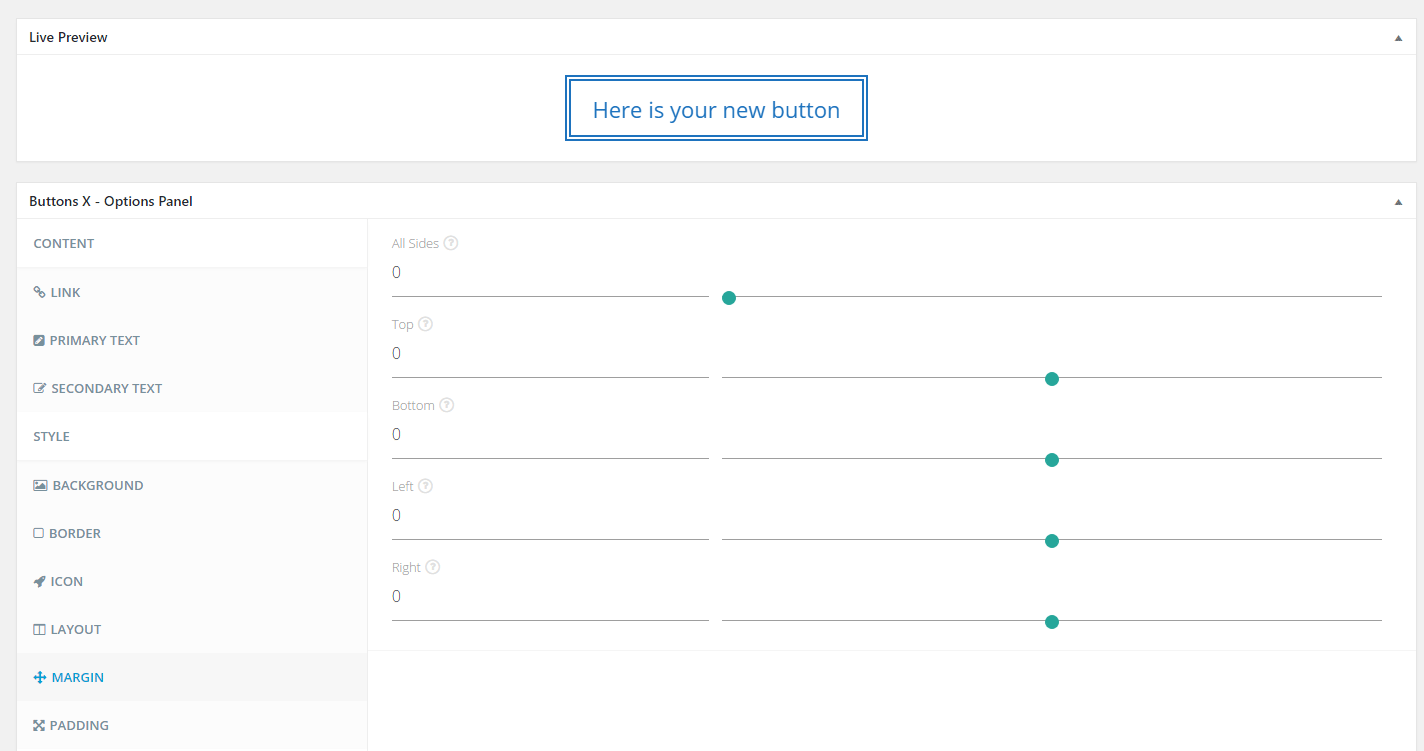
- Link – First, choose the type of the link – pick the URL. Decide whether you want your button to send the users to a new window, or not. Finally, paste the link.
- Primary Text – Type in the text that will show on your button. You can choose the font and the color of the text.
- Background and Border – You can choose a color for both or leave one of them transparent. It’s a good idea to choose a different hover option as it will help the button stand out.
- Layout – Choose the style and the shape.
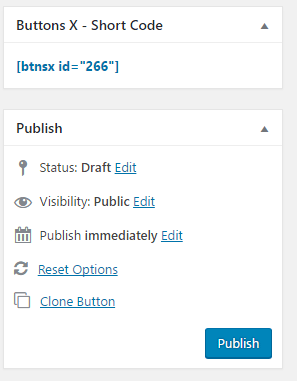
5. Insert the button in a post or page. After you’ve designed your dream button, it’s time to copy the Short Code. This is the code that appears right above Publish on the right side of the page. After copying it, click Publish and move to the post or page where you want to include it.
Now paste the Short Code in the Text Editor and watch the magic happen!
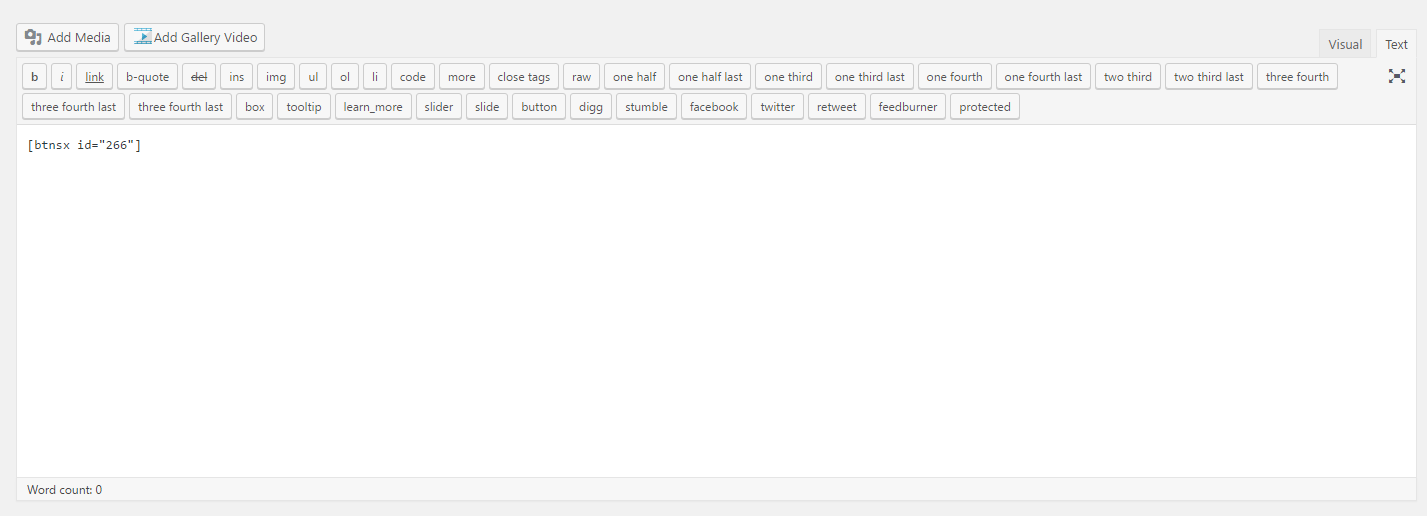
Click Preview and voilà! Your very own button is ready!