In this tutorial, we’re going to provide details regarding the error message POST Content-Length Exceeded in WordPress, including the meaning and ways to fix it.
What Does the Error Mean?
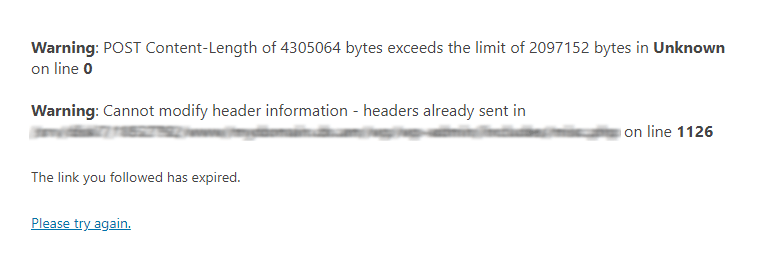
By default, the maximum amount of data that can be transferred via PHP is 5MB. If you are a WordPress administrator and attempt to upload a file larger than this value, your upload will be interrupted and your web page will produce a POST Content-Length Exceeded warning.
The following screenshot shows an example that illustrates the error POST Content-Length.
How Can I Increase the Maximum Upload Limit in WordPress?
The maximum limit on uploading data in WordPress can be changed by modifying the PHP variables post_max_size and upload_max_filesize, both of which can be found in your web hosting account’s main php.ini file.
AwardSpace offers its users to change these PHP variables in the following two ways:
- through the AwardSpace PHP Settings Manager
- with the use of a custom php.ini file
Note: Both features are only available to our premium hosting account customers. If you own a free hosting plan and are looking to get a premium one, you are welcome to review our offers at our shared hosting page.
Solution #1: Using the AwardSpace PHP Settings Manager
- Sign in to your AwardSpace account via our login portal.
- Under the Advanced Tools area, click on the PHP Settings link.
- Click on the here link in order to access the PHP Settings editor.
- Once you are inside the editor, locate the variables post_max_size and upload_max_filesize.
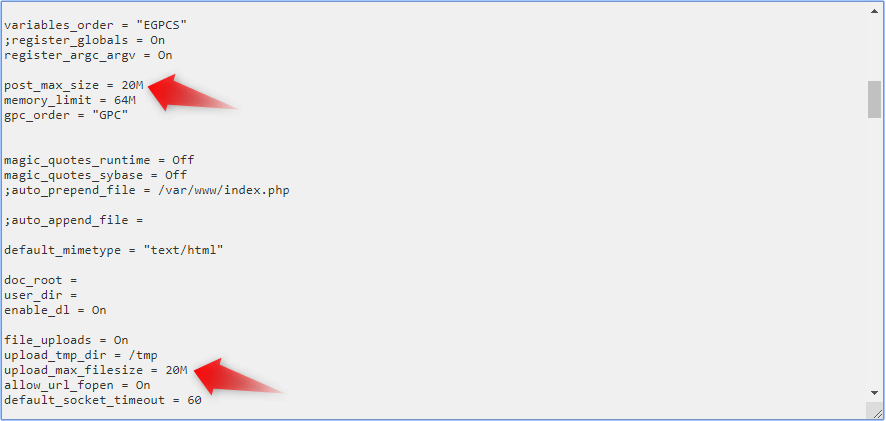
- Set the upload limit to a value greater than the size of your theme file and press Save.
Solution #2: Generating a custom php.ini file
An alternative way to increase the maximum upload limit is with the creation of a php.ini file.
Create a new file under your WordPress main directory and name it php.ini. Using your favorite editor or our built-in File Manager, open the php.ini file you’ve created and insert the below code into it:
  post_max_size = 30M

  upload_max_filesize = 30M
The above set of rules will allow you to upload files via PHP up to 30MB in size.
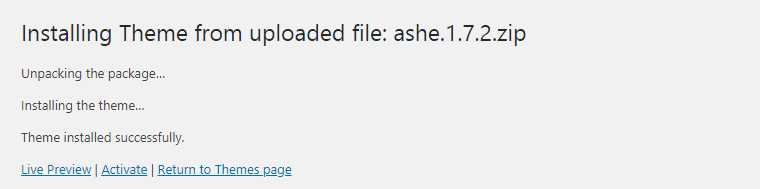
After you submit the changes, log into your WordPress back-end and retry the upload process. If everything goes as expected, you will receive a system notification that your theme/plugin has been installed.