
In this tutorial, we will provide a step-by-step guide on how to configure WordPress to send email using SMTP.
Customer care is a crucial part of every business. That’s why it is important that you always stay in touch with your customers.
Step #1: Install an SMTP plugin
In this tutorial will be using the WP Mail SMTP plugin, which has proven to be an invaluable and useful tool for every WordPress user. The plugin itself comes free of charge and works perfectly well on our WordPress hosting platform.
-
- Log into your WordPress account as Administrator.
- Once logged in, navigate to the Plugins page to add a plugin and press Add New.
- In the Keyword search box, type WP Mail SMTP.

-
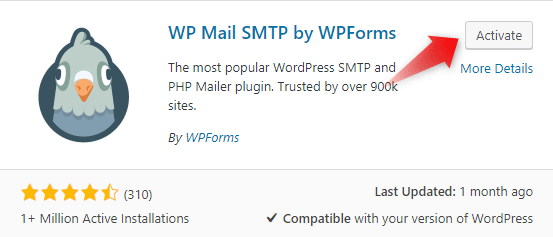
- WordPress will show a list of available plugins. Locate the WP Mail SMTP plugin (it should be first in list) and click Install Now.

-
- To activate WP Mail SMTP, press Activate.
Step #2: Configure the SMTP plugin
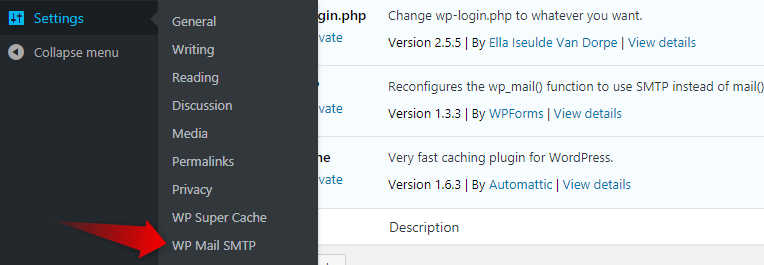
After successful activation, the plugin will add a new option under your Settings menu called WP Mail SMTP.
To begin configuring WP Mail SMTP, please follow these basic instructions:
-
- Navigate to the WP Mail SMTP plugin’s page.
-
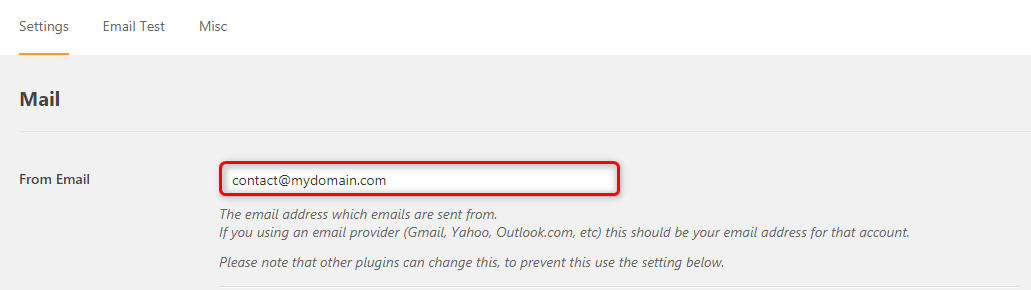
- Click on the Settings link and enter your e-mail address in the From Email box.
-
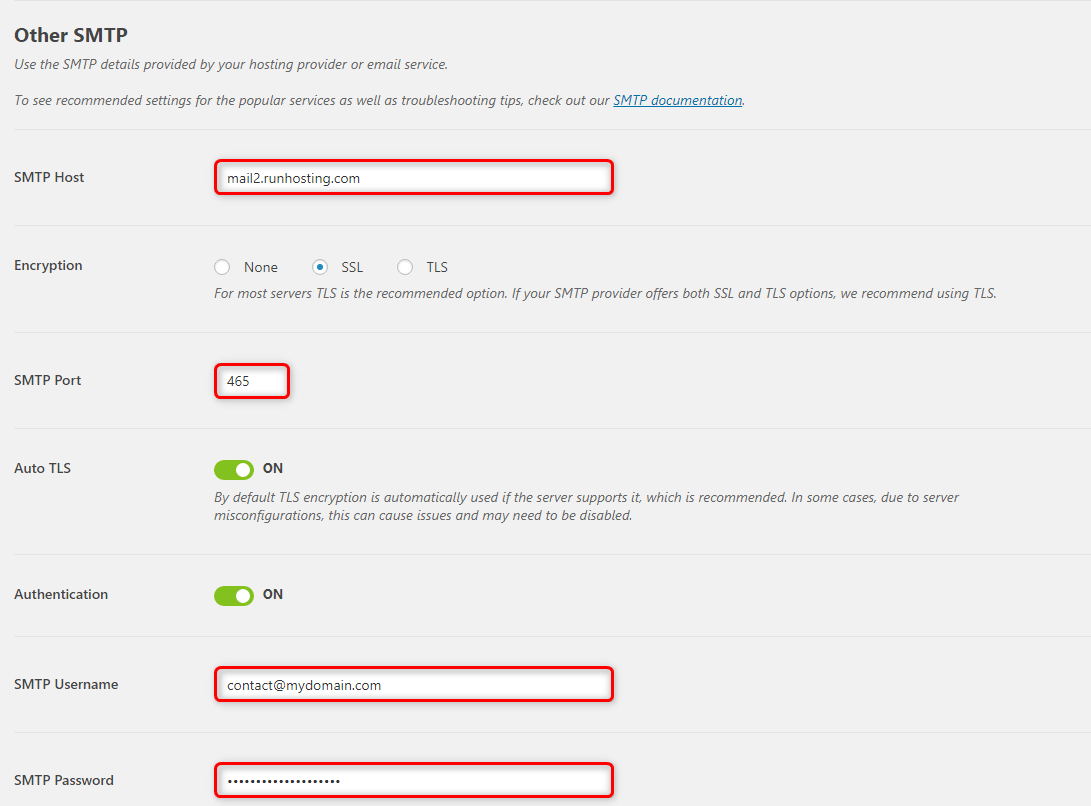
- Choose Other SMTP from the available Mailer options.

-
- Fill in the following fields:
-
-
- SMTP Host: the address of your mail (SMTP) server
- Encryption: if you wish to send email in a secure manner, please configure SSL; otherwise please select None
- SMTP Port: the standard SMTP ports are 25 and 587 (for SSL, please use port 465)
- Auto TLS: must be set to On
- Authentication: must be set to On
- SMTP Username: the name of your e-mail account
- SMTP Password: the password for your e-mail account
-
If you are not sure what settings to use, please review our Email Account Settings tutorial to obtain the correct details or contact our dedicated support team for assistance.
Note: If you are an owner of a premium WordPress hosting plan and have an external mail server that you want to be used for sending out notification letters, please submit a ticket from the corresponding hosting account and request your outbound SMTP connections to be enabled.
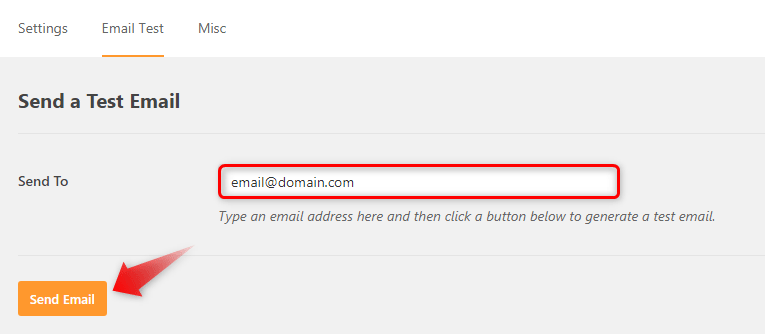
Step #3: Test the plugin SMTP capabilities
To see if your SMTP plugin is capable of reaching email boxes, open the Email Test menu and enter an e-mail address of your choice. Click the Send Email button to send a message.
If everything goes as planned, you will receive a report that your message has been delivered to the specified e-mail address.
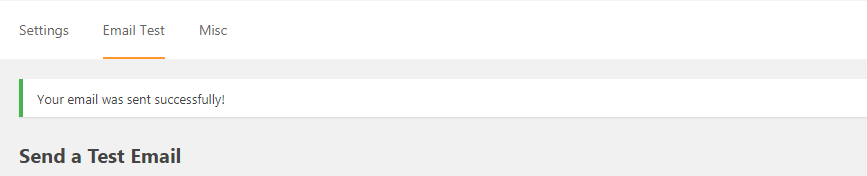
That’s it! You have successfully configured WordPress to send emails via SMTP.