
WooCommerce Shipping is an essential part of any online business. The reason for that is that as long as you are selling physical goods, you need to be able to ship them to your customers.
It is highly recommended to configure the shipping options as soon as you complete the installation of WooCommerce. To set up WooCommerce shipping, your first task is to configure shipping zones. Next, you need to add shipping methods to those zones. Finally, you need to assign shipping rates to your methods.
You can create as many shipping zones as you like, and add multiple methods and rates to each zone.
In this tutorial, we will take a look at the settings in the WooCommerce Shipping tab. To get there:
- Log into your WordPress Dashboard
- Navigate to WooCommerce > Settings > Shipping.
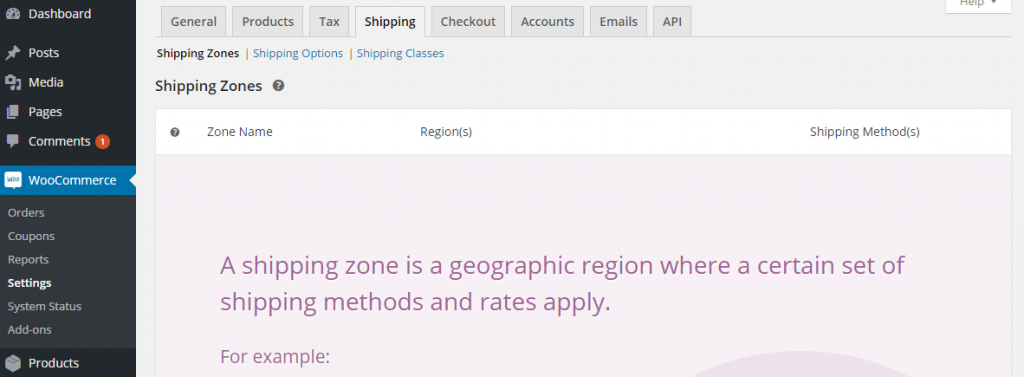
WooCommerce Shipping Zones
The first section is the core of WooCommerce shipping. Here is where you will be able to set up all shipping options. To begin, you need to add the main shipping zone.
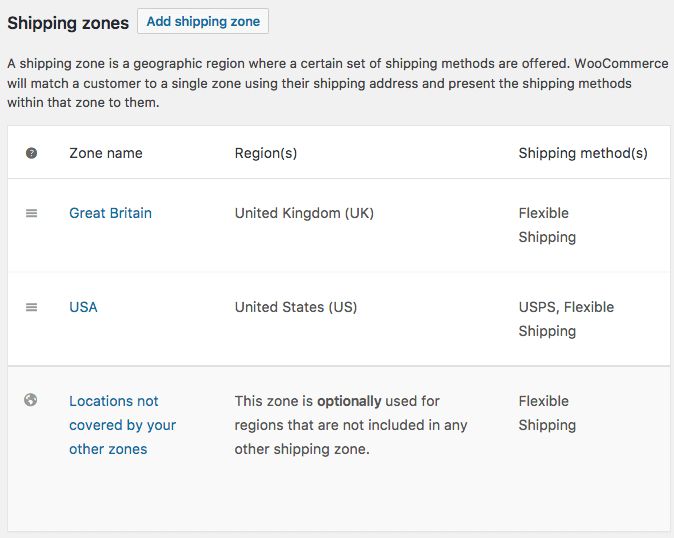
A shipping zone is a geographical region where your customers are located. For example, this could be a state in the US, a country in the world, or any other geographical region.
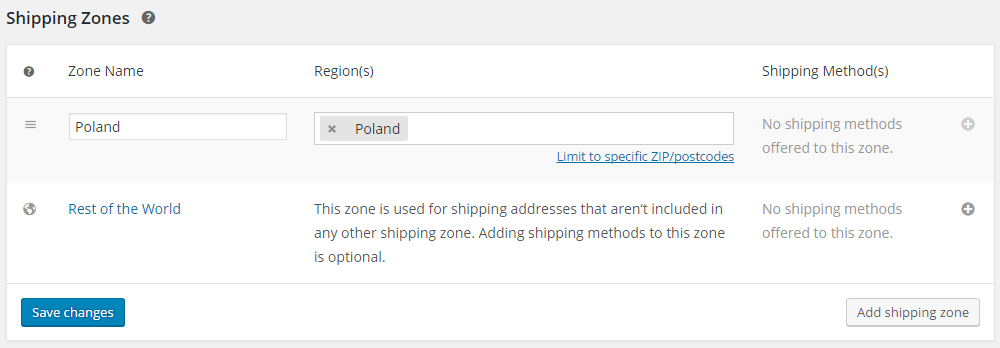
Add shipping zone – click to add the primary zone, then assign a name to it and select the regions within the zone. In addition to that, you can constrain the shipping zone to specific postal codes by clicking the link beneath the region selection. This may prove to be helpful when you need to offer local delivery or pickup. Make sure to save the changes when you’re finished.
Using quick links, you can edit a zone, remove it, or browse through the shipping methods assigned to it. To do so hover the mouse cursor over the name of the zone.
You can likewise sort the zones, however, have in mind that the customer will be given the primary shipping zone based on their delivery address. If you set up multiple zones with overlapping regions, set their order.
WooCommerce Shipping Methods
Adding a shipping zone is only the start. At that point, you’ll have the option to create and configure shipping methods. Click on the in plus symbol in the column Shipping Method(s) to add one of the available methods.
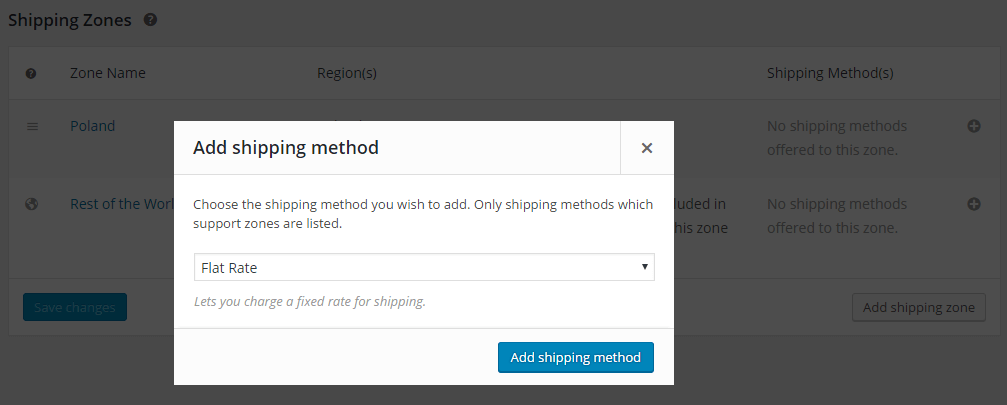
Out-of-the-box, there are three shipping methods added in WooCommerce: Flat rate, Free delivery, and Local pickup.
To configure the available shipping methods, click on the name of the selected zone.
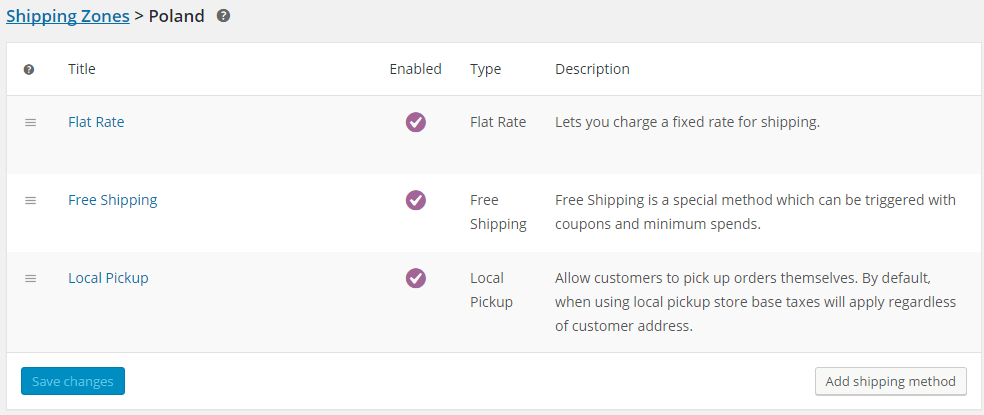
Just like the zones, the shipping methods can be sorted. It is important to consider the order of the shipping methods since they will be displayed in the same way to the customer.
The configuration of the method and its removal are accessible through quick links or just by clicking the name of the method.
Flat rate
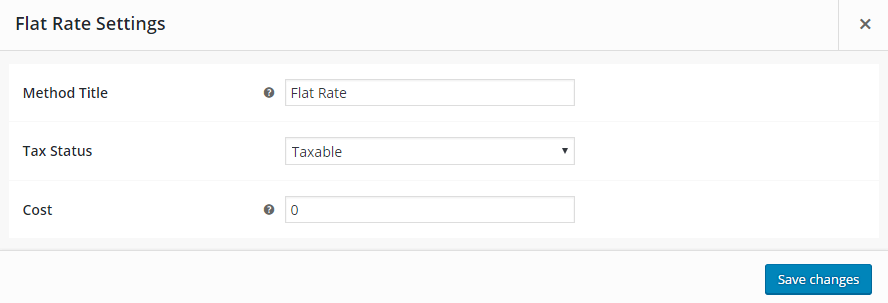
Method Title – choose which payment method the client will see.
Tax status – choose whether the shipping method is taxable or not.
Cost – enter the price of delivery for the whole order.
Additional cost – in Cost, you may also add the cost for the number of items in the shopping cart. Here are the available choices:
[qty] – the number of items in the cart,
[fee] – additional cost with two parameters:
- percent – the percentage of the whole order,
- min_fee – the minimum extra cost, useful when utilizing percentage,
- max_fee – the maximum additional cost, useful when utilizing percentage.
Examples:
- 10 + ( 1 * [qty] ) – the shipping will cost 10 USD and 1 USD additionally for every item in the cart,
- 20 + [fee percent=”10″ min_fee=”4″ max_fee=”10″] – the shipping will cost 20 USD and additionally 10% of the order, yet at least 4 USD and not more than 10 USD.
Shipping Class
If you have set up your shipping classes, you will see additional fields in Flat rate settings.
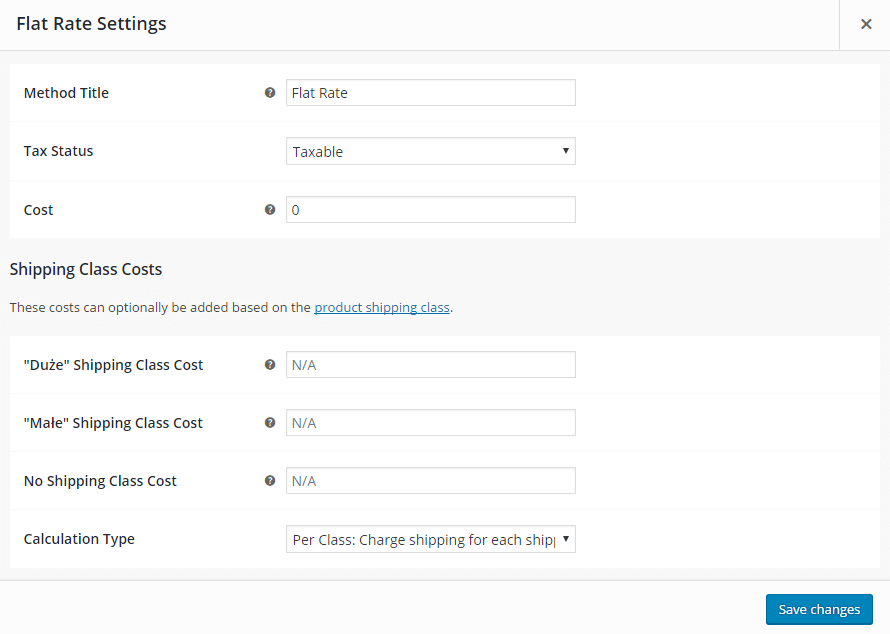
Shipping Class Cost – there will be a separate field with the shipping cost for each class. The purchase is made by the order in the Shipping Classes tab. Additional cost might be set for classes.
No Shipping Class Cost – appropriate when utilizing Per Class calculator (see below).
Calculation Type – with regards to calculating the shipping cost for shipping classes, you can select one out of two possibilities:
- Per Class – the shipping cost will be equal to the sum of costs for each shipping class.
- Per Order – out of all the items in the shopping cart, the most expensive shipping class will be used.
Free Shipping
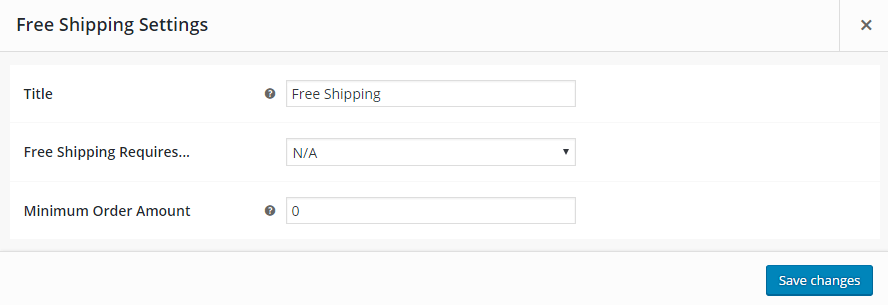
As the name implies, this shipping method is utilized to make the shipping free. You can select one of the options listed below:
- N/A – used if you need to set the shipping free for all customers.
- A valid free shipping coupon – create a coupon that allows customers to use the free shipping. Coupons are accessible in WooCommerce menu >
- A minimum order amount – enter the minimum order amount that qualifies for the free shipping.
- A minimum order amount or a coupon.
- A minimum order amount and a coupon.
Note that coupons will also be used when the minimum order for free shipping has been set.
Local Pickup
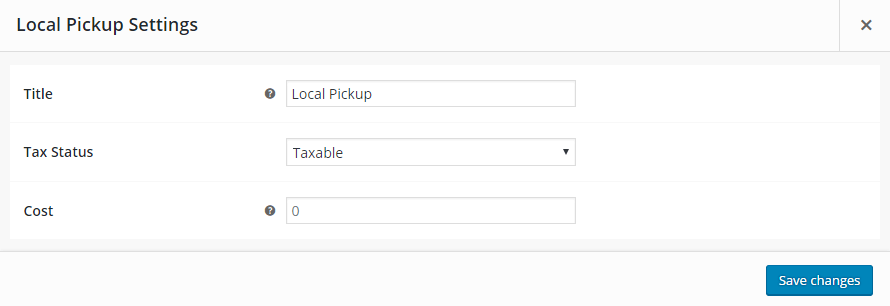
Configuring the local pickup is similar to the flat rate. All you need to do is set the title of this method. The shipping will most likely be free of charge. Therefore you can skip the tax status and the cost.
Table Rate Shipping
A lot of stores offer items of various sizes and weights. Because of that, Flat-Rate Shipping is not suitable for them. They need a more elaborate solution to calculate the shipping cost. The solution to this problem is using the Table Rate Shipping method. This method provides store owners with a simple way to set rules to calculate advanced shipping costs.
Rules can be based on:
- weight
- totals
- item and shipping cart item
- shipping classes.
We should investigate a model. The conditions are the following:
- if all items from the order weigh from 1 lb to 5 lbs, add $15 to the shipping cost,
- if items from shipping class 1 are contained in the shopping cart, then subtract $5 from the shipping cost,
- if the order contains more than five items, then $3 to the shipping
Such conditions will appear in Table Rate in the following way:
| Rule-based on | Conditions | Shipping class? | Cost to add |
|---|---|---|---|
| weight | 1-5 lbs | no, every product | $15 |
| items | any item | yes, class 1 | -$5 |
| items | 5 or more items | no, every product | $3 |
WooCommerce Shipping Options
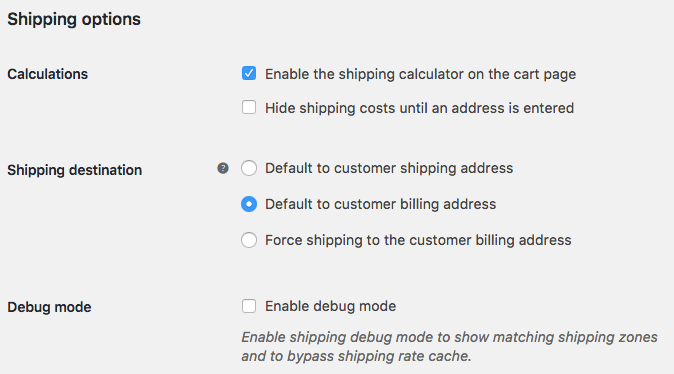
Here you can set the general options in regards to the shipping.
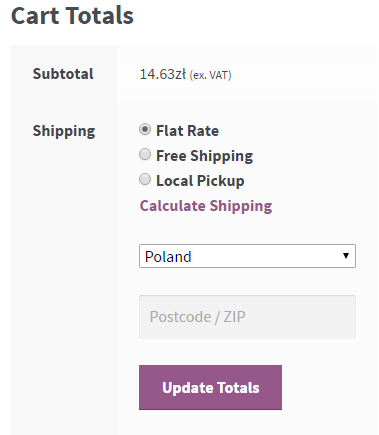
Enable the shipping calculator on the shipping cart page – check this option if you need the customer to have the option to ascertain the transportation cost contingent upon the shipping zone.
Hide delivery costs until a location is entered –check if you need the transportation cost to be noticeable just upon the rundown of the request.
Shipping Destination – choose which address is the default delivery address.
WooCommerce Shipping Classes
Shipping Classes is a vital tool when selling products of various sizes.
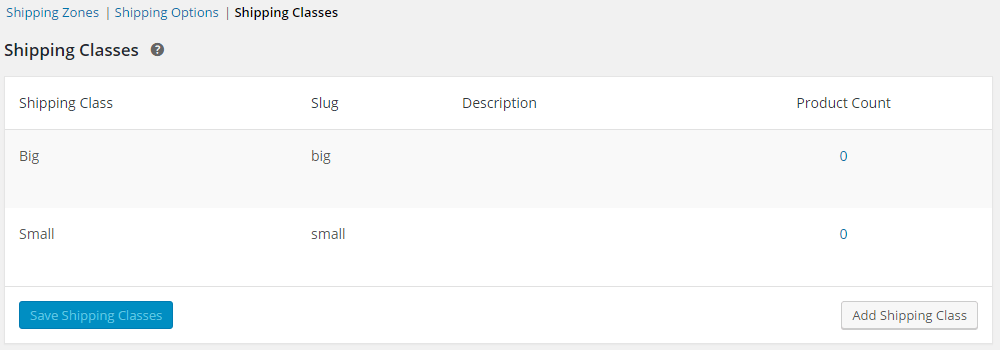
Click Add shipping class and provide Shipping Class Name and Description for your reference. Slug is a unique identification; it will be automatically generated if you leave this field empty.
To edit or delete a shipping class, hover the cursor over the name of the class.
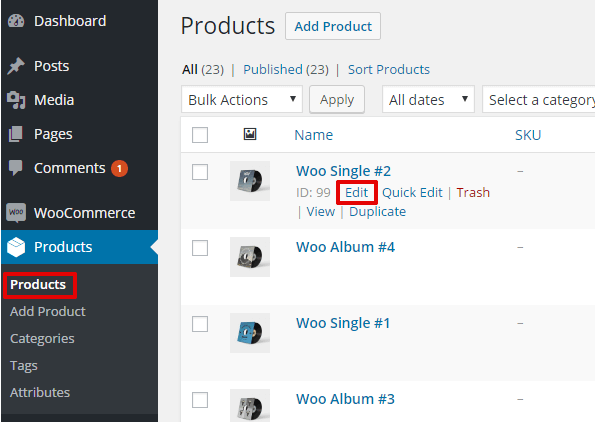
How to Assign Shipping Classes to Items
To assign a shipping class to an item, go to the Products menu > Edit a select item > Product Data > Shipping.

There you need to select the shipping class you’ve created and update the item.
If there are variations of the product, you can assign separate shipping classes for every item. Go to Variations in the Product Data tab.
How to assign shipping classes to a group of items
You can also assign the selected shipping class to several items at once.
Go to the Products menu and select several items. Then select Edit from the Bulk Actions list and finally click Apply.
Select Shipping Class from the list.
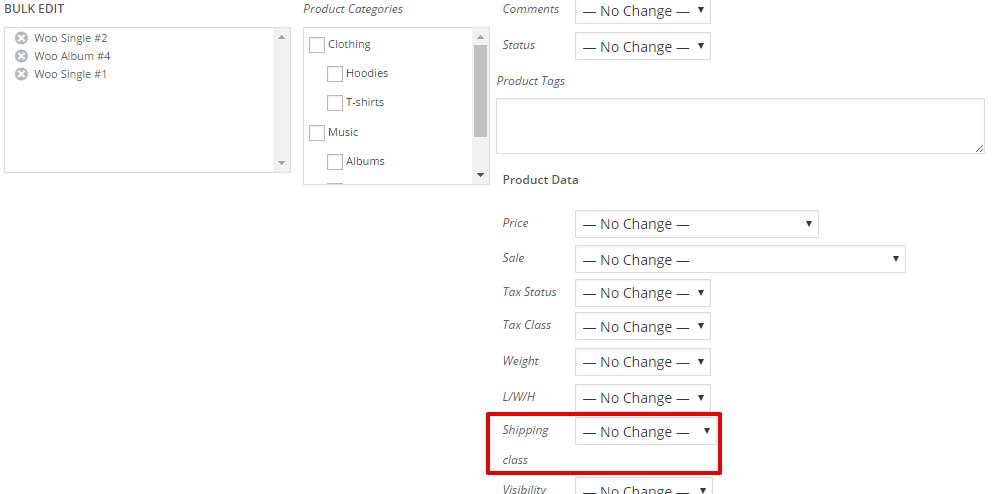
Finally, click Update, and it’s all done!
Summary
Ever Since shipping zones have been introduced in WooCommerce, the process of configuring the shipping methods has become convenient for store owners. At present, there are multiple options of differentiating the shipping costs to various regions such as particular countries or groups of countries.